No matter what type of game you want to make, there is one core truth: you’re going to have to deal with the camera.
In this tutorial, we’re going to explore how to work with the camera in Unity for 3D games. In particular, we’ll discuss how to set up both a first camera (for VR games, FPS games, etc.) and a third-person camera (for action RPGs, platformers, and so forth).
If you’re ready to master the basic camera setup for Unity games, let’s jump in!
Table of contents
Project Files & Requirements
You can download the complete Unity project for this tutorial here.
Note that this tutorial assumes you already know the base fundamentals of using Unity. If not, we recommend checking out 3D development with Unity3D first, as that will cover everything you’ll need to dive into this part.
Did you come across any errors in this tutorial? Please let us know by completing this form and we’ll look into it!

FINAL DAYS: Unlock coding courses in Unity, Godot, Unreal, Python and more.
Section 1: First Person View
First person view is not as complicated as you might think. Rather, it is actually super simple. First person view means that the player IS the camera, or to simplify, The camera IS the player. The implications of this thought process simplifies everything as a designer and as a programmer.
So, how do we begin to utilize this knowledge within Unity3D? We could start by building a 3D scene and setting up the scene for testing. I think that would probably be best considering if we do too much for a basic course, things could get very confusing.
To begin, create a new Unity project and navigate to the Asset Store window (Window > Asset Store). Here, we want to search for and download the Grid Prototype Materials asset.
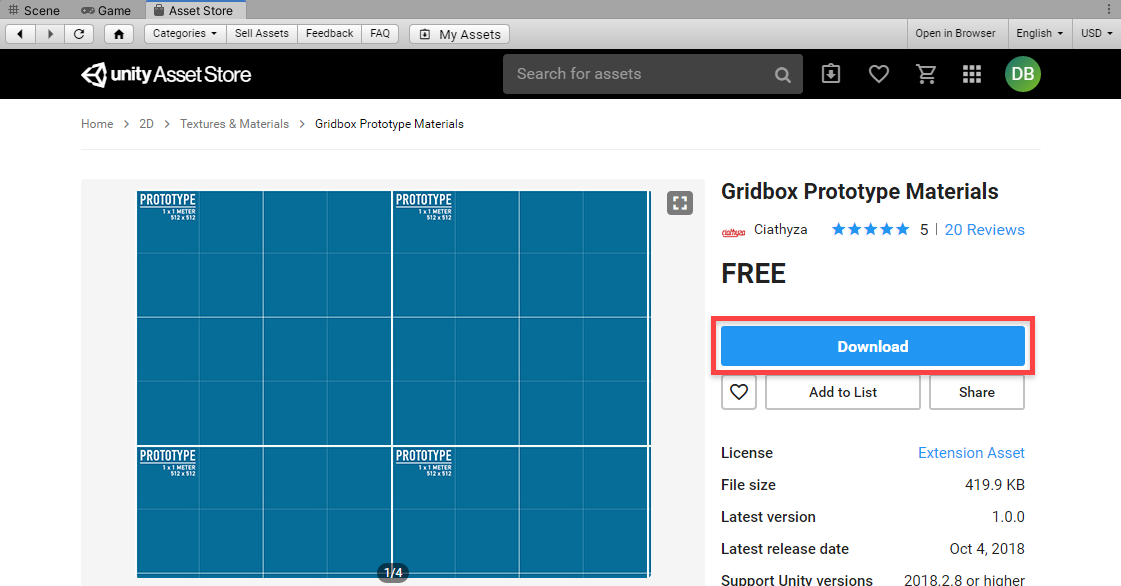
Now that the Thirdparty folder has been added to your project, go ahead and add the Scene and Scripts folder. Also create a C# script called FirstPersonCamera.
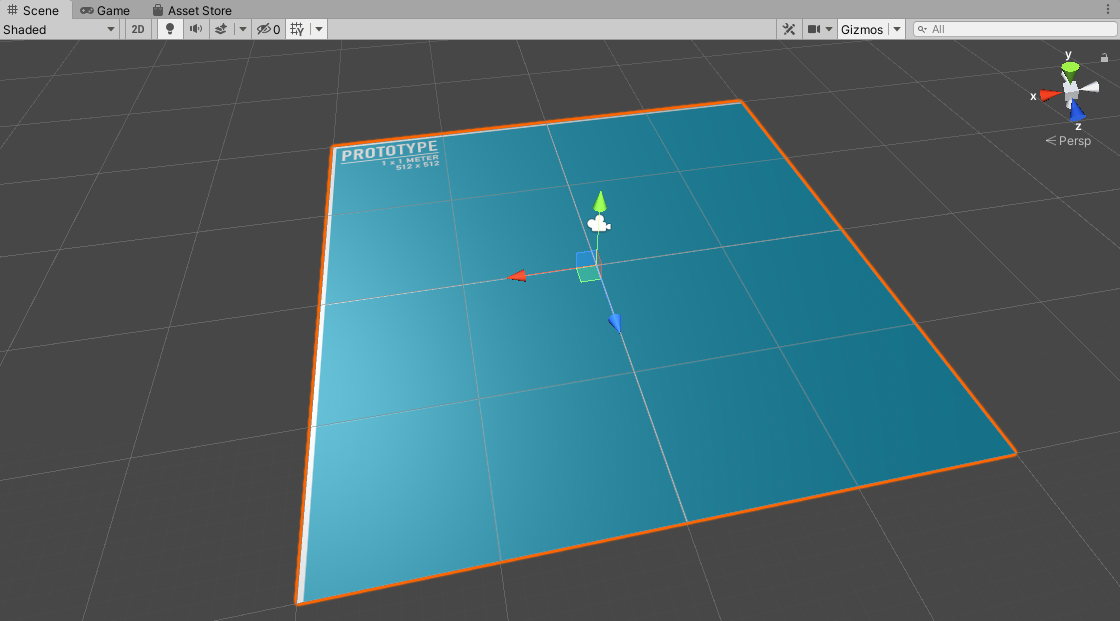
Create a new scene called FirstPerson and create a new plane for the ground.
- Set the Scale to 2
- Assign the Prototype_512x512_Blue1 material
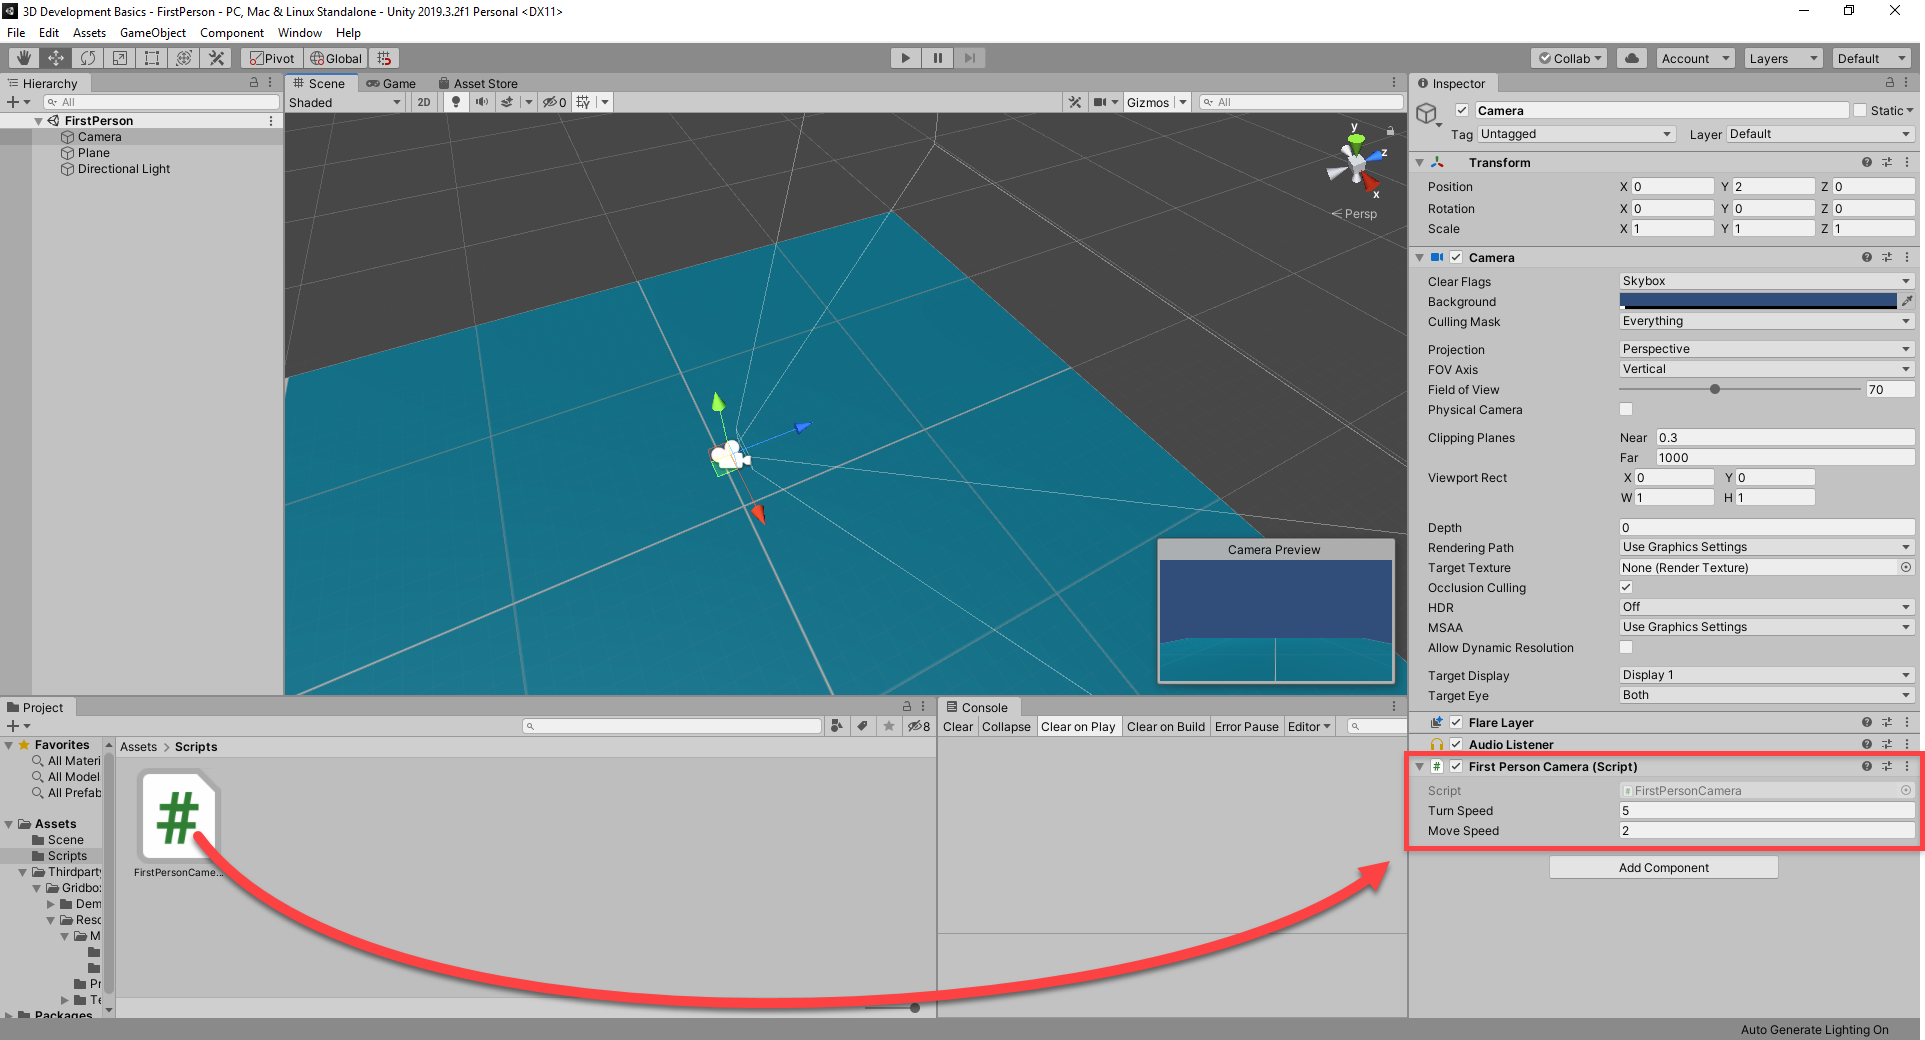
We can now move on to the scripting side. I have tried to do an extremely basic approach to scripting to allow the camera to move with the event of using the mouse and keyboard. Since we plan on attaching the script directly to the camera, we can use the this keyword or omit the this keyword and just write the transform.
public float turnSpeed = 4.0f;
public float moveSpeed = 2.0f;

public float minTurnAngle = -90.0f;
public float maxTurnAngle = 90.0f;
private float rotX;

void Update ()
{
    MouseAiming();
    KeyboardMovement();
}

void MouseAiming ()
{
    // get the mouse inputs
    float y = Input.GetAxis("Mouse X") * turnSpeed;
    rotX += Input.GetAxis("Mouse Y") * turnSpeed;

    // clamp the vertical rotation
    rotX = Mathf.Clamp(rotX, minTurnAngle, maxTurnAngle);

    // rotate the camera
    transform.eulerAngles = new Vector3(-rotX, transform.eulerAngles.y + y, 0);
}

void KeyboardMovement ()
{
    Vector3 dir = new Vector3(0, 0, 0);

    dir.x = Input.GetAxis("Horizontal");
    dir.z = Input.GetAxis("Vertical");

    transform.Translate(dir * moveSpeed * Time.deltaTime);
}
Now, we can attach the script to the camera by dragging and dropping the first person script onto the camera in the Inspector Pane.
Save the scene in the Scene folder under the name First Person. To do this, click File, Save Scene As.
Now you can go ahead and run the scene. Voila, you now have a scene where the player is the camera. This is the overall basis for a first person view game.
Section 2: Third Person Perspective
It is extremely easy to over complicate the thought process for a third person perspective game and with good reason. My first assumption was to have the camera follow the player similar to the fashion that would occur in a 2D platformer. But, in reality, that doesn’t make sense when you think about it from a 3D perspective. So, what does make sense and work?
It can be as simplistic or complicated as you want it to be. We should go over a few examples. There are various methods that you can use for third person perspective.
One method is taking the first person view camera and shifting it over the shoulder or behind the player model. This method’s concerns are where the character is facing and collision detection.
Another method is the overhead view. The overhead view does not care whether the player is facing the camera or not.
A third method is a fixed angle camera. It doesn’t care where the player faces, it only cares about whether or not the player is in the room or not.
The last method I want to mention is a CCTV camera. Think about this as a fixed angle camera that acts like a surveillance camera with a TV showing the player what’s going on. This method only cares about whether or not the player is in the room.
There are plenty of other third person view cameras that could be utilized. But the ones listed should give you a base idea of the difference between Third Person and First Person perspectives in addition to triggering some memories of games you have played in the past or currently, and make you think about how they decided to go with that particular game’s perspective.
So let’s create a new scene and set it up in a similar way to before.
- Create a cube and position it in the middle of the scene
- Move the camera to be in a third person perspective of the cube
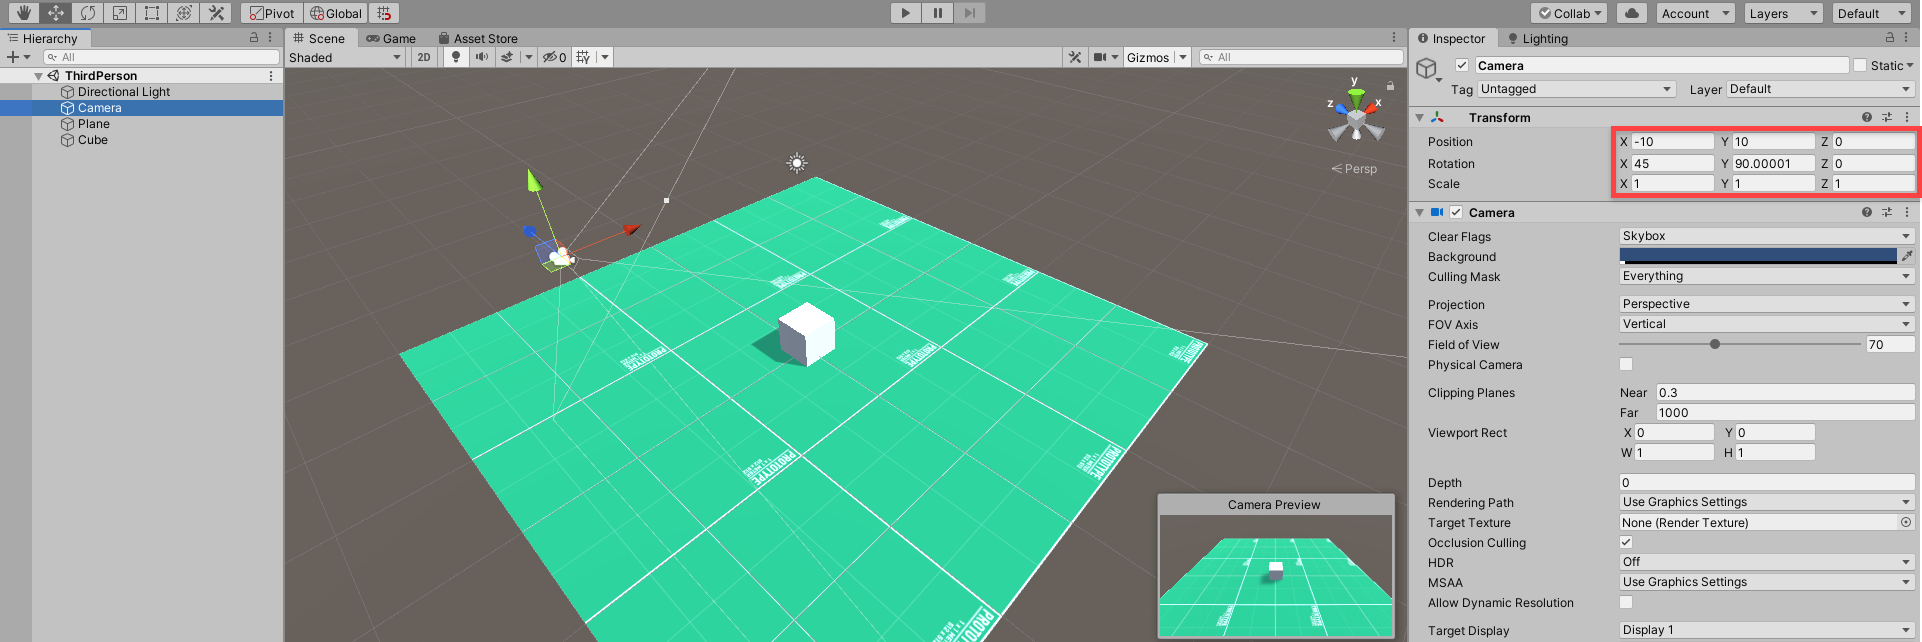
Create a new script called ThirdPersonCamera and attach it to the camera.
public float turnSpeed = 4.0f;

public GameObject target;
private float targetDistance;

public float minTurnAngle = -90.0f;
public float maxTurnAngle = 0.0f;
private float rotX;

void Start ()
{
    targetDistance = Vector3.Distance(transform.position, target.transform.position);
}

void Update ()
{
    // get the mouse inputs
    float y = Input.GetAxis("Mouse X") * turnSpeed;
    rotX += Input.GetAxis("Mouse Y") * turnSpeed;

    // clamp the vertical rotation
    rotX = Mathf.Clamp(rotX, minTurnAngle, maxTurnAngle);

    // rotate the camera
    transform.eulerAngles = new Vector3(-rotX, transform.eulerAngles.y + y, 0);

    // move the camera position
    transform.position = target.transform.position - (transform.forward * targetDistance);
}
Drag the third Person Camera Script onto the Camera. Then the target property should have the cube component dragged onto it.

If you run the game, you should be able to move the mouse in order to orbit around the cube.
Section 3: Collisions
Collision detection has been made a lot easier with Unity3D and other game development engines. What makes collision detection easier within Unity3D is the options available to you. You have Box colliders, mesh colliders, Rigidbody, sphere collider, capsule collider, wheel collider, terrain collider, cloth, hinge joint, fixed joint, spring joint, character joint, configurable joint, and constant force. These are the ones for 3D alone.
If you want to make a 2.5D or 3D game that also has 2D elements, there are more options available. Rigidbody 2D, Circle Collider 2D, Box Collider 2D, Edge Collider 2D, Polygon Collider 2D, Spring Joint 2D, Distance Joint 2D, Hinge Joint 2D, Slider Joint 2D, Wheel Joint 2D, Constant Force 2D, Area Effector 2D, Point Effector 2D, Platform Effector 2D, and Surface Effector 2D.
Each one of these options has its own particular use and whilst we won’t go over each and every one, I will be sure to cover the ones that you will mainly use in basic game development.
The main ones that you will use in a basic 3D game is the Box colliders, Mesh Colliders, Rigidbody, Sphere Collider, and Terrain. I feel like we should talk about these.
Box Colliders
A Box Collider is a basic cube-shaped collision primitive. In other words, it is shaped just like a cube would be. So basic uses for it would be a chest, floor, walls, or if you wanted to use as much processing power you could, each individual part of a 3D model.
Mesh Colliders
A Mesh Collider builds a collider based on the Mesh Asset from a 3D model. It is one of the most accurate collision detection methods and has the ability to collide with other mesh colliders if you choose.
Rigidbody
One of the most used and recognizable collider types. Rigidbody colliders allow you to enable GameObjects to act under the laws of physics within a game environment. I should also note that it can interact with objects through the NVIDIA PhysX engine as well.
Sphere Collider
Sphere Colliders are a basic sphere shaped collision primitive, in other words, shaped like a sphere. These can be used on balls, fist, heads, and et cetera.
Terrain
The Terrain Collider creates a collision surface that holds the same shape as the Terrain object it is attached to.
As I have shown above, there are plenty more physics objects that are used from within Unity3D. Later tutorials will cover these as needed.
Each of the different physics options have a script attached to them that you cannot access or modify. However, when needed, you can create a controller script that can handle collisions on your own terms if you so choose.
Now that we have gone over some of the basic physics objects to handle collision, it is time for us to actually implement this in a scene.
This section of the tutorial is extremely short and very cool to say the least. Because we are using built in objects within Unity3D, we don’t have to do any scripting whatsoever.
Basic Collisions:
To start off, we make a brand new scene.
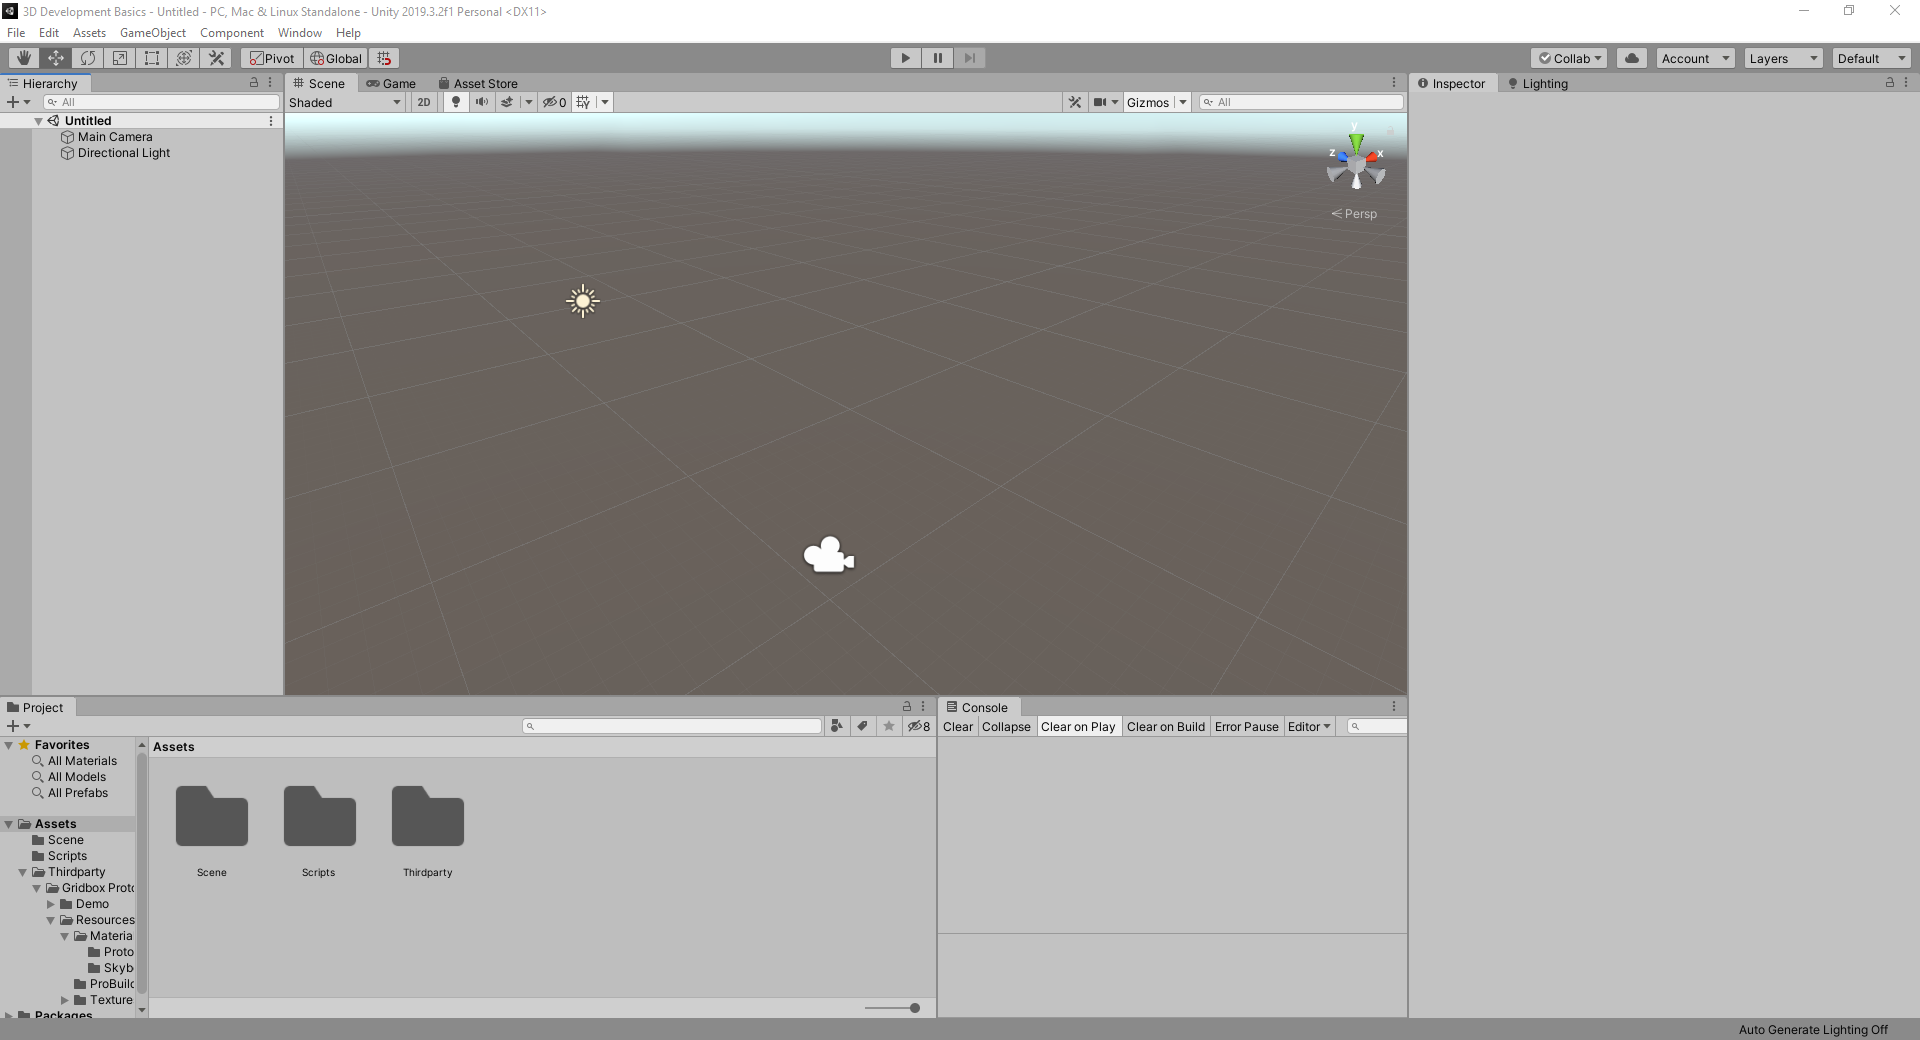
Click on the camera and take not the the X,Y, and Z positions of it. These figures are immensely important.
- Right click on the Hierarchy Pane, highlight 3D object, and select Plane.
- Right click on the Hierarchy Pane again, highlight 3D object, and select Cube.
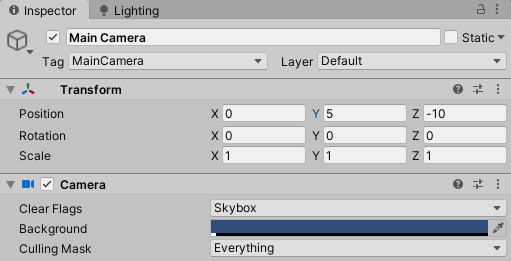
Select the Main camera and look at the Camera Preview in the bottom right of the Scene view. Neither the plane or the cube shows up. We need to fix that.
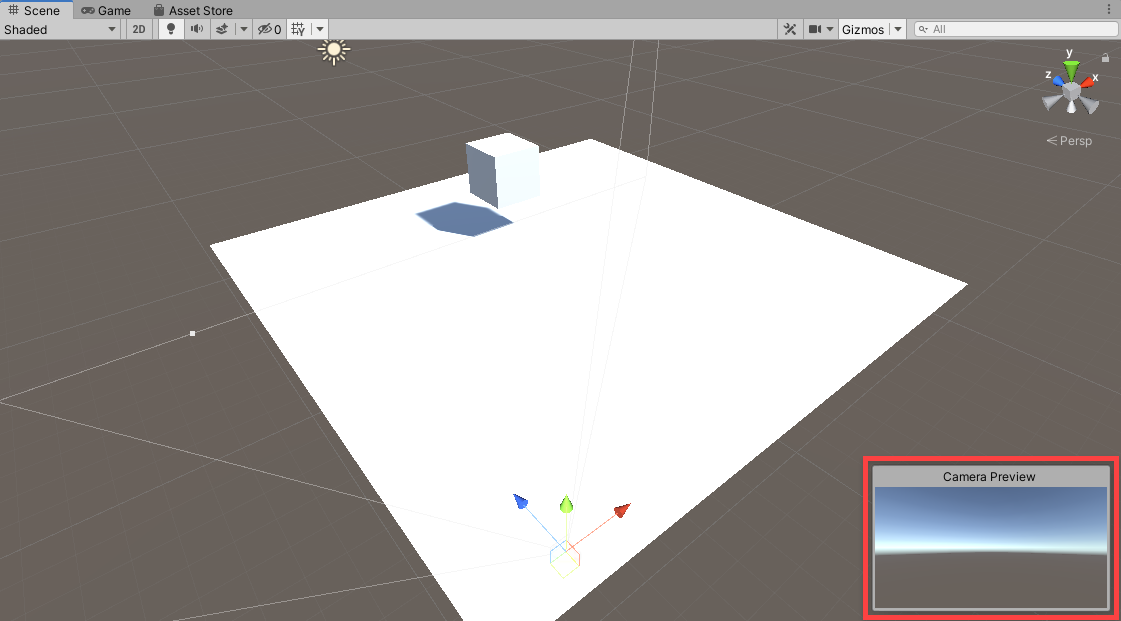
To make this part easier, I went into the Game view. Select Plane, we need to modify the Y Position of its transform to 0.8.
Notice the Plane has a Plane( Mesh Filter), Mesh Collider, and Mesh Renderer. The Mesh Collider is important with physics implementation.
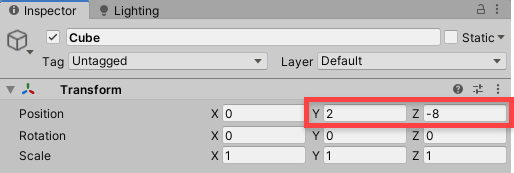
Select the Cube and in the Inspector Pane, we need to Change the Y and Z position of its transform. Y is set to 2, and Z is set to -8.
Notice the Cube has a Cube (Mesh Filter), Box Collider, and Mesh Renderer as well.
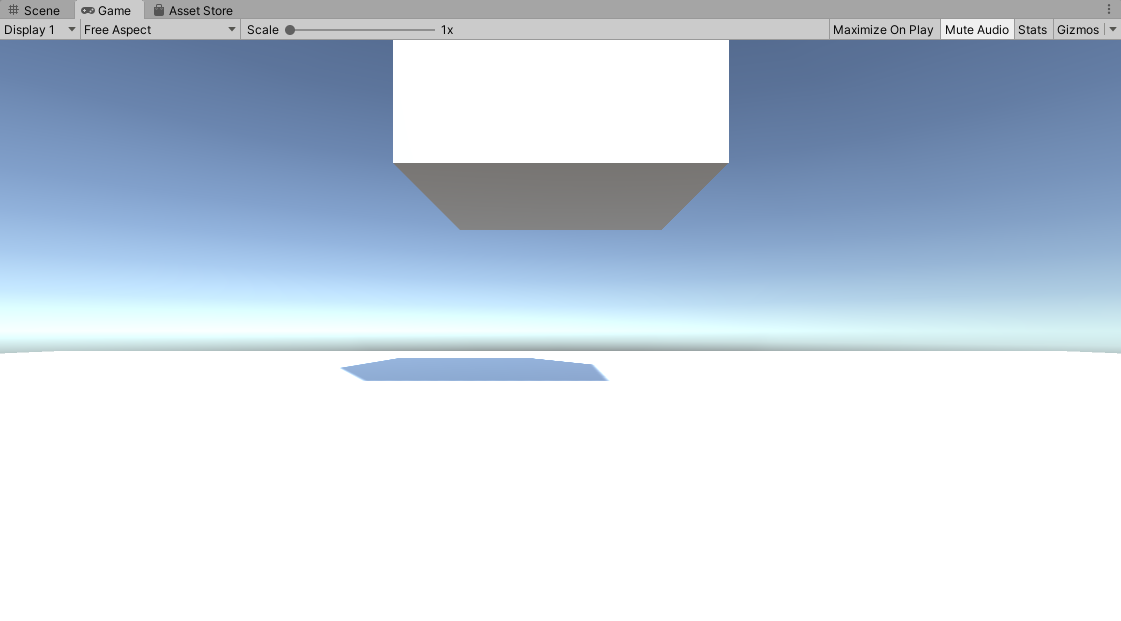
If you were to select the play button right now, you will notice that the box hangs in midair and defies gravity. There is one last step we need to complete before gravitational physics can take place. We need to add a rigidbody to the Cube.
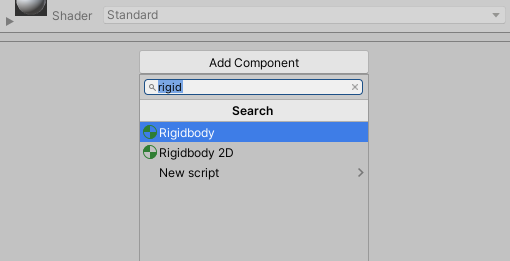
To do this, click on Add Component in the Inspector Pane of the Cube and select Physics.
Now, select RigidBody component.
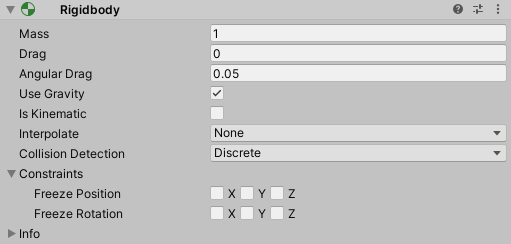
Notice the RigidBody has a few properties that have populated within the Cube in the Inspector Pane. Mass, Drop, Angular Drag, Use Gravity, Is Kinematic, Interpolate, Collision Detection, and Constraints.
Mass should be set to 1, drag 0, Angular Drag 0.05, Use Gravity should be checked, Is Kinematic is unchecked, Interpolate should be none, Collision Detection is Discrete, and Constraints should have nothing checked.
If you click the play button now, the box should drop onto the plane as if gravity were affecting it in real life.
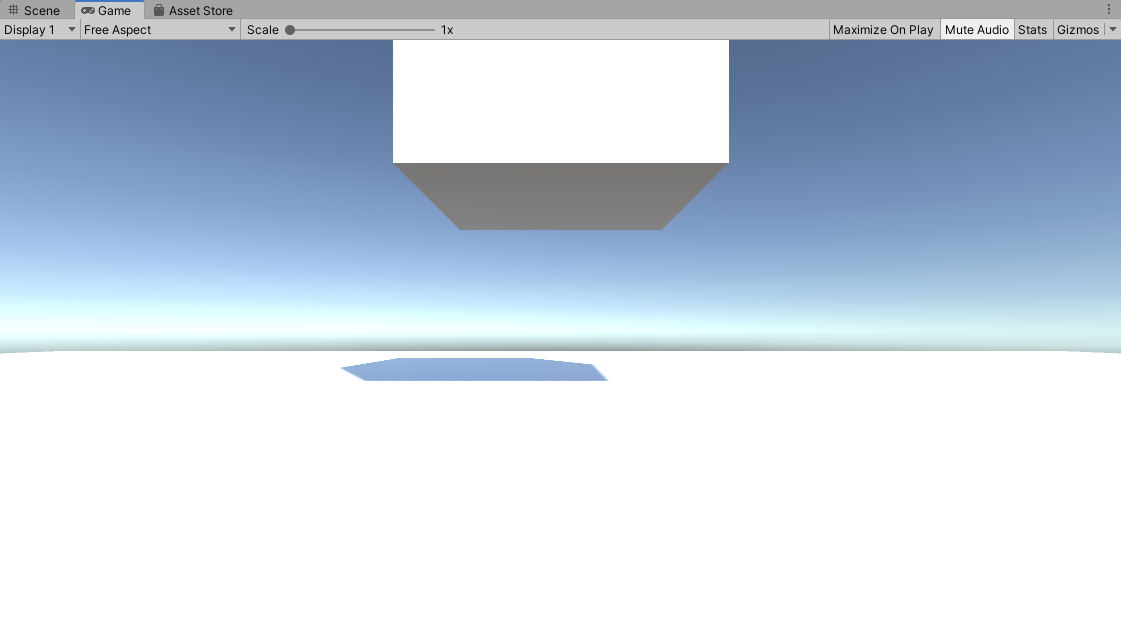
Congratulations, you have now added some rudimentary physics to your game!
As you can see, the basics of 3D game development in itself can be a complex and daunting task. In the near future, we will go into much more depth and create a 3D game which houses all of the elements used within each tutorial that I upload. I hope you enjoyed this tutorial and look forward to the next one, until next time… “May your code be robust and bug free.”
