Today, we will start the deep dive into what most programmers see as the holy grail of game development, 3D games. Unity3D makes it so much simpler than the days of old. You don’t have to build your very own physics engine or guess at how things look in 3D space. Whilst Unity3D does make it easier to do, there are still plenty of things to learn before you jump into 3D development.
Before we get started. I wanted to point out that the 3D models I showcase today were created inside of a program called MagicaVoxel which can be downloaded from https://voxel.codeplex.com/
You can download the source for this project here
[Note: most of my 3D tutorials will be using this program for the assets]
become a professional vr game developer with unity
Pre-Order The Complete Virtual Reality Game Development with Unity and learn to create immersive games and experiences by building 10 VR games. The course assumes no prior Unity or VR experience – We’ll teach you C#, Unity and 3D programming from the ground-up
Check it out on Zenva Academy and get Early Access!
Table of contents
Section 1: Import a 3D Model into Unity3D
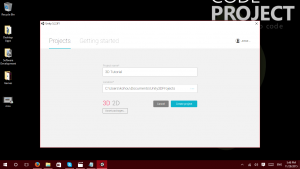
I’m glad you are ready to get started with 3D development with Unity3D. First off, we should go ahead and create a new project. I have named this one as 3D Tutorial. Take care to be absolutely certain you have 3D selected instead of the usual 2D.
Once that it done we need our standard folders inside of the Assets folder. (Scripts, Scenes, Images, Prefab) You can omit Scripts and Prefabs since we will not be using them in this tutorial.
Inside of the images folder, create a folder called “How To”.
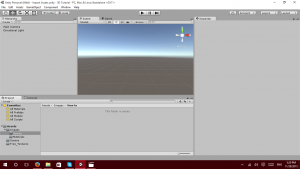
If you haven’t already installed magicavoxel, go ahead and install it now. Next up, open up MagicaVoxel and create a background Model and character Model.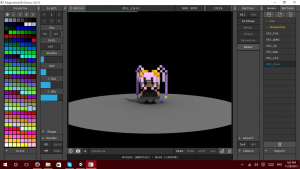
We now need to export the 3D Models. Unity3D works with many formats although a few have some limitations. The best ones to use are .OBJ and .FBX file formats. MagicaVoxxel has the ability to export as .OBJ, Click on OBJ to Export.
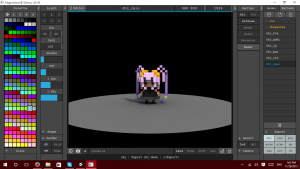
Navigate to the folder where magicaVoxxel saves the files.
[Note: the base location is always within the MagicaVoxxel folder where it is executed from]
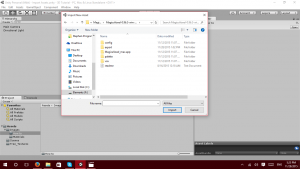
Select the export folder. This is where your exported files are stored.
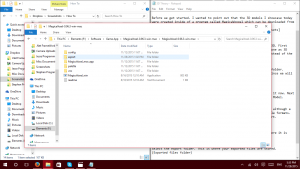
Select the OBJ file and click import.
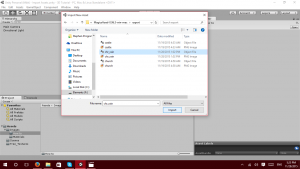
We need to do this for the PNG of the same name now.
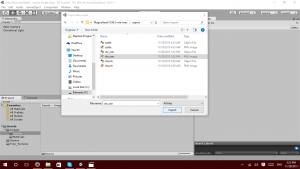
You have now successfully imported a 3D model into Unity3D. Let’s go further and display the 3D model inside of the Scene.
The OBJ file will have a blue square next to it, click and drag it onto the scene view.
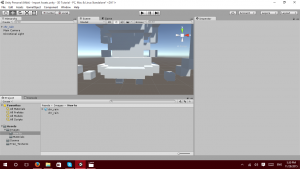
Notice in the Hierarchy Pane, you should now have a chr_rain listed with a minus down box. Click on chr_rain itself. We need to change the position of where she currently stands. We will set Position X to be 0, Position Y to be 0, and Position Z to be 25.
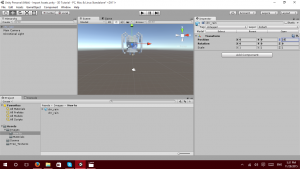
Now, we should change the rotation of the model as well. We want to have her face us. Rotation X should be 0, Rotation Y should be 180, and Rotation Z should be 0.
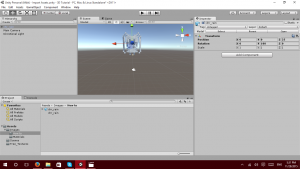
Something still looks off about this 3D model. In MagicaVoxel, she was coloured and in Unity3D she looks like a statue. Remember that PNG we also imported? That is her colour palette. Minus down the chr_rain model in the Hierarchy Pane and select the item inside, which should be called default. Click and drag the chr_rain png file and drag it underneath where it says add component.
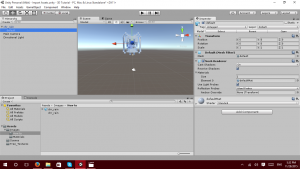
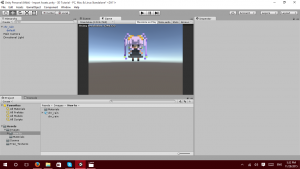
She now has her colour scheme on her. Now, we can click on the game view and see how she would look inside of a game.
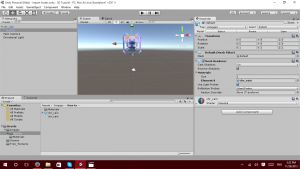
You have now successfully imported and used a 3D model inside of Unity3D. This is the basis for 3D development within Unity3D.
Section 2: 3D Theory
Yes, it is time for some theory. This section will help you further understand what is actually happening behind the scenes in Unity3D.
Not only should you know how the Unity Editor handles the view change and how different components work in 3D space, you should also have a fair amount of knowledge of what the differences between 2D and 3D cameras are.
The differences in how the cameras are used in 3D vs 2D is quite possibly the most crucial piece of knowledge that anyone could impart on a budding 3D developer and thus, I feel compelled to start here.
A 2D camera typically uses X and Y coordinates. Most people innately know this fact, however, what people tend to forget about is the Z axis which is still present in 2D. The Z axis controls rotation. Pretty basic stuff here, but what does this have to do with 3D?
In a 3D camera, it uses the X, Y, and Z axis for quite a few things. X is for left and right movement, Y is for up and down, Z is used for forward and backward movement. To grossly oversimplify, X is horizontal, Y is vertical, Z is depth. However, there is also rotation on all 3 of these coordinate planes.
So, let’s start with understanding how the rotation works on each axis.
X axis: tilts the object forward
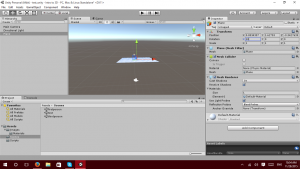
Z axis: tilts the object sideways
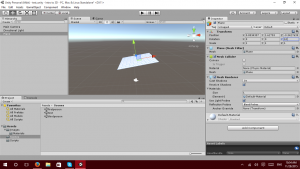
Why is knowing how the rotation works on the three axis’ important?
As a programmer, you don’t always get to choose how your objects or sprites come to you. Typically, the artist will make it for you and then you have to work with how they gave it to you. This isn’t always a bad thing, but suppose the object you get (3D model) is facing away from the camera when you import it. You aren’t going to waste time and have the artist redraw it or re-render it. You will just have to fix it in the scene and create a prefabrication of the fixed rotations.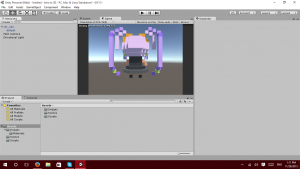
So, in this scenario, If you want the 3D model to face the camera; It is pretty simple to fix. You just rotate the model by 180 degrees on the X axis.
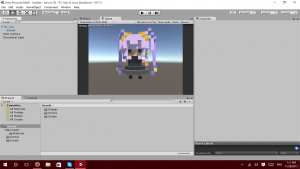
[Note: Unity stores world space rotations as Quaternions internally.]
This may spark the question, “What is a Quaternion and how is it different from degrees or radian?”
This question does not have a simple answer In fact, all of these elements have a bit of math involved. Instead of a math lesson, we will look at the definitions of each of these words.
Quaternion Definition: a complex number of the form w + xi + yj + zk, where w, x, y, z are real numbers and i, j, k are imaginary units that satisfy certain conditions.
Radian Definition: a unit of angle, equal to an angle at the center of a circle whose arc is equal in length to the radius.
Degree Definition: a unit of measurement of angles, one three-hundred-and-sixtieth of the circumference of a circle:
In mathematics, A radian is classified to be more accurate than Degrees, and they are both 1 dimensional. A single radian is equal to 57.2958 degrees.
However, you can easily convert between radians and degrees.
To go from radians to degrees: multiply by 180, divide by p
To go from degrees to radians: multiply by p, divide by 180
To make things simpler, here is a conversion chart between degrees and radians.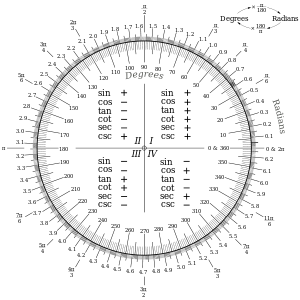
Now that degrees and radians are out of the way. Let’s talk more about Quaternions.
You can easily describe a quaternion as 3D quadrant math. If you were to take a cube and divide it into 4 equal planes, you would have created essentially a quaternion out of it.
If you are interested in the mathematics behind Quaternions, visit here.
He or she does a phenomenal job of explaining the math behind Quaternions.
How do I use Quaternions in Unity3D?
Great question! Let’s look at the turned around voxel character in more detail to answer that question.
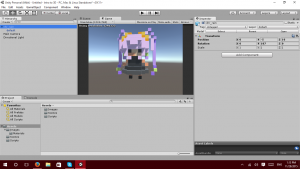
If you look at the Inspector of the voxel character that was imported on the screen, you will notice 3 sets of the X, Y, and Z axis. The first set is for Position. Second set is for Rotation.
Third set is for Scale. To go into greater detail, Position is referencing placement on the screen. These can be set as whole numbers or decimal numbers on both the scale of positive and negatives.
Position sets the actual location on screen of the model as shown below:
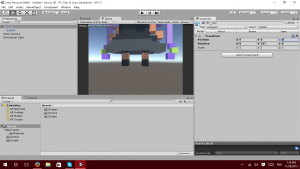
Rotation works the same way, although it only deals with where the model or texture is facing.
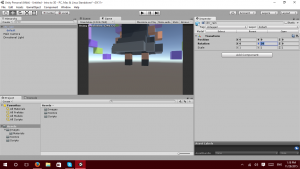
Scale also works in the same fashion, however, it deals with sizing of the model.
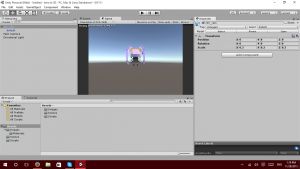
Hopefully you were able to understand the previous point without too many issues. Because now we are going to look at the Camera Component in Unity3D and look at the key difference between the camera component in 2D mode versus 3D mode.
Camera in 3D Mode:
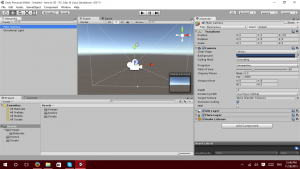
Select the Camera in the Hierarchy Pane, right away the Scene view should show off the camera. It is giving a visual representation of the field of view of the 3D camera. Pretty neat right? Well, look over at the Inspector Pane and we will see in detail on what’s different.
If we look at the projection property, we see it is set to perspective.
[Note: If you change it to Orthographic, it will be in 2D mode]
Field of view is defaulted to 60. Play around with it and you will see the camera zoom in or pan out.
Up next we have the Clipping Planes. It has the property of Near and Far. Play around with it if you’d like. Any object you have on the screen would display differently depending on what you have set. If we change near to be say 5, it will start clipping out portions of the Voxel character. If we change the far to be 10, you will again see portions of the Voxel character be clipped.
Essentially, Clipping Planes sets the distance the Camera will render something.
Viewport Rect has four properties, X, Y, Width, and Height. This is useful when you have 2 cameras on the scene.
Depth by default is set to -1. This again is useful when you have multiple cameras on the scene.
Various 3D Objects built into Unity3D:
Now we can look at the different 3D objects we can create from the Hierarchy Pane.
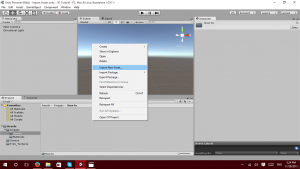
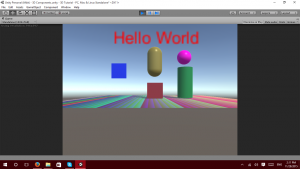
We have a Cube, Sphere, Capsule, Cylinder, Plane, Quad, Ragdoll, Terrain, Tree, Wind Zone, and 3D Text.
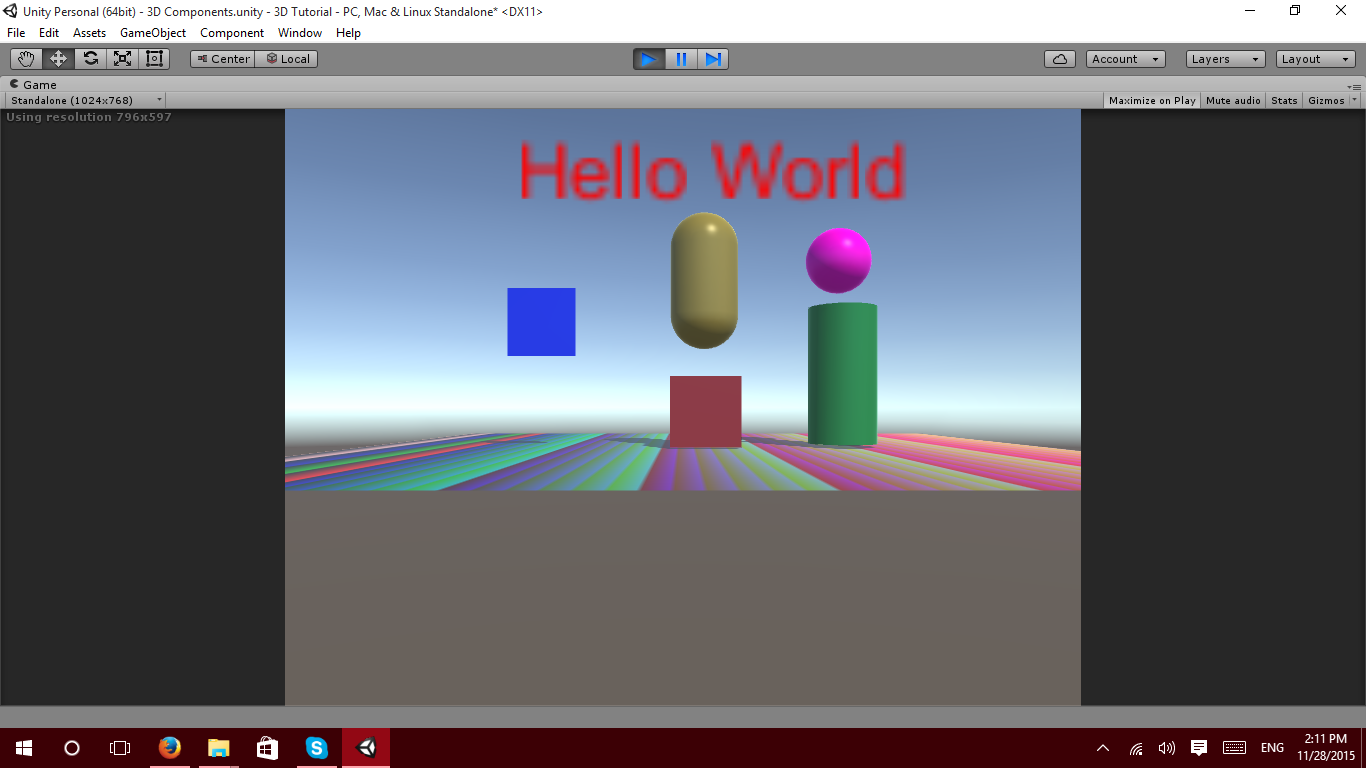
I know I don’t need to explain what a Cube, Sphere, Capsule, Cylinder, Plane, 3D Text, or Quad is; However, Here is a screenshot that shows what they all look like.
Ragdoll 3D object:
Ragdolls make use of Skinned Meshes, that is a character mesh rigged up with bones in the 3D modeling application. For this reason, you must build ragdoll characters in a 3D package like Maya or Cinema4D.
Sorry, No screenshots for this one. I don’t currently have any skinned Mesh or Skeleton Models that I can use for it. However, this will be covered in a future tutorial that covers 3D animation techniques.
Wind Zone 3D object:
A wind zone object can be created directly (menu: GameObject > Create General > Wind Zone) or you can add the component to any suitable object already in the scene (menu: Component > Miscellaneous > Wind Zone). The inspector for the wind zone has a number of options to control its behaviour.
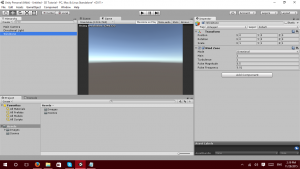
Mode can be set to Directional or Spherical. Directional mode will affect the whole terrain at once. Spherical will blow from within a sphere and defined by the radius property.
[Note: Spherical mode is more suitable for special effects such as explosions.]
The Wind Main property is the overall strength of the wind. Wind turbulence gives a bit of a random variation to Wind Main. Wind Pulse Magnitude is the strength of the Wind pulse and Wind Pulse Frequency is how often the Wind will pulse.
Terrain 3D object:
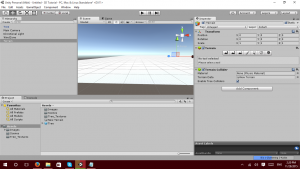
The Terrain is the landscape of the scene you are creating. This feature is extremely robust and will require a lesson of its own to fully explain.
Tree 3D object:
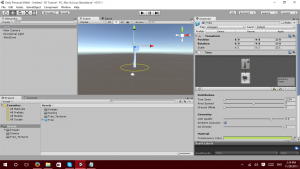
The tree component allows you to “paint” trees onto the Terrain. Again, this will be fully explained in its own tutorial along with the terrain in the future.
I hope this introductory lesson in the 3D side of Unity3D was beneficial for you. There are plenty more 3D tutorials on the way. If you have any questions, comments, or feedback on this tutorial; Leave a comment below. Thanks for reading and “May your code be robust and bug free!”.
