Table of contents
Introduction
In this lesson, we will be adding on to the project we made in the previous tutorial. We will be looking at how to use animation tracks in the Timeline editor. Along with a look at how to add noise to our camera so that we can make things like walking jitter. Then we will finish by an exploration into how to use the Composer on our cameras to get the precise look we are after.
Did you come across any errors in this tutorial? Please let us know by completing this form and we’ll look into it! FINAL DAYS: Unlock coding courses in Unity, Godot, Unreal, Python and more.
Planning our shot
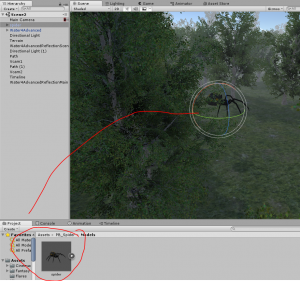
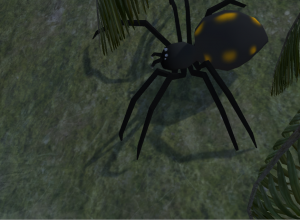
Go to your project tab and drag the spider prefab somewhere in your environment. Where you place it is up to you, I chose to place it slightly above the ground so that it can hit the ground and makes it looks like the spider fell out of the tree.
Let’s take a look at our composition plan again :
2 Shots showing nothing but the beautiful scenery
2 Shots showing a mysterious creature (a spider) by positioning the camera behind trees or tree limbs.
1 Revealing shot (spider is behind a tree or something then the spider walks out from behind the tree) showing the spider walking towards the water
We already have the “2 Shots of nothing but beautiful scenery” so let’s think about how we need to do “2 Shots showing a mysterious creature”. This is the way I did it. The first shot is just a camera that is behind a tree limb and watches a mysterious creature fall to the ground. The second shot had the camera follow the spider as it makes it’s way to the pool of water. The camera doesn’t actually show the spider yet but it moves through the trees with a walking jitter attached to it. Then the “1 Revealing shot” where the camera is behind one of the trees near the pool of water and watches the spider walk out from behind the tree. And it makes sense that the spider would be going to the water because if you have ever noticed when there is a little bit of moisture anywhere in your house, there is usually a few insects or arachnids there as well. Which is why we made the pool of water, just to add that extra bit of realism.
Executing our plan
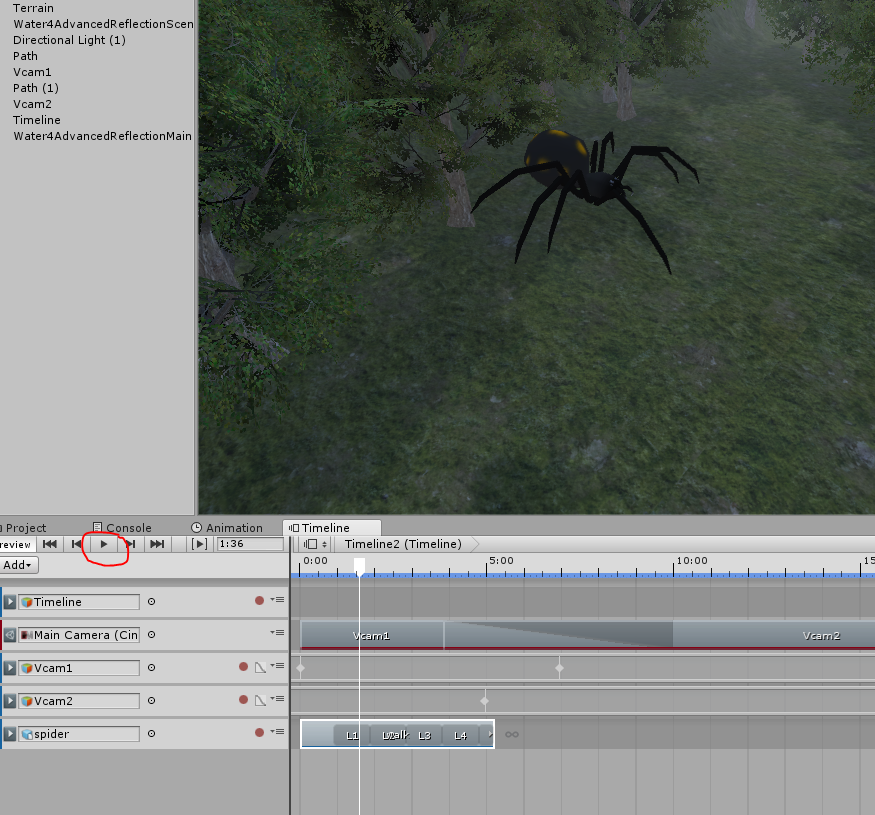
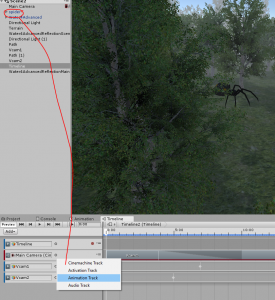
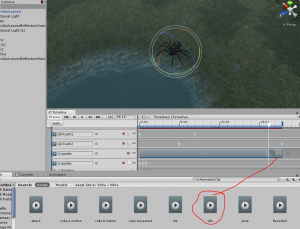
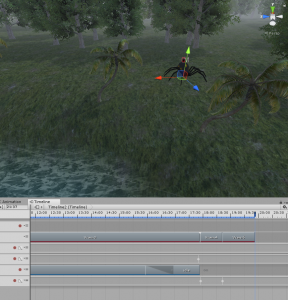
One of the powerful things about this system is that you can choreograph all of the characters and objects without setting up any cameras. All you do is drag and drop and then BAM! Cinemachine does the rest. So with this in mind lets start animating our Spider. Drag our Spider object into the Timeline as an animation track. Now, an animation track is not only for animating game objects but can also be used to play animations. With this in mind, go to your project tab, set the filter to be only animations and then find the “walk” animation for our spider.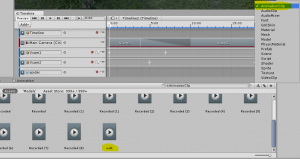
Then drag that clip onto the newly created “Spider” animation track. This is a very intuitive way of playing animations, the game object will play the animation for the length of the clip.
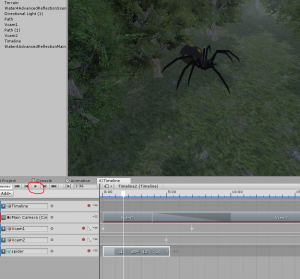
And you can drag it out in order to loop the animation. If you preview this animation you will notice that the character is just walking in place, now you may be thinking, can’t we use root motion to make the Timeline move the character for us? Well, yes and no. Yes, we can use root motion to move our character but we cannot play any other animations besides that one animation. I guess we technically could but it looks really weird whenever we do (not sure what “root motion” is? check out this other tutorial on Game Dev Academy on the Unity Animator: https://gamedevacademy.org/unity-animator-tutorial/). When we use root motion it will play the one animation (say the “walking” animation) and then if we wanted to play another animation (like the “Idle” animation) it would go back to the place the character was before it started walking. So, because of that fact, we have to do all of the “moving” of the character by ourselves. Which is actually really good because we can make very specific motions which is what we need for this project. Drag in the Spider again as an animation track, this will be the transform animation track.
Hit record and start animating. Make the Spider hit the ground and then start moving toward the water. The Spider’s motion to the water can be very rough since we will be adding the walking jitter to the camera. However, when the Spider gets close to the water you’re going to have to make the forward motion match the walking animation since the camera is going to be pointed at the Spider. And make sure that when the spider is just standing doing nothing that the “Idle” animation is playing. Just like how you can blend virtual cameras together, you can also blend animations together by dragging two clips on top of each other. Use this fact to make a nice smooth transition from the walking animation to the idle animation once the Spider has reached the water.
Once you have a pretty good “Spider getting water” action you are now done with the middle part of our plan and you are ready to start setting up virtual cameras. Create an empty game object and call it “Vcam4”. Position it near the Spider and place it behind a tree branch so that it covers most of the Spider. Then assign the Spider to the Look At field on Vcam4.
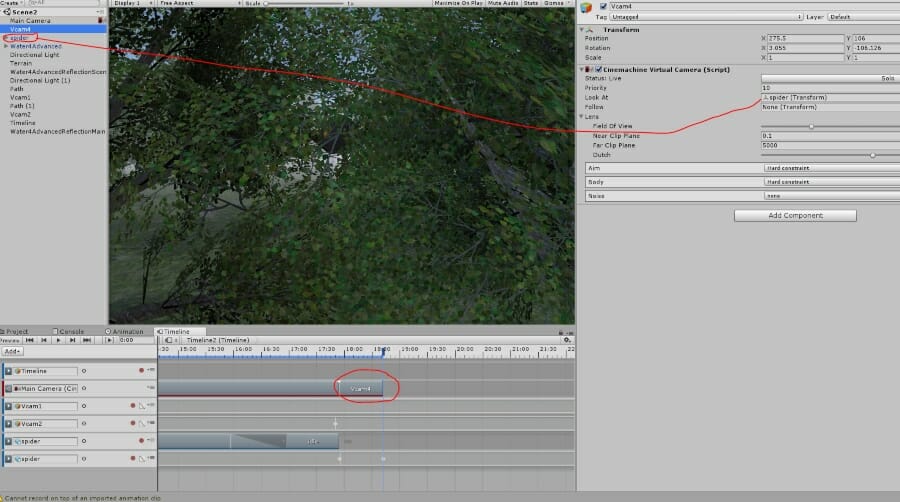
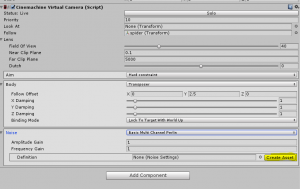
Vcam4 is now set up so we can create a new Cinemachine Shot Clip with Vcam4 attached to it. Set the length of the clip to be the length of the Spider falling and hitting the ground, basically right before the Spider starts walking off. Now let’s create Vcam5. This is a very different type of virtual camera though, this is the one with the walking jitter. First, we need to assign the Follow field on Vcam5, I think you can guess what we need to set it to, the Spider! In the Body drop-down on Vcam5 set it to Transposer, this will allow us to set a follow offset. Assign a value to the Follow Offset Vector3. Just position it so that the Spider isn’t shown. Now we need to create the walking jitter or “noise” as it is called. The way we do this is to create something called a “Basic Multi-Channel Perlin” noise definition. Then from there, we can set the noise on the Y, X, and Z axis. In the Noise, field set it to Basic Multi-Channel Perlin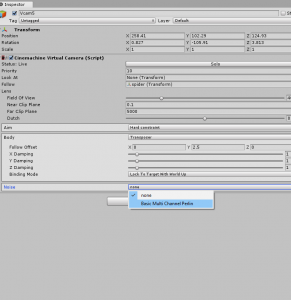 and then click Create Asset.
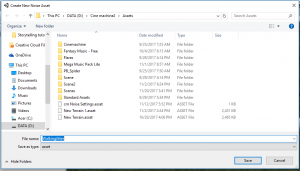
Let’s call it “Walking Jitter”. And since we won’t have any more of these kinds of files we can just keep it in the root folder (i.e. the “Assets” folder).
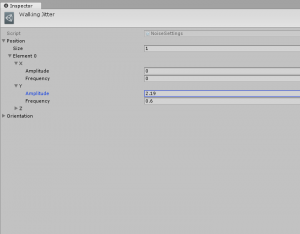
Click on the newly created noise file and set the Position array to one. There are two types of noise that Unity gives us the option to edit. The Position and Orientation (or rotation) of the camera. In this case, any rotation while the Spider is walking would be very distracting so that is why we used the Position array. If you open up the Position array you’ll notice it gives the option to change the noise on all of the axes. Let’s just keep it simple and have the camera bob up and down, that would mean that we would need to change the value on the Y-axis. Unity gives us two values to change when it comes to adding the noise., “Amplitude” and “Frequency”. “Amplitude”, in the Y-axis, is how high or low the camera will go. If you change this value you will notice (with Vcam6’s view in the game tab) that the camera will move down if it is a positive value (who knows why) and up if it is a negative value. So set this value for whatever look you are after.
If you decrease the Amplitude and increase the Frequency then it will look like a small and fast creature is approaching the water. If the values were switched (Amplitude increased and Frequency decreased) then it would look like a big and slow creature is lumbering towards the water. Just be careful when it comes to changing these values since the camera can fly through the ground in some places! Now let’s create a new Cinemachine Shot Clip. Set the length to be about when the Spider is a few steps behind the first tree. This will allow the “one revealing shot” to be from behind the tree as the Spider walks out from behind and into full view of the camera.
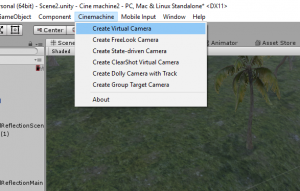
Once that is set, all that we have to do now is set up Vcam6, the camera that has the “one revealing shot of the mysterious creature”. Instead of creating the camera like we have been doing (creating an empty game object and then assigning a Virtual camera Component to it) I will show you a different way of adding Virtual Cameras to your scene. On the top bar, right next to the “Components” option, you will find a set of options under “Cinemachine”. One of them is “Create Virtual Camera”. This is very self-explanatory, this will create a new virtual camera.
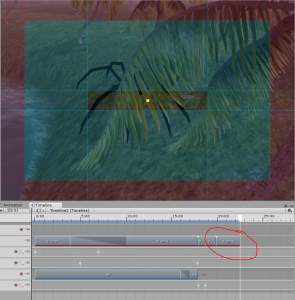
We won’t be looking into the other options in this tutorial but maybe, sometime in a future tutorial. The new virtual camera is named “CM vcam1” so let’s rename it “Vcam6” to be consistent with our current naming system. Now we need to find a good place to put it. I chose to put it in a tree near the water but feel free to do it however you like. Then we need to assign the Look At field to the Spider. If we hit play and have a look, you’ll notice that the camera’s movement is kind of jerky. This may not be the case for everyone’s camera but it certainly was the case for me. The way we fix this is by setting the Aim type to be Composer. This will allow us to determine how aggressively the camera will track the game object in the Look At field.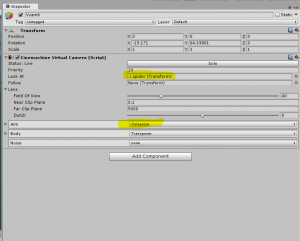 Notice there are three areas to the guide. The clear part is known as the “dead zone”. This is where the camera will do absolutely nothing about it’s transform if the game object is in this area. The blue part is known as the “soft zone”. If the game object crosses over from the dead zone into the soft zone the camera will slowly try to orient its self to try to get the game object back into the dead zone. The red part is known as the “Bias”. This doesn’t allow the game object in the Look At field to cross into its self. No matter what, the assigned game object will never go beyond this. This would be useful to change if you have a particular game object that moves fast in on direction. You would add more “Bias” in the direction the game object is prone to go. So with all of these settings and options in mind, edit the guide so that you get the exact “revealing shot” that you want.
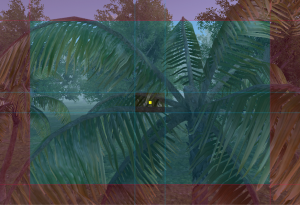
If you click and drag on the dead zone you can actually change the orientation of the camera so that you can get the exact look your after. Once you have that let’s create a new Cinemachine Shot Clip for Vcam6. This one will have no blending so just place it right after Vcam6. Make the length to be when the spider has been idling for about two seconds after it has been “revealed”.
Reviewing our composition
We have now reached the end of our plan so without further ado, let us take a look at it.
Wow! That looks amazing! All without a single line of code! Congratulations on completing this tutorial series!
Summary
Well, we come to the end of an exploration of Cinemachine and the Timeline Editor. We have only covered a small part of this system but as you can see this is a very powerful tool, even with as little as we did. My encouragement to you is to keep exploring this system. Start investigating the things we didn’t cover in this tutorial. Things like Custom Blend Settings and Group Targets, to name a few. The only limit to this system is your imagination. And as always,
Keep making great games!
