You can access the full course here: Unity Cinemachine for Films and Games
Table of contents
Part 1
Welcome to Zenva’s Unity Cinemachine for Films and Games course. Throughout this course, we will learn how to use Cinemachine to create dynamic cameras and scenes.
Installing Unity
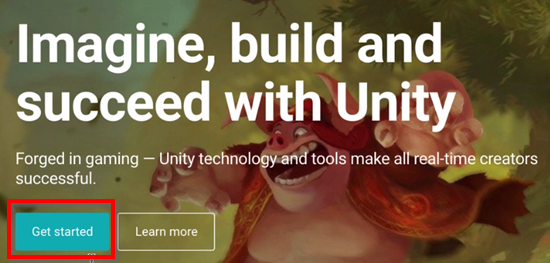
To start, we of course need to install the latest version of Unity from its website: https://gamedevacademy.org/what-is-unity/ You can get to the installation page by selecting Get started. Here you will be presented with numerous plans, but the one we’re interested in is the free, personal plan. You may take a look at the other plans, however, to see if you are required to accept those plans instead.
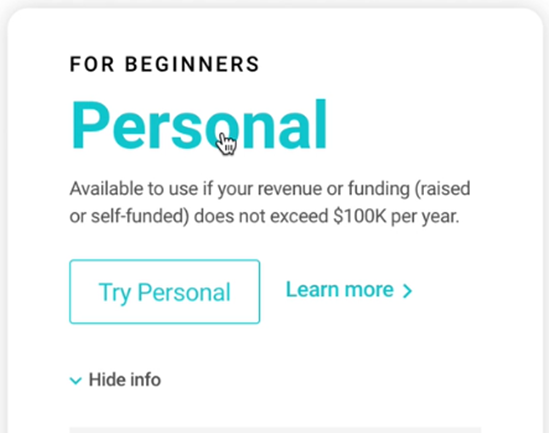
Hitting Try Personal, we can reach the final download page and download the installer. Once downloaded, you can locate the file and double click it to install it.
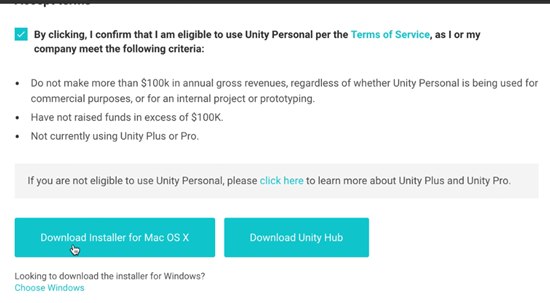
(Note: Your OS should be automatically detected for you on the button).
The installation process is straight forward, but you may want to pause when you reach the components section. In this window, you want to make sure to get both Unity and Visual Studio (if you don’t already have Visual Studio). Under these options are options for platforms. Depending on what platform you intend to distribute your game on, you need to make sure to install the appropriate platform materials. For example, if you were making a mobile game, you’d probably want to select both the Android and iOS Build Support options.
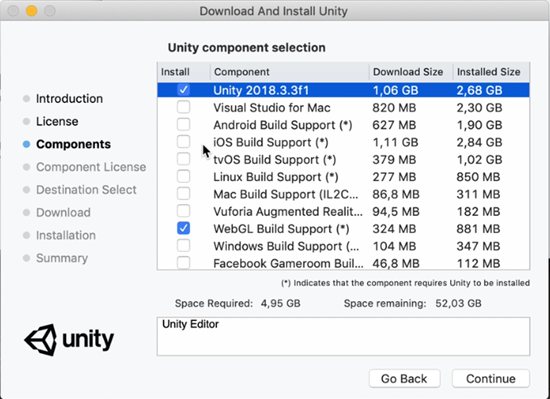
For our purposes, we’re only going to get WebGL and finish up the installation process.
In the next lesson, we’re going to set up our project for the course.
Part 2
In this lesson, we’re going to set up our Unity project.
Project and Screen Setup
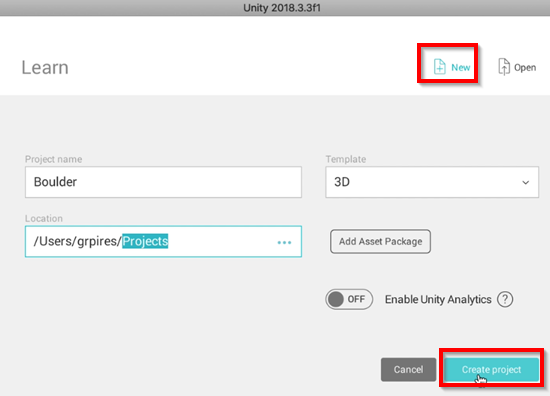
Assuming you’ve successfully installed Unity, we can now open it and select New to create a new project. We will call this new project Boulder and use the 3D Template. As for the location, you can choose whichever folder you want to use to organize your projects. Afterwards, we can create the project.
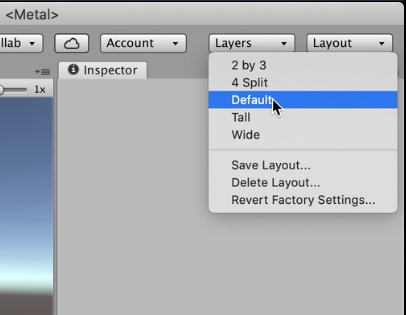
Once the project loads, we’re going to start by selecting Layout in the top right corner and selecting Default. This will ensure that our setups are the same so it’s easier to follow along.
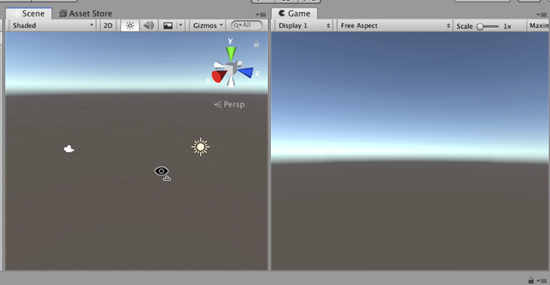
Afterwards, we’re going to take the Game view window and put it to the right of the Scene view window. This will make it easier to see both at the same time.
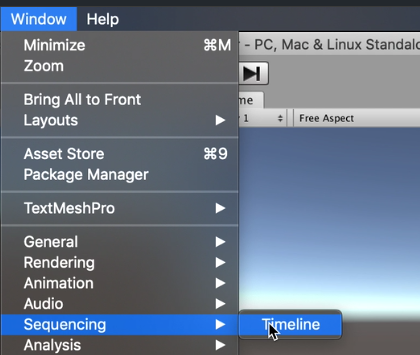
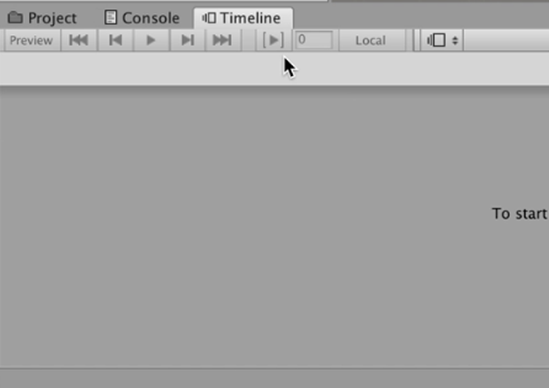
Last but not least, we need to get ourselves the Timeline window since we’ll be using it along with Cinemachine. From the Window menu, we can locate the Timeline option under Sequencing. This will add the window to our project next to the Scene view. To make it more convenient to use, we will move the window next to our Console and Project views.
Getting Cinemachine
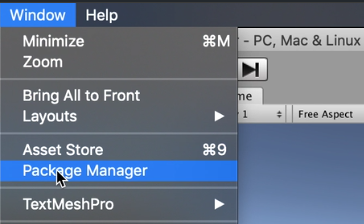
The next step we need to take is to actually add the Cinemachine package to our project. From the Window menu again, we can hit Package Manager to open up the package manager. From here, Unity will show the packages we already have and the packages that are available to us for install. Of course, we want to select Cinemachine and install it.

This should set up the files in the packages folder. Fortunately, Cinemachine is set up in a way that many things can be done directly from the editor without us needing to code anything. This makes it easy to create beautiful camera setups for both games and animations.
Getting Free Assets
The last thing we need for our project are assets that we can use to play around with Cinemachine. To get these, we need to head into the Asset Store window and search for “standard assets”. From this search, you should find some free ones by Unity Technologies. We can open these up to Download and Import them into our project.
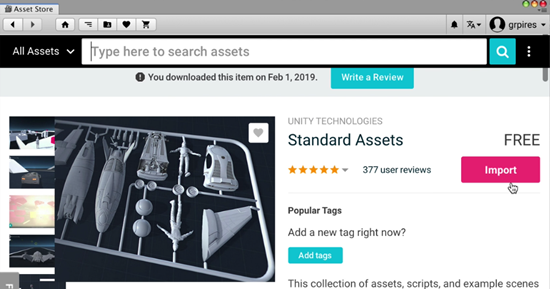
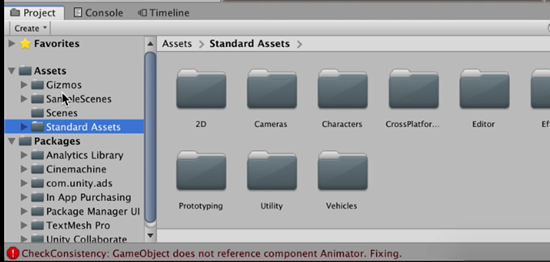
It will take several minutes, but once the Import is finished you should see the Assets appear in the Assets folder of your project.
We have all that we need to get going, so in the next lesson we will start building a simple scene.
Transcript Part 1
Hello everyone, how are you? My name is Glauco Pires and welcome to the Cinemachine Course. In this course we’re going to learn how to use one of the best tools available into making nice camera effects.
And this is what we’re going to learn to do in this course, it’s called Boulder Trouble. We just have a simple sphere, simple boulder, just falling down a mountain and we’re going to have multiple camera effects that are going to give some smooth transitions and nice looks, like a camera that looks really closely at the sphere, another one that is more versatile that can just navigate around, and other cameras that can do things like focusing on two objects at the same time, like the sphere and the lake. We could talk about four or five different camera effects and they are kind of, pretty much the best things that you can have, the best tools that you can have to make these effects.
And we saw a demo of the game here in this game window but you might want to see how that’s happening behind the scene.
We have the scenario and we’re going to have multiple cameras being used here, so as the boulder falls down using Minute’s Physics simulation, we can see our camera just travelling around our scenario, just changes positions, changes angles always focusing at the sphere. And it can also follow a track like this one and then switch to other cameras as well. If you work to do this programmatically by writing lines of code, you would have to do a lot of complicated things but with Unity you don’t have to touch any C-sharp or any scripting language, it’s just a matter of positioning elements and selecting the right settings to have all of these effects up and running.
I’ve been working with games for more than 10 years and I’ve learned how to work with tools like Unity, like Unreal Engine, I worked with JavaScript games, so I have a lot of experience and I’m going to share that with you in this course. We’re going to learn how to make these interesting things.
So I hope we’re excited to start this, and that I see you in the next video where we’re going to do a little review on how to install Unity and get all of the tools that we need to make all of this to work. So I’ll see you soon.
Transcript Part 2
Hi there. So the first step we have to take in case you don’t have Unity installed already is to head over to the unity3d.com website and download the latest version of Unity. Depending on when you’re watching this course, there might be minor differences here and there like where certain options are, where certain windows are, but the underlying knowledge for making the things we’re going to learn in this course is pretty much the same throughout time. So we want to get stared here in Unity website. It’s going to take us to another page where we can select the version of Unity we want to use.
We can either get the Plus one which is $25 a month, Pro one, but we also have the Personal, which should be perfect for you. You don’t have to worry, there’s no need to pay anything right now if you’re just learning, if you’re not making a huge revenue with Unity-made games, or other games, then you can just head over to the Personal version. Just make sure you take a look on the conditions to see if you are entitled to this, but you probably are.
We need to click on Try Personal, and once we hit here, you need to read the Terms of Service, agree with them if you of course do, and then you just download the installer. It’s a pretty straight forward process, just download Unity and then it’s going to appear in your Downloads folder. You’re just going to open it here, and then you’re going to see this file, UnityDownloadAssistant. It depends if you’re on Mac or on a Windows, it really doesn’t matter, the installation process is pretty much the same.
You just double-click the file, it’s going to wait for a few seconds, going to open the installer, and it’s from a trusted location, it’s from Unity website, and after the assistant opens, we are just going to continue, agree with the license, if we do, then you have to select the components. Now here is a good moment for you to review everything you need. The first thing you need of course is the Unity tool, so we want this to be checked. If you already have Unity, you probably have Visual Studio installed along with it, so if you want to do any sort of coding, make sure that this is checked, all right. And depending on where you want to distribute your game, you have a few options of platforms here.
We have iOS and Android, which are the leading mobile platforms. You can enable these two if you want to make some sort of video or a game with scene machine in these two platforms, and WebGL as well, which should be selected here because it can just distribute them to whoever you want to watch your video in a desktop device.
So after you’re done selecting these, you’re just going to hit Continue, the installation process is going to continue and we’re going to head over to the next lesson where we’re going to set up our first project, so I see you there.
Transcript Part 3
If you have reached this part of the course then it means Unity has already been installed. What we have to do is to create a new project to try Cinemachine’s features.
First of all, I’m going to hit the New button. Then I need to change the project to Boulder. Let’s start with the 3D template as we are making a three-dimensional game. It does not need to be two-dimensional. The location of the project is going to be a Projects folder inside my Home folder. It doesn’t matter if you are on a Mac or in a Windows computer. It’s important for you to make a Projects folder and put all your projects there.
Just to make sure things are properly organized, you’re going to leave Unity Analytics disabled. We set that to Off, and after that we’re just going to hit Create Project. After a few seconds Unity is going to load and we should be able to start working on learning Cinemachine. We are, however, going to talk about an initial setup process because if you just start a new project in Unity, there are no assets there. There is nothing slightly beautiful that you can do right out of the box.
What we can do is to get some assets provided by Unity, which are free to use, okay. There is no third-party restrictions in that situation. Use these assets and learn a lot of what there is in Unity without having to download many things from the Internet. You can of course get your own assets later, like your own files, your own maybe effects, maybe a sun effect, maybe some water. There is a lot that you can do, but right now we are just going to start using Unity’s default stuff.
First of all, let’s make sure we start with the same layout from my side and your side. I need to click here on Layout and choose default so we are reset to this mode here where we have the Scene, the Game window, and the Asset Store. I’m going to select the Game window and move it to the right and align them like this just so it’s easier for us to see the simulation that I’m going to do in the scene that we have here. We also want to make sure that we select Window, then Sequencing, and finally, Timeline.
We are talking about Cinemachine here, so Timeline is a special ally for you to making what we want to achieve here. It’s important to work with this feature that has kind of been introduced really recently in Unity less than two years ago.
Okay, in the Project folder we just have the Scenes window, which is fine, and at the Packages there are some packages that were already provided by Unity. Package Manager, TextMesh Pro, but since we are talking about Cinemachine, we want that package to be included here. To do this, we need to find where that package is. We go to the Window, select Package Manager, which is going to open here which is going to show the packages that you have installed. Unity is going to show a list of other packages that you can get from them and you notice that one of the options is Cinemachine.
Okay, as it says here, it’s smart camera tools for passionate creators. You can do great effects in your game or in an animation that you want to make. It’s important for you to understand that this works for both animations and for games. It just makes everything look much more beautiful. It just looks gorgeous to use these camera effects.
Once we have Cinemachine selected here, I’m going to hit the Install button. In case you don’t have it already, you’re going to download it. We just hit Install. It’s going to extract all the assets. It’s going to import them here to Unity to this Package folder. Once you are installed and up to date, notice that I’m on version 2.2.8, you’re going to see here that Cinemachine has been installed. Right now there is no need for you to worry about what these files are because one of the things Cinemachine wants you to do is not to code at all.
We can do a lot of things by just using the Unity Editor, the Inspector, we can change some properties, some components, some assignments and references to game objects. And just do everything in really quick and easy way. You notice that I’m not going to talk a lot about concepts in this course. Not in the sense, I want to explain things to you, but I want to show them to you as quickly as possible. We need to change properties or we need to see their effect here in Unity and learn in this process.
We have Cinemachine here, but we don’t have anything to add to the scene right now. Okay, it’s completely empty. What we want to do is to import the full asset package that we have in Unity. This was already here in Unity’s previous versions and Import Package, but right now it’s not in Unity’s version. You have to manually download that from the Asset Store. It’s important for you to open the Asset Store here. I’m just going to open this window.
We want to download the Standard Assets Package from Unity. I’m going to put standard assets and search for it. You’re going to see that one of those is provided by Unity Technologies which is the one you’re looking for. We’re going to open that, and it’s a free package. If you don’t have it, download it. You’re going to download it, or in my case, since I already have it in my computer and in my cache, I can just click Import and add all the assets here. All of these assets, the SampleScenes and Standard Assets folders that we have contain lots of different props that we can use. You can see a few images here, a few characters and spheres. There is quite a lot that you can play with with these Standard Assets.
We’re just going to import and use them. This package might take a while to import, like, a minute or two, but once it is complete, we can already work with what we have here. With these two things installed here, we’re going to head over to the next lesson where we’re going to start building and looking at a very simple scene.
Interested in continuing? Check out the full Unity Cinemachine for Films and Games course, which is part of our Unity Game Development Mini-Degree.
