Table of contents
Introduction
In mid-2017 Unity Technologies announced a new storytelling system. This system allows users to construct beautifully choreographed compositions without writing any code. No doubt it would be a game changer. The two main features they shipped were Timeline and Cinemachine. In Timeline you can compose actions, such as character animations, as if you were a movie director. With a simple drag and drop way of constructing, Timeline alone would have changed the industry. But Unity Technologies didn’t stop there. They created Cinemachine, a brand new way to control your cameras. With Cinemachine you can make your cameras follow an object, follow a track, orbit an object, and much more all without a single line of code. This system of cameras allows for such advanced camera manipulation that Adam Myhill, head of Unity Cinematics, calls it the Inverse Kinematics of cameras. Now with such a powerful system, one can only cover so much in a single tutorial. So in this tutorial, we will work on a project that will combine Cinemachine and Timeline by using something called Virtual Cameras. Let’s get started.
Did you come across any errors in this tutorial? Please let us know by completing this form and we’ll look into it!
FINAL DAYS: Unlock coding courses in Unity, Godot, Unreal, Python and more.
A form of art
Now, when it comes to a tutorial on a storytelling feature I can only teach how to use the tools, the rest is up to you. It is an art form. And I can’t teach you how to tell a story. I can only show you how to visualize an idea that you already have in your head. So as you read this tutorial, observe how to use these tools to make your own stories. With that said, I will be showing you how to make a project that is sort of like a trailer for a survival game.
Importing the assets
Let’s create a new project. Give it a sensible title. Something like Cinemachine would be good. Create a new folder called “Scenes” and then create a new scene in that folder. Let’s just call it “Scene” to keep it simple.
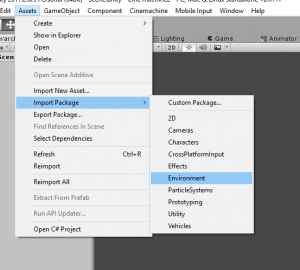
Now we need import the environment assets so go to Assets -> Import Package -> Environment.
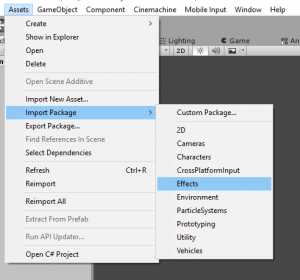
And let’s also import the Effects package since we can get some nice lens flares from that package. So go to Assets -> Import Package -> Effects and import that along with the Environment package.
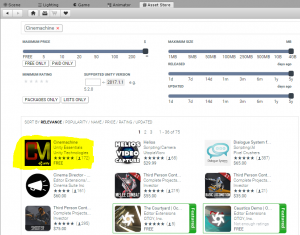
Once that is done we need to head to the asset store. First, we need to get Cinemachine. Cinemachine is still in kind of a beta format (but all of the features are fairly bug free) so that is why we need to get it from the asset store. So just search Cinemachine and it should be the first on the list. Click on it and then import it.
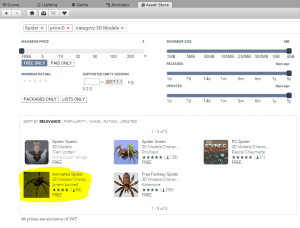
Now, for this project I chose to use a spider as the enemy character but if you have another enemy that you would like to use feel free to use that instead. To get the spider that I used just search “Spider” in the search engine and set it to “free only”.
This is the one we will be using so let’s import that. Okay, we now have our assets imported! Let’s set up our environment.
Creating the environment
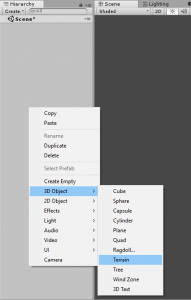
Let’s create a new terrain.
Make it about 300×300 in size to save on memory.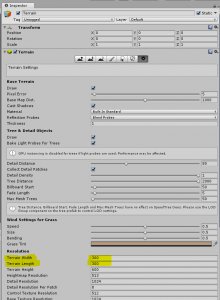
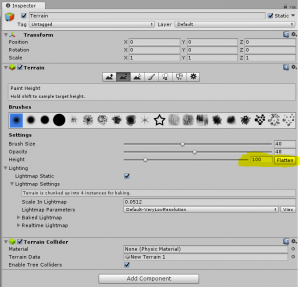
And flatten the height so that we can create pits in the terrain.
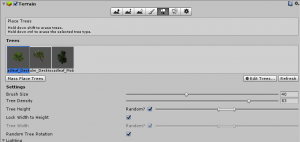
Then we need to add in the trees and the ground textures. I used three types of trees, the “Broadleaf-mobile”, “Broadleaf-Desktop”, and the “Palm tree” but feel free to use whatever trees you like.
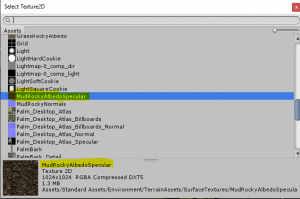
Then we need the textures. I used the muddy,
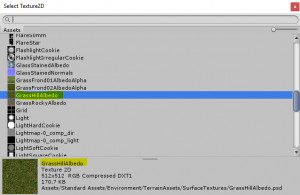
grassy,
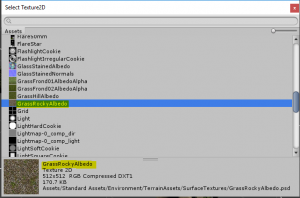
and rocky textures.
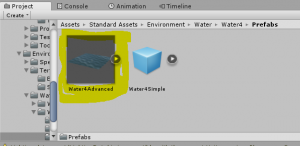
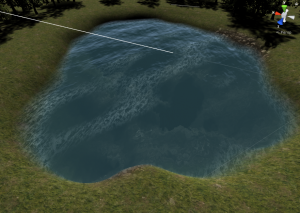
Now is the time to get creative. Go ahead and sculpt and texture your terrain to be however you would like it to look. A few things that we need on our terrain though, a mountainous border (so that it doesn’t look like just a flat terrain), some trees (perfect for hiding spiders), and a pool of water. The water mainly because it makes the landscape look nice (and because spiders need water too). To create the pool of water you just hold down Shift and then drag across your terrain to create a pit. Then find one of the water prefabs (I used the Water4Advanced)
and position it so that it will fit in the newly created pit.
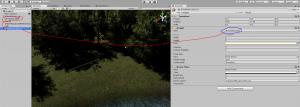
In fact, you can even add more than one water pool if you would like. Now we need to add the sun flare. On your Directional Light add a Lens Flare component and assign one of the imported lens flares to it.
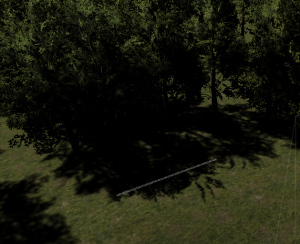
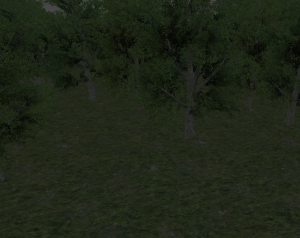
I decided to use “50mmZoom”. Enable “Directional” and then you should be able to see it when you hit play. Next, we need to fix the lighting. Notice how the shadows from the trees are almost completely black.
The way to fix this is to duplicate your Directional Light and set the newly created light to an Area light.
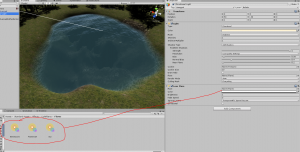
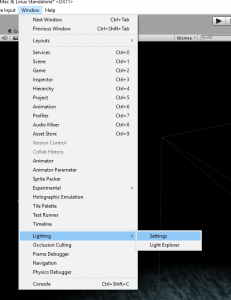
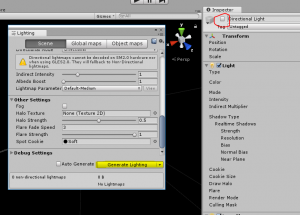
Disable the old Directional Light and then bake a lightmap by going to the lighting window
and clicking “Generate Lighting”.
Now there shouldn’t be any shadows at all
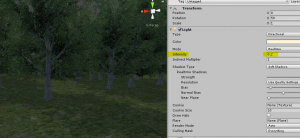
which isn’t quite what we are after either so enable your old Directional Light and set the intensity to about 0.2.
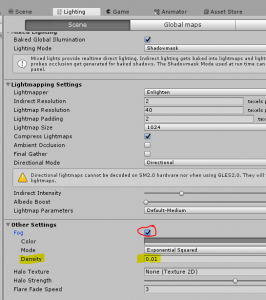
This will produce very soft shadows which are perfect for our type of project. Let’s add fog just to give it that extra bit of ambiance. In your lighting tab, enable fog and set the density to less than 0.1 which may sound small, but it actually adds a nice mysterious feeling to the environment.
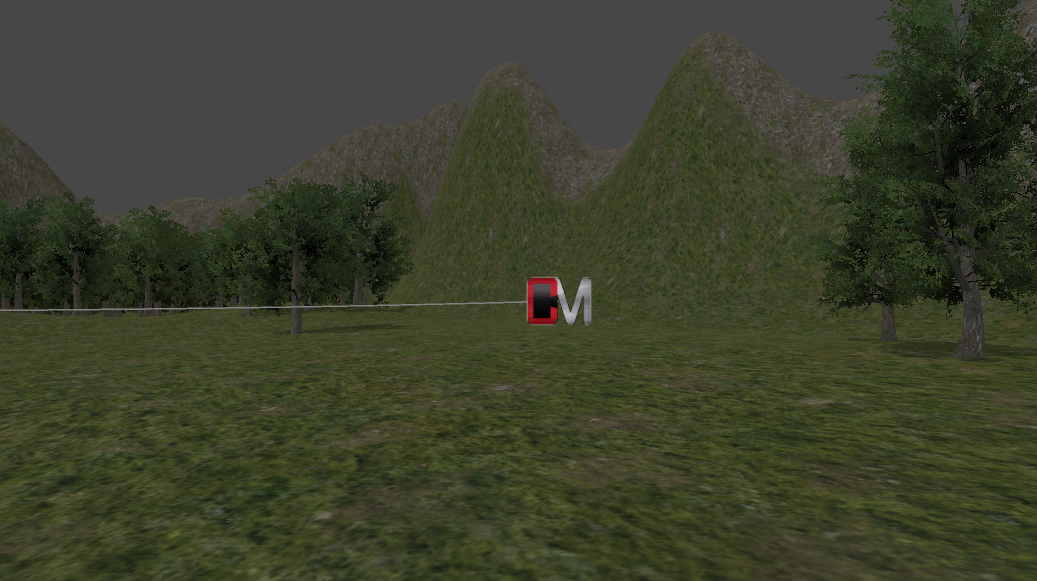
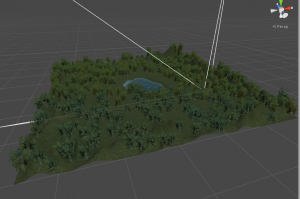
My terrain looks like this:
Okay! So we have now set up our environment and we can now start planning our shot!
Planning our composition
Before we start adding cameras and objects into the scene we need some sort of a plan as to how we will execute this. Just as no movie director starts recording without the screenplay, so we must also have a sort of “screenplay” before we start composing. Let’s think about what we are making. A game trailer for a survival game. To be more specific, there are spiders that run around in a wooded environment and the player has to survive as long as he can without getting eaten by the spiders. Now the wooded environment provides a kind of beautiful scenery but it also can conceal venomous spiders. Once again, this is all personal preference but I think it would be entertaining to accentuate this fact. As such, a good way to compose this would be like this:
2 Shots showing nothing but the beautiful scenery
2 Shots showing a mysterious creature (a spider) by positioning the camera behind trees or tree limbs.
1 Revealing shot (spider is behind a tree or something then the spider walks out from behind the tree) showing the spider walking towards the water
So that’s our composition! Let’s get started on creating it!
Executing our plan
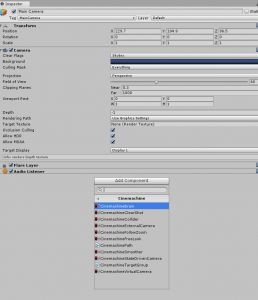
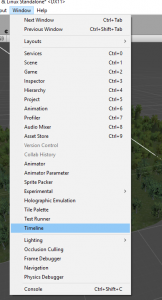
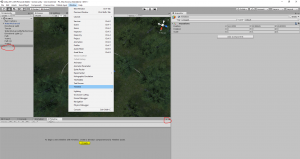
Let’s work on the first part of our composition. But first, in order to use the Timeline, we have to find the window and add it to our layout. And in order to use Cinemachine, we need to add a Cinemachine Brain component to our Main Camera. Go to Add Component -> Cinemachine -> Cinemachine Brain.
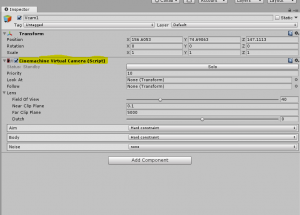
Now, right click on your hierarchy and add a new empty gameobject. Name it “VCam1” and add a Cinemachine Virtual Camera component onto it.
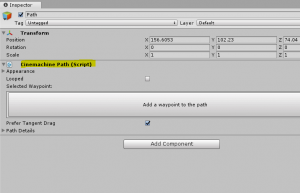
This is how Cinemachine works, the scene has only one Camera but several Virtual Cameras, and it interpolates the Main Camera to any of those virtual cameras to make the Virtual Camera an actual camera. Now create another empty gameobject, name it “Path1”, and add a Cinemachine path to it.
This is pretty self-explanatory, it is a path that the virtual camera will follow.
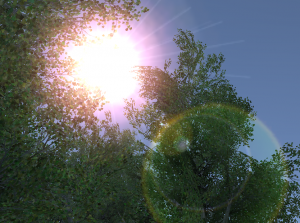
So, my idea when it comes to “Showing nothing but beautiful scenery” is that we have one shot where the camera follows a path through the woods then turns up to the sky to show the sun. And the sun, of course, will have a lens flare. Position your virtual camera somewhere in the woods and then put Path1 where the virtual camera is. An easy way to do this would be to make Path1 a child of Vcam1 and then resetting the transform of Path1 so that it rests exactly on the position of Vcam1.
Now, the way we have our camera move through the woods and then look at the sun is by having two cameras, one that follows a path through the trees and another that is also following a path, but looking at the sun through the trees. So let’s start by creating the first path. With Path1 selected, add a new waypoint and begin drawing out a short trail through the trees.
Once you have a nice path, create another path (by creating an empty gameobject and then assigning a Cinemachine Path component to it) a little further ahead of Path1. This will be the path for the second camera that is looking up at the sun.
Okay! We now have two paths, now we just need two cameras to go with them. Which means we have to create another Virtual Camera (called “Vcam2”) preferably at the position of the second path (which should be named “Path2”). This Virtual Camera needs to be looking at the sun so drag the Directional Light with the lens flare into the “LookAt” field.
You may need to reposition the Directional light so that it is roughly at the same position as the sun. Now we can get to the Timeline Editor. Add the Timeline tab to your workspace and lock the window so that we don’t lose it.
In order for us to use the Timeline, we need a timeline gameobject. Create an empty gameobject called “Timeline” and then hit the create button in your Timeline Window.
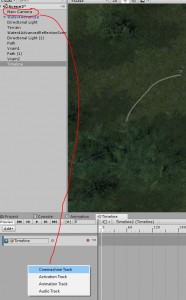
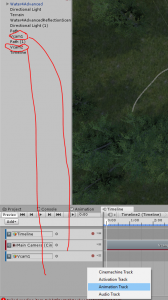
This will create a new timeline on that gameobject. For coherence, let’s just call it “Timeline”. Now drag the Main Camera into our Timeline as a Cinemachine Track.
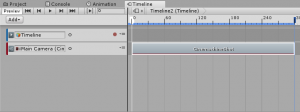
Then right-click on the Main Camera track and click Add Cinemachine Shot Clip.
What we have just done is basically told the Main Camera that we want it to move to a Virtual Camera for the length of this clip (which we can change by dragging the end of the clip). And we can specify which Virtual Camera by dragging in the Virtual Camera (in our case Vcam1) into this slot in the inspector.
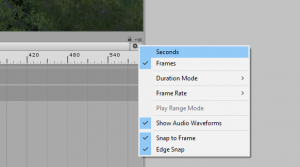
Do the same for Vcam2. Now we just need to figure out how long we want each Virtual Camera to be active. A helpful way to determine this is to set the Timeline number scheme to be in seconds, not frames.
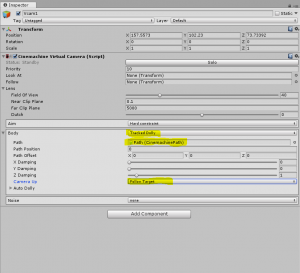
I think they should be about ten seconds each. In order to have Vcam1 move along the path, we have to first set “Body” to “Tracked Dolly” and then drag Path1 into the “Path” slot.
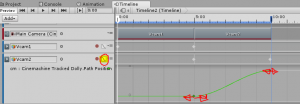
The other settings are pretty self explanatory, we have a Vector3 that specifies the offset and three sliders that dampen the motion of the camera. Since our path is pretty simple we don’t need to concern ourselves with any of these settings. Set “Camera Up” to “Follow Target”, this will have the camera just move along the path. Do the same for Vcam2. Then we need to animate the “Path Position” to have the camera move down the path. To do this just drag both Virtual Cameras into the Timeline (one at a time) as an animation track.
Hit the record button and make the first keyframe the start of the path and the last keyframe the end of the path. This can be changed later by opening the curves and dragging the front and end points.
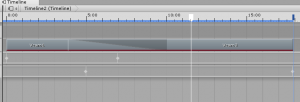
Do the same for Vcam2. Now, just drag the two clips so that the overlap each other. This will cause them to blend into each other.
Tweak the blending so that it looks smooth when you hit play. Check it out! It looks pretty cool!
So now with your current knowledge of Cinemachine and the Timeline, create another Virtual Camera and another path and have it show another part of the scenery. The way I did mine was to just have a camera start at the top of a tree and then follow a path down the tree, while always looking at the pool of water (which really was an empty gameobject that I created over the water).
Conclusion
We should now have a pretty good understanding of Virtual Cameras and how we can use them in conjunction with the Timeline to create some cool looking results.
Click here for part 2 of this tutorial series, where you’ll learn how to use animation tracks in the Timeline editor.
