Table of contents
Introduction
In this tutorial, we will be exploring how to model and build objects in Unity using ProBuilder. This tutorial has two sections – in the first, we will be building a simple, low poly, car. In the second section, we will be utilizing something called “Bezier Curves” to make a race track. The things we are making are not complex or intricate, but the concepts that you will learn can be applied to more complex and intricate projects.
What is ProBuilder?
We will be using two components in Unity, ProBuilder and ProGrids. ProBuilder is a tool that gives Unity the ability to edit the shape of primitive objects. This allows us to make more complex gameobjects. And ProGrids is a tool (similar to the Snap Settings in Edit -> Snap Settings) that will snap whatever it is we are doing, whether it be editing, scaling or rotating, to a grid. This allows for a very uniform look on our gameobjects. This tutorial is mainly going to focus on ProBuilder.
Did you come across any errors in this tutorial? Please let us know by completing this form and we’ll look into it!

FINAL DAYS: Unlock coding courses in Unity, Godot, Unreal, Python and more.
Requirements
This tutorial assumes that you have hardly any knowledge about modeling gameobjects, however, prior knowledge of Unity (like creating and manipulating primitive objects) is definetely going to help.
Importing ProBuilder and ProGrids
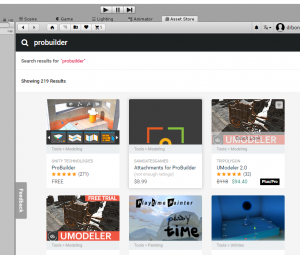
Create a new Unity project and go to the Asset Store. Search “ProBuilder”, it should be the one of the first items.
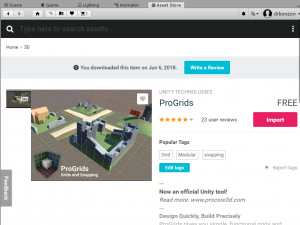
Download and import this. Next, search “ProGrids”, this one should also be one of the first items.
Download and import this one as well. If everything imported correctly you should see ProBuilder and ProGrids appear in the “Tools” drop down. Let’s go ahead and create a new folder called “Scenes” and then create a new scene called “CarAndTrack”.
Familiarizing ourselves with ProBuilder
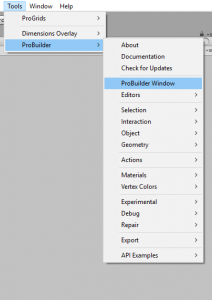
Go to Tools -> ProBuilder -> ProBuilder Window.
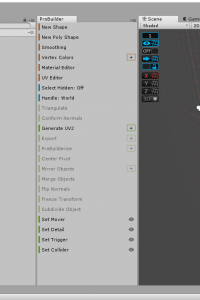
Place this new tab some where convenient, I put mine here.
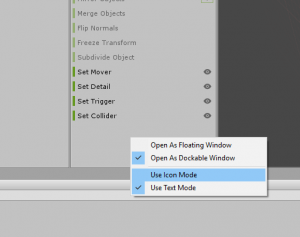
ProBuilder has two different ways of looking at its window, Icons and Text. You can switch between the two by right-clicking in the window and selecting which one you want, I usually stick with text since it is more descriptive that an image.
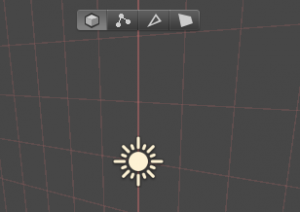
In your scene view you’ll notice a new bar on the top part of this tab that has four different buttons.
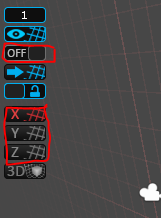
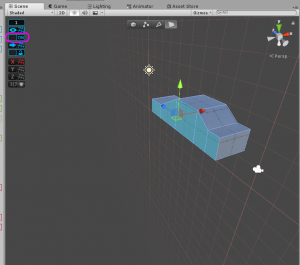
These are our different ways of interacting and editing our objects. You will change this multiple times throughout your project. Right now it is set to the “Object” mode. This allows us to move, rotate, and scale an object with out changing the structure of the object. The other options allow you to manipulate either the vertices, edges, or faces of an object. If you aren’t sure what a face or vertex is don’t worry, you should understand what they are as you move through this tutorial. Let’s take a look now at ProGrids. You’ll notice a new side bar has been created in the scene view. The ones settings we are going to be mainly using are theses right here:
The top one enables or disable ProGrids, we will be using this one mostly. The last few are mainly which grid is displayed in the scene view, I prefer the Y plane over the others since it is mainly what I am used to. Feel free to change these last ones to be however you’d like. Now that we have had a brief look at how ProBuilder and ProGrids work, let’s start creating!
Building the body of our Car
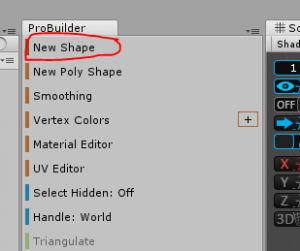
With ProGrids enabled, click “New Shape” in the ProBuilder window.
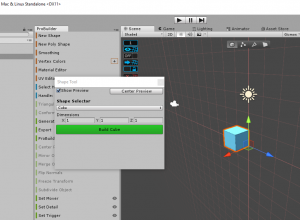
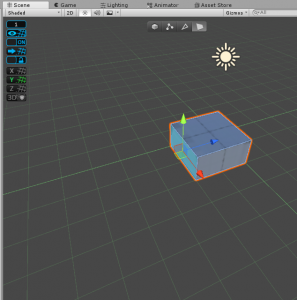
This will bring up a new window in which we can specify what shape we want built. The car we are going to make will very “blocky” so we will use the Cube shape. Leave everything set to default and click “Build Cube”.
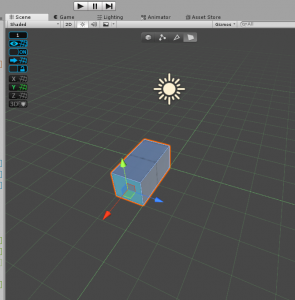
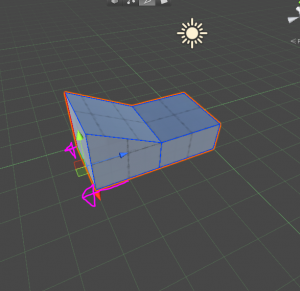
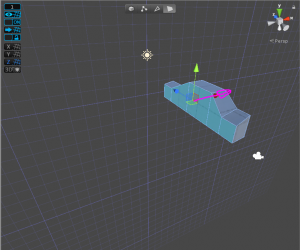
If you have any experience modeling 3D objects then go ahead and start “blocking” out a car shape, with wheel wells and windshields. If you aren’t too familiar with building objects from primitives, follow along, you’ll get the hang of it pretty quickly. With our cube selected, I am going to go to face select mode and select one of the faces that lie on the X axis. Then I am going to drag this face out one grid space (with ProGrids enabled) so that it looks like this.
I am then going to grab one of the faces that lie on the Z axis and drag it out one grid space as well.
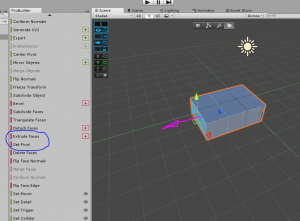
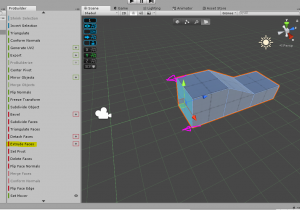
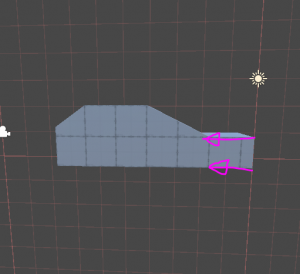
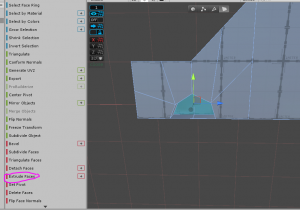
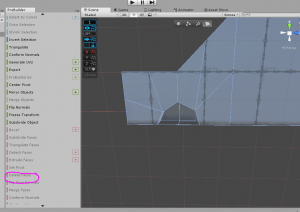
Then I am going to extrude this face one grid space by clicking “Extrude Faces” in the ProBuilder window.
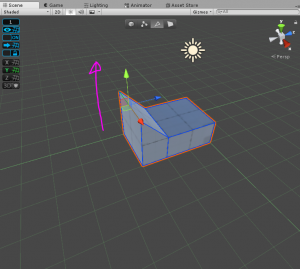
We can snap this to the grid by dragging it forward. I am now going to make the windshield by going to edge select mode and grabbing the top edges of this newly extruded face and dragging it upwards.
It looks a little steep so I am going to drag it backwards along the Z axis.
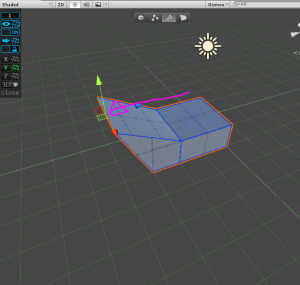
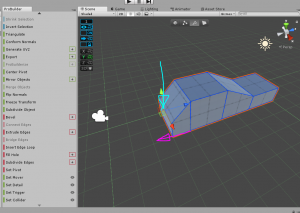
To finish it up I am going to grab the bottom edges and make them match with the top ones.
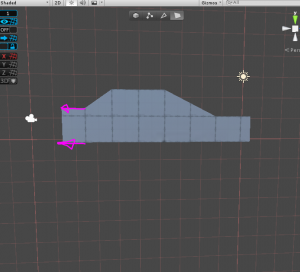
Next, let’s extrude the back face to make the roof and the back window.
Here I am going to disable ProGrids for a moment so that I can edit this in freehand. I am going to make the back window not as steep as the windshield.
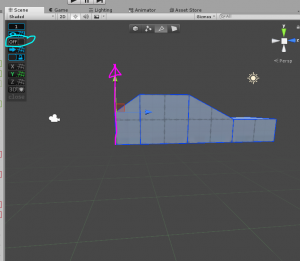
While ProGrids is off, I am going to make the hood shorter, like this.
Let’s continue building now. Extrude the back face to form the trunk, I chose to make this a good deal shorter than the hood.
Alright! The body is done, let’s add some wheels!
Building the wheels.
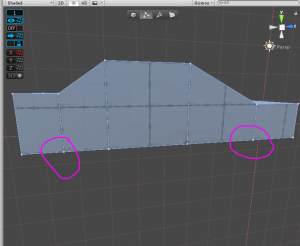
The wheels are just going to be simple cylinders scaled to look like wheels. With this in mind we need to make the wheel wells on our car body. A good place to put them would be on these vertices:
[Advanced concept art, requires years of experience]
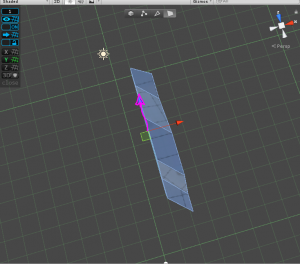
Before we do that though we need to do something that will make since in a moment. Grab the faces on one side of side of the car (preferably in the negative X axis)
and drag them, with ProGrids enabled, to the center so that we only have half of a car.
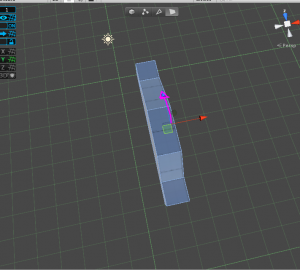
If it looks a little strewed just move the other faces so that it matches.
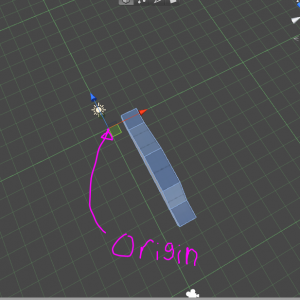
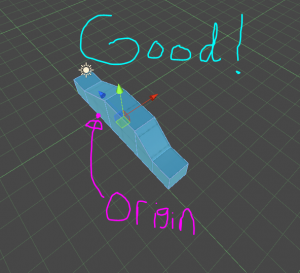
We want all of our faces to lie near the origin so, if your’s was like mine, box select all of the faces (by just clicking in empty space and dragging) and drag it so that it lies directly on one side of the origin.
Now let’s start making the wheel wells. This part isn’t as intuitive so follow along as best you can. We need to grab the faces on either side of this vertex (shift click)
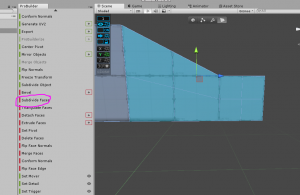
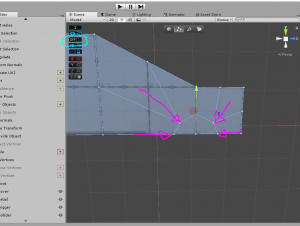
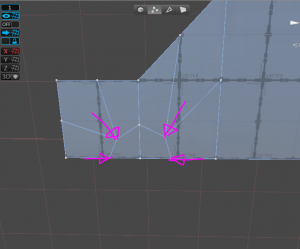
and subdivide them. Subdividing a face or edge just basically splits the edge or face into more edges or faces. To subdivide these faces, click “Subdivide Faces” in the ProBuilder window. Then we need to grab the center vertices and drag them into a arch-like shape. Reposition the adjacent vertices so that the match this shape.
Now we can grab these faces and extrude them into the car’s body. Select both faces and click the plus icon on the “Extrude Faces” button, this allows us to specify how far we want these faces to extrude. Set the Distance to be -0.25 and then click “Extrude Faces”. Now all we have to do is delete the bottom faces and we are done with this wheel well.
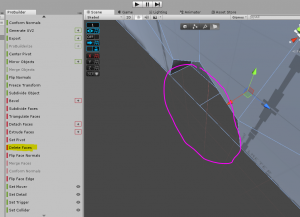 Now we can just duplicate this process for the back wheel well.
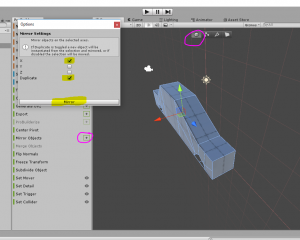
Now we can just click the plus icon next to Mirror Objects, select X axis, check Duplicate, and click “Mirror”.
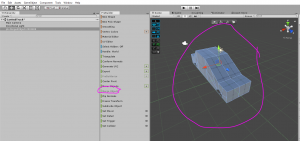
This will make a complete and flipped version of our car body that we can drag to one side join to the other one by shift-clicking and pressing Merge Objects.
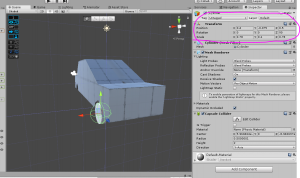
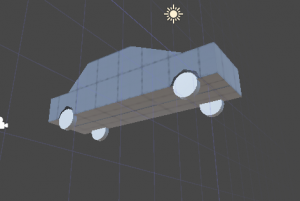
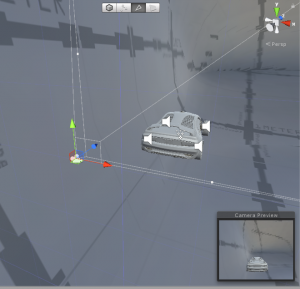
The last thing we have to do with our car is to add our wheels. These are just cylinders, scaled down on the Y axis, rotated 90 degrees,
and of course, duplicated four times.
Whew! Our car is now done, on to the race track.
Constructing the race track, curves
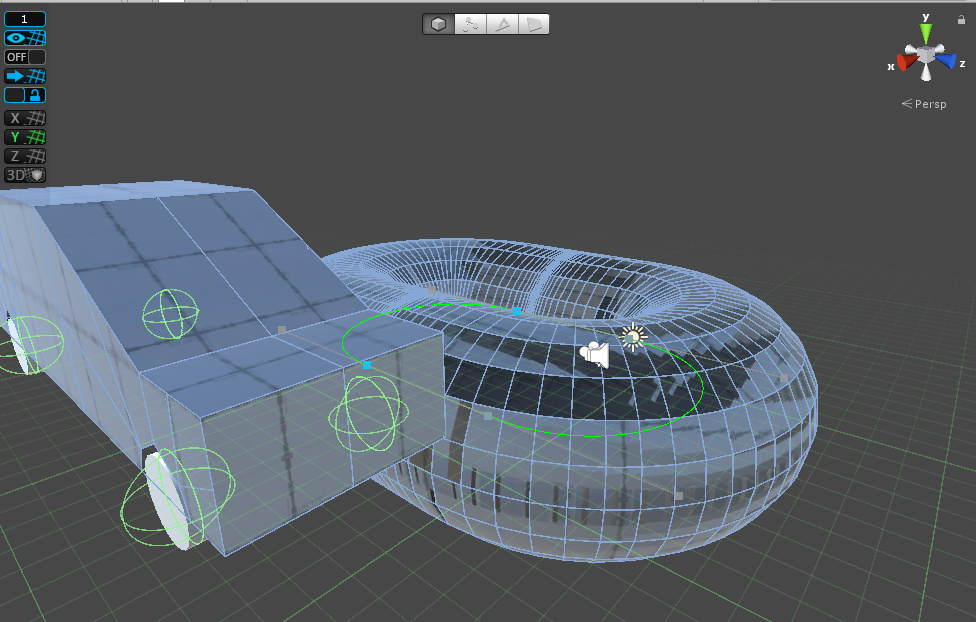
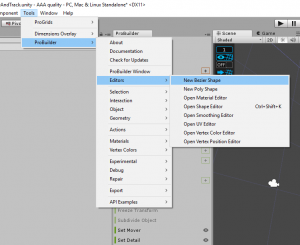
Making the race track is a little different than making the car. With the race track we will be using curves instead of a mesh. Go to Tools -> ProBuilder -> Editors -> New Bezier Shape.
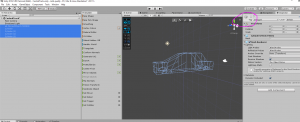
Let’s select all of our car parts and disable them so that we can see what we are doing.
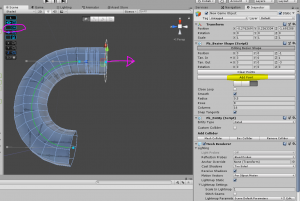
From here we need to have ProGrids turned on. Click add point and drag it out two units;
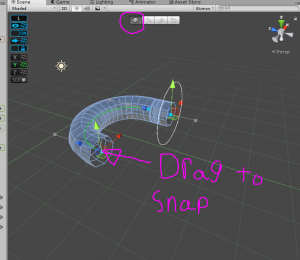
don’t forget to make sure the curve is snapped to the grid as well, we’ve done this before by just dragging the entire object in either direction.
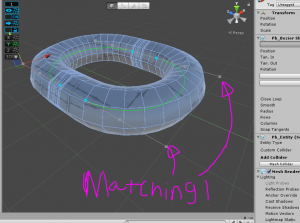
Next, click Close Loop, this will gives a rough outline for a track. 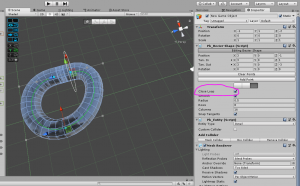 Now place a point (by clicking on the loop) somewhere across from the point we created and dragged one unit. This will make the “track” look like this:
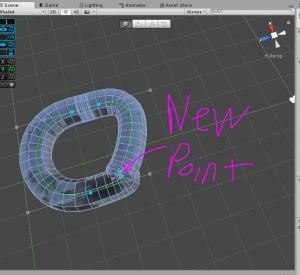 Next, we need to reposition the gray tabs on this new point so they match (and so that the “track” looks like a track) the opposite point. Tweak the gray tabs so that the track is symmetrical.
So there is our track!
Constructing the race track, meshes
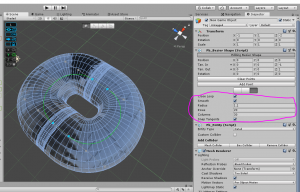
Before we start making this curve looking like a race track, let’s change the “Radius”, “Rows”, and “Columns” to make this track easier to edit. Set “Radius” to 1.1, “Rows” to 20, and “Columns” to 30.
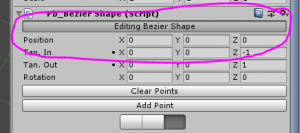
There is just one thing we have to do before we can start editing the actual mesh of the curve and that is to just disable “Editing Bezier Shape”.
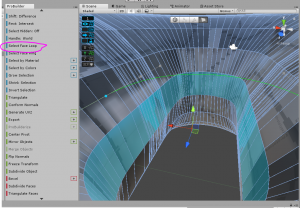
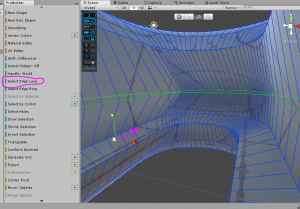
Now we can start manipulating the faces and vertices of our curve. Grab all of the faces on the inside loop by selecting one face and then clicking “Select Face Loop”.
This part of the track will be the road. Switch over to the scale tool and scale it out on the X axis. Then drag these faces down (ProGrids must be disabled!) so that it forms a ledge like this,
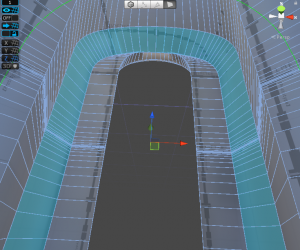
Next, scale it out on the Z axis so that we now have space in the turn for a vehicle.
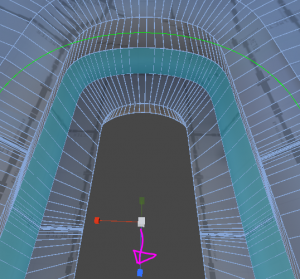
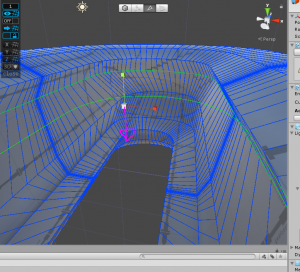
Now, grab the top edges of the faces we just selected (by selecting one and then clicking Select Edge Loop) and scale them out on the Z axis as well so that our faces on the turn are more angular than before.
Also, I decided to lower these edges in order to make the steepness of the turn less prominent, feel free to do this as well if you like. Obviously, we wanted to make a race track that had a sloped turn so if you would like more slope to your turn, feel free to change the vertices to match the look your going for. The last thing I am going to do to our track is to make it more open, as it is now we have some edges hanging over the track. I am just going to select this loop and scale it back a little bit.
There we go, much better.
Testing out our track
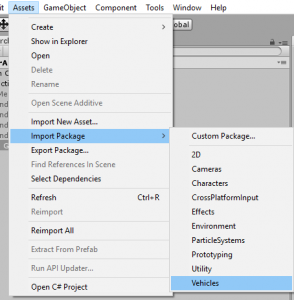
The reason race tracks are sloped is so that the cars wont have to turn as much. Let’s see if our sloped track works with a controllable car. Go to Assets -> Import Package -> Vehicles,
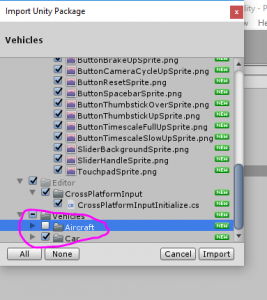
we only need the car so un-check anything related to aircraft.
Drag the Car prefab into the scene. You may have to scale your track (not the car!) in order for the vehicle to fit. Re-position the camera and parent it to the car.
Hit play and start testing. If you encounter problems with the track (such as the turn not being steep enough or too steep) just go back and change the mesh. I didn’t get my track right the first round of testing. After you have tested your track out and you like how it looks and drives, congratulations because you are done!
Conclusion
Obviously this tutorial is nowhere near exhaustive. The main purpose of this tutorial was not to show you how to make a car or a race track, but to get you familiar with ProBuilder and modeling in Unity. It should be very apparent that ProBuilder is a very useful tool, with it we can make complex environments, like the race track (even though it isn’t very “complex”), and then modify the environment immediately to better the gameplay. With this fact in mind, start creating and
Keep making great games!
