In the last tutorial we created a huge world using the L3DT tool and imported it in Unity. We also have split the world into tiles, so that we can dynamically deactivate distant tiles according to the player position.
Now, we are going to add the following things in our game:
- Adding trees to the world, with multiple levels of details.
- Deactivating other objects that are inside the tile when the tile itself is deactivated.
- Adding a fog to hide the deactivated tiles.
In order to follow this tutorial, you are expected to be familiar with the following concepts:
- C# programming
- Basic Unity concepts, such as importing assets, creating prefabs and adding components
Before starting reading the tutorial, open the Unity project from the previous tutorial.
Table of contents
Assets copyright
The assets used in this tutorial were created by djonvincent and made available through the CC0 license, wich allows commercial usage. You can download them in https://opengameart.org/content/mage-tower or by downloading the source code.
Did you come across any errors in this tutorial? Please let us know by completing this form and we’ll look into it! FINAL DAYS: Unlock coding courses in Unity, Godot, Unreal, Python and more.
Source code files
You can download the tutorial source code files (the Standard Assets folder was not included to reduce the file size) here.
Multiple levels of details
In game development, there is a concept called Level of Detail (or LOD, for short). This is an optimization technique that consists on reducing the number of triangles in an object mesh if the object is far away from the camera. This can be done because if the object is far away from the camera, the player probably can not see all its details, so reducing the mesh level of details will not affect the player experience.
Luckily for us, Unity provides a built-in LOD feature, which we are going to use while adding trees in our game world.
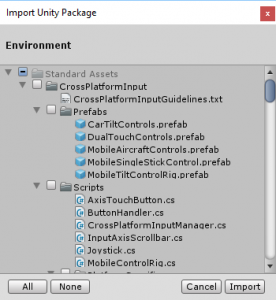
First of all, we are going to import another Unity package with the tree models. So, from the Unity menu select Assets -> Import Package -> Environment. Then, let’s import all the assets from the package.
This will create a folder called Environment inside the Standard Assets folder. Inside this folder there’s another one called SpeedTree, where you can find the tree Prefabs.
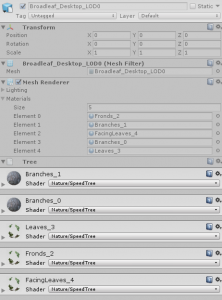
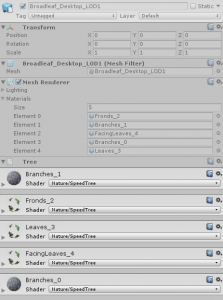
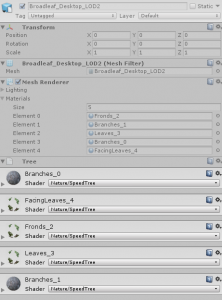
The way you can use LOD in Unity is actually simple, and you can see it by looking into any of the tree Prefabs. For example, if you select the Broadleaf_Desktop prefab, and open it, so that you can see all its children, you will see that there are three children called Broadleaf_Desktop_LOD0, Broadleaf_Desktop_LOD1 and Broadleaf_Desktop_LOD2. Those are the tree models with different levels of details. So, in order to use Unity’s LOD feature, you need to create different models of your object, one for each Level of Detail, and name them by adding LODX to the model name, where X reprsents the LOD group.
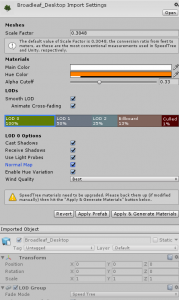
Besides creating the multiple models, we also need to tell Unity from which distances it should switch the LOD group and reduce the image quality. This can be done using the LOD Group Component. For example, if you open the Broadleaf_Destkop prefab you will see a slider with the LOD groups. If you move this slider, you can change the points where Unity will switch between LOD groups.
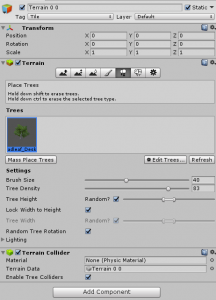
Finally, let’s add some trees to our game, to see this stuff working. The Terrain Componet allows us to easily add trees in our game. This can be done by selecting the Place Trees tool in the Terrain Component.
First, we need to add the tree prefabs, by selecting Edit Trees -> Add Tree and then selecting one of the tree prefabs. I’m going to use the Broadlef_Destkop prefab. Once you have added it, it will appear in the Place Trees tool.
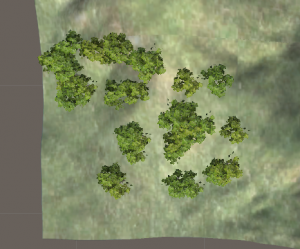
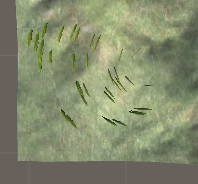
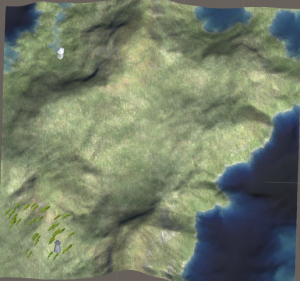
Now, you can simply select the tree Prefab and paint it to the Terrain. If you change the zoom of the camera, you will noticed that the level of details of the trees is automatically reduced.
You will also notice that the trees are automatically deactivating when the tile object is deactivated (for being distant to the player). That’s because we added the trees using the Terrain component. Now, let’s add other objects and make sure they are also deactivated with the tile.
Adding other objects to the tiles
First of all, there are two types of objects that we can add to our game:
- Static objects: those are the easiest ones, since they are basically like trees. They are created inside a Tile and do not leave it.
- Dynamic objects: those are objects that can move around the world, so they don’t belong to a single Tile.
Let’s start by adding a static object. If you have downloaded the source code, you will find a tower model in the Assets/Models folder (the original model can be found here). Now let’s add a tower to our game. Since static objects do not move, we can simply add it as a child of one of the world tiles. This way, when the tile is deactivated it will automatically deactivate its children as well. For example, here I’m adding the tower as a child of Terrain 1 1.
That’s it for static objects, but the things are a bit more complicated with dynamic objects, which can move between tiles. For those objects, we need to keep track of the Tile the object is currently on. Then, if this tile is activated/deactivated, we need to do the same for the object.
What we are going to need is a Script to manage the objects that are inside a given tile. Let’s start by creating a new Script called HideObjectsInTile, which will keep track of the objects inside each tile to deactivate them.
This Script will need the following attributes:
- objectsTag: the tag of objects that we need to keep track.
- objectsToCheck: the array of objects with the given tag.
- tileBounds: the bounds of the tile. This will be necessary to check if a given object is inside the tile.
- currentActivation: a boolean variable defining if the tile is currently activated or deactivated.
In the Start method we save the objects with a given tag and save them in the objectsToCheck Array. Those are the objects we are going to check if are inside the tiles later. We also save the tileBounds, based on the tile position and dimensions. Notice that the tilePosition is the position of the center of the tile,
and for the tile dimensions we are setting a high Y dimension (1000), that’s because we want everything in the air to be inside the tile.
Then, we add a method called ActivateTile, which will receive boolean parameter. Besides activating/deactivating the tile itself based on this parameter,
this method will iterate through each object in the objectsToCheck Array and activating/deactivating those that are inside the tile. Finally, notice that this will be called only the activate parameter is different from the currentActivation attribute. This way we can avoid calling this method multiple times without changing anything.
using System.Collections;
using System.Collections.Generic;
using UnityEngine;

public class HideObjectsInTile : MonoBehaviour {

	[SerializeField]
	private string objectsTag = "TileObject";

	private GameObject[] objectsToCheck;

	private Bounds tileBounds;

	private bool currentActivation = true;

	void Awake() {
		objectsToCheck = GameObject.FindGameObjectsWithTag (objectsTag);

		Terrain tileTerrain = GetComponent<Terrain> ();
		Vector3 tileDimensions = new Vector3 (tileTerrain.terrainData.heightmapWidth, 1000, tileTerrain.terrainData.heightmapHeight);
		Vector3 tilePosition = new Vector3(this.gameObject.transform.position.x + tileDimensions.x / 2f, 0, this.gameObject.transform.position.z + tileDimensions.z / 2f);
		this.tileBounds = new Bounds (tilePosition, tileDimensions);
	}

	public void ActivateTile(bool activate) {
		if (activate != currentActivation) {
			this.gameObject.SetActive (activate);
			foreach (GameObject objectInGame in objectsToCheck) {
				Vector3 objectPosition = objectInGame.transform.position;
				if (tileBounds.Contains (objectPosition)) {
					objectInGame.SetActive (activate);
				}
			}
			currentActivation = activate;
		}
	}
}
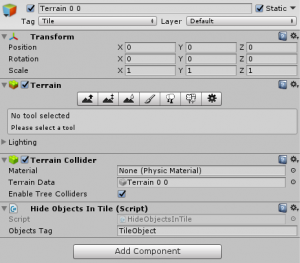
Now we need to add this Script to all the tiles. I’m going to set the ObjectsTag attribute to be “TileObject”.
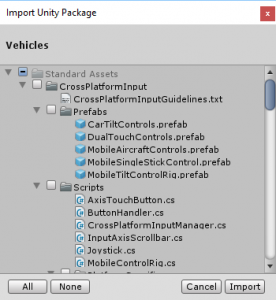
So, before testing we need to create this TileObject Tag and add an object with this tag. The model I’m going to use here will be imported from another Unity package. This time we are going to import the Vehicles package (Assets -> Import Package -> Vehicles). Again, we are going to import all the assets.
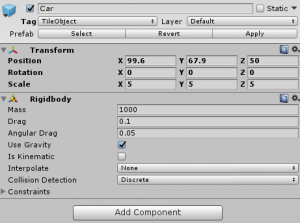
Now, let’s add a Car object to our game (from Standard Assets -> Vehicles -> Car -> Prefabs). This object has some scripts that we are not going to use, so let’s remove all of them, leaving only the Transform and Rigidbody components. Also, the Tag of this Car Object must be TileObject.
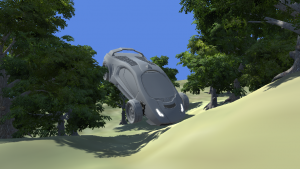
Now, we can test our game and check if the Car is being deactivated once its tile is deactivated as well.
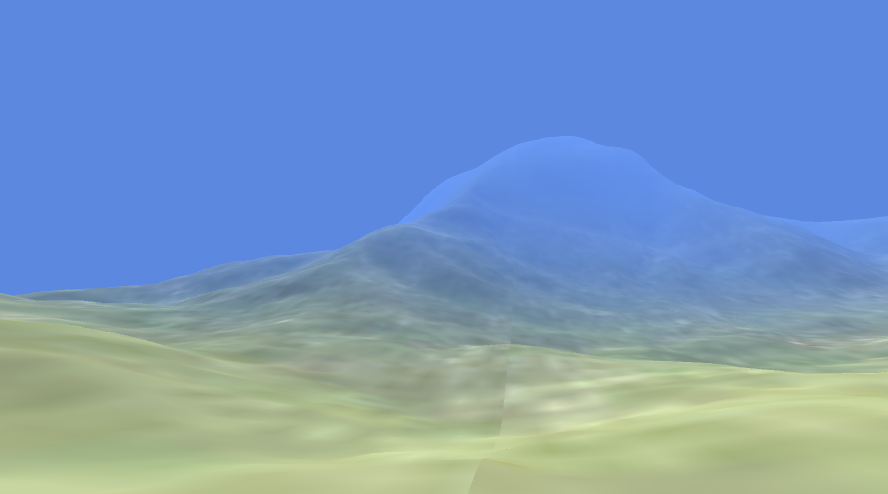
There’s still a problem with our world. When new tiles are activated, the player can actually see those tiles being shown, which should not happen. We could solve this by increasing the distance the tiles are activated/deactivated. However, this would increase the number of tiles being rendered during the game. Another solution (and the one we are going to use) is to add a fog in our game, which would hide distant regions and, consequently, hide the new tiles.
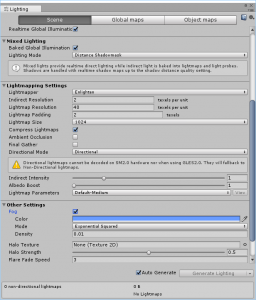
In order to do so, select the Window tab in the Unity Editor. Then, select Lighthing -> Settings. In the Other Settings panel, you can enable the Fog settings.
Then, simply select a Color for the fog, as below.
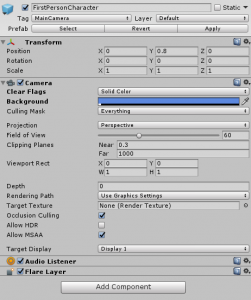
We still need to change the camera background to be the same Color as the fog.
The First Person Character we added in our game has its own Camera, so first remove the Main Camera from your project, then select the FirstPersonCharacter Object, which has a Camera Component (it is a child of Player). In this Camera Component, change the Clear Flags attribute to be Solid Color, and the Background to be the same color as the fog.
Finally, you can play the game again and the fog should hide the distant tiles.
And this concludes this tutorial series. Tell me in the comments sections your opinions and suggestions!
