Table of contents
Introduction
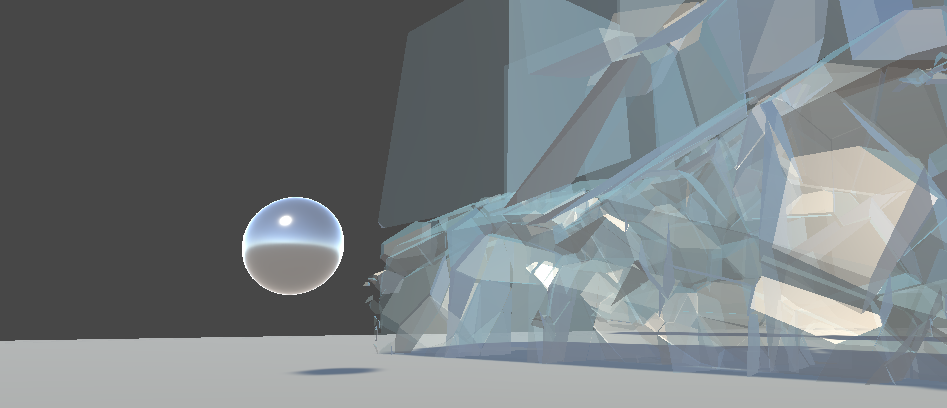
If you’ve ever had a look at the mobile games that are currently ranked at the top of the app store, you might find one called Smash Hit. The basic idea of the game is that the camera is constantly moving forward in 3D space and it is the job of the player smash these panes of glass that are in the way of the camera. The player does this by spawning steel balls at the place where they touch the screen. When the steel ball collides with the pane of glass, the glass shatters. This is a pretty fun game but instead of going and downloading it, let’s create our own version (’cause that’s what true game developers do).
Configuring the project *SUPER CRITICAL!*
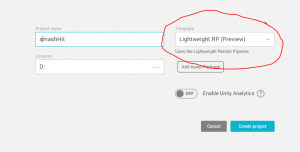
Open up Unity and click “create. This next step is very important, if you fail to do this you may end up halfway through this tutorial and find out that you have to start over (like I did when I was creating this project). Name your project and then change the Template to “Lightweight RP”.
This means that you can use Unity’s Scriptable Render Pipeline to make custom shaders for your objects (which we will be doing in this tutorial). If you have never heard of SRP (Scriptable Render Pipeline), you can check out this tutorial that goes into much more detail. Now that you have performed the very crucial step, let’s go onto creating the basic mechanics.
Download Source Code
Here is the link to the source code or asset files that are going to be used. You can make these yourself in whatever program you chose (I used Blender for obvious reasons).
Did you come across any errors in this tutorial? Please let us know by completing this form and we’ll look into it! FINAL DAYS: Unlock coding courses in Unity, Godot, Unreal, Python and more.
Creating the first mechanic: Ball Spawning
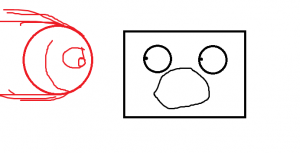
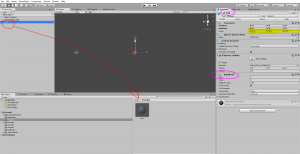
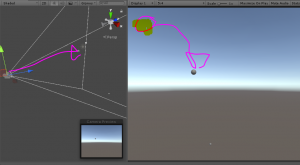
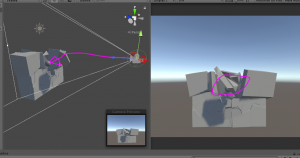
Before we start destroying things, we must first create the thing that is going to destroy the other thing. If that sentence didn’t make sense, I have utilized my skills as a graphic artist to illustrate what we are going to be doing:
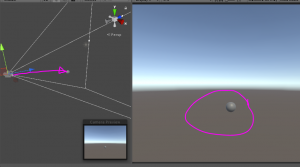
Which means that in this section, we are going to be making this guy:
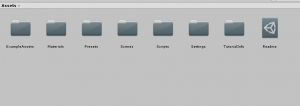
Let’s get started by first explaining what you see in the project panel.
This may seem cluttered but we need it to be here when we start adding shaders and such. Go ahead and create a new folder called “Prefabs”.
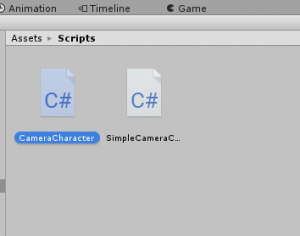
In the Scripts folder, create a new C# script called “CameraCharacter”.
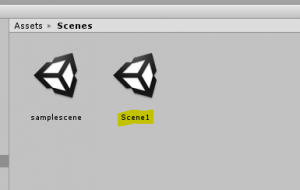
In order to avoid creating more scripts that necessary, we will create one script for our camera (the camera is where we will be spawning balls anyway) and from that script, we will incorporate all the things that we wanted (like ball spawning, continuous motion forward, etc). Go to the Scenes folder and create a new scene called “Scene1”.
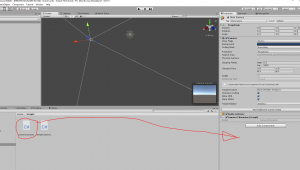
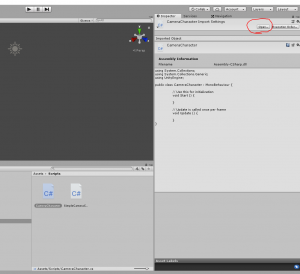
Drag the “CameraCharacter” script onto your camera and let’s get started coding.
Spawning a ball at the place where the player touches is probably the trickiest part of this project. There is a little bit of fine tuning involved in order to get it to work just right. The first thing we need is a game object to spawn and a float variable that determines the force to which the object is spawned:
public class CameraCharacter : MonoBehaviour {

      public GameObject ball;
      public float ballForce;

void Start () {
Then, in the update function, we first find when the mouse/screen (this game will work on mobile) is touched and then spawn the ball, as a local game object, at the camera’s position. And finally, this part adds some force to the Rigidbody attached to the ball:
if (Input.GetMouseButtonDown(0))
        {
            GameObject ballRigid;
            ballRigid = Instantiate(ball, transform.position, transform.rotation) as GameObject;
            ballRigid.GetComponent<Rigidbody>().AddForce(Vector3.forward * ballForce);
        }
Let’s set this up by creating a sphere with a Rigidbody. Scale this sphere so that it is half of its original size. And then create a prefab of this by dragging it into our prefabs folder.
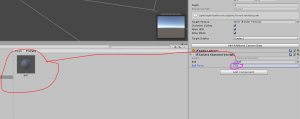
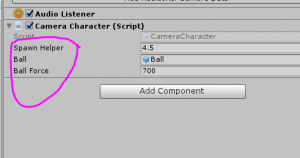
Assign the prefab to the new “Ball” field on the CameraCharacter script and the hit play.
You’ll see that you can click and spawn a new ball.
The only problem is that you can’t spawn it at the mouse position. To do this, it involves (what I think) is the only slightly confusing part of the script. We create a new Vector3 that utilizes a couple of local floats which log the mouse position. Then we use a method in the Camera class that converts the screen coordinates to world coordinates. And then we finally set the Z-axis value for the method to be an attribute of the Camera class, called “nearClipPlane”, plus a float value that offsets it forward slightly. This is what the entire code looks like:
using System.Collections;
using System.Collections.Generic;
using UnityEngine;

public class CameraCharacter : MonoBehaviour {

    public float spawnHelper = 4.5f;
    public GameObject ball;
    public float ballForce = 700;

    private Camera _cam;


    // Use this for initialization
    void Start()
    {
        _cam = GetComponent<Camera>();
    }

    // Update is called once per frame
    void Update()
    {

        //Local floats
        float mousePosx = Input.mousePosition.x;
        float mousePosy = Input.mousePosition.y;

        //Confusing part :-)
        Vector3 BallInstantiatePoint = _cam.ScreenToWorldPoint(new Vector3(mousePosx, mousePosy, _cam.nearClipPlane + spawnHelper));


        if (Input.GetMouseButtonDown(0))
        {
            GameObject ballRigid;
            ballRigid = Instantiate(ball, BallInstantiatePoint, transform.rotation) as GameObject;
            ballRigid.GetComponent<Rigidbody>().AddForce(Vector3.forward * ballForce);
        }
    }
}
I hope some of what is going on makes sense. If it doesn’t, just think about it, you’ll understand it, I promise.
With that said though, you’ll now see that it will spawn a ball at the mouse’s position.
You can tweak the “ballForce” and “spawnHelper” to help you understand what is going on here.
Creating the second mechanic: Breaking Glass
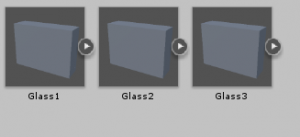
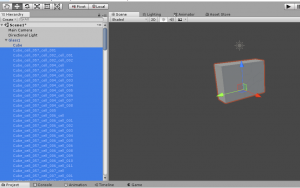
It is now time for the fun part, DESTROYING STUFF!! Seriously, you’re not a real game developer until you take some pleasure in seeing things break apart and scatter all over the place. With that said, there are a couple ways we can go about breaking things: taking a game object and having a script create fractures, or create the fractures yourself in a third-party program (i.e. Blender since you are an indie developer). I chose the latter and have done all the hard work for you on this part. If you look in the asset pack, you will see there are three cubes.
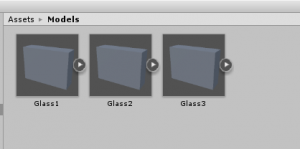
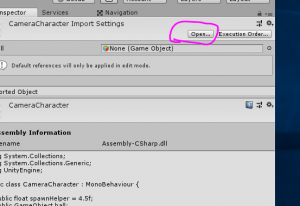
Each of these cubes has been fractured and brought back together so that it looks like a complete object when in reality it is a bunch of little pieces. The way this is going to work is that as soon as the ball hits a piece of glass, we spawn one of these. Pretty simple. Create a new folder called “Models” and import the fractured glass.
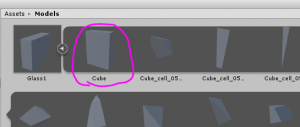
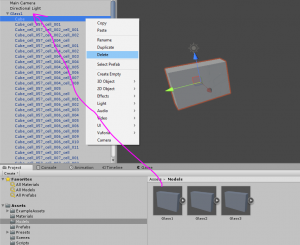
If you open one of the objects, you will find a complete cube.
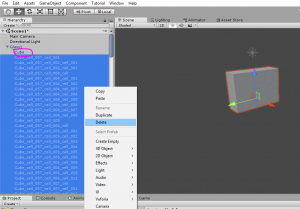
This is important because this cube has the exact dimensions of the fractured glass. Drag the model into your project and delete everything except this cube.
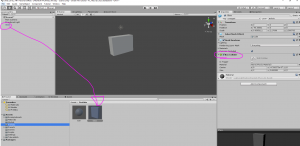
Add a Box Collider, make it a trigger, and make it a prefab called “Glass”.
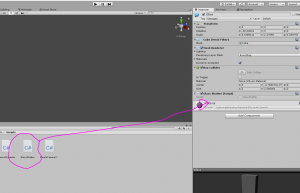
Next, we create a new script (in our Scripts folder of course) called “GlassShatter” and assign it to the glass prefab.
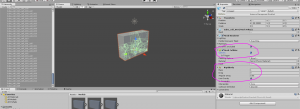
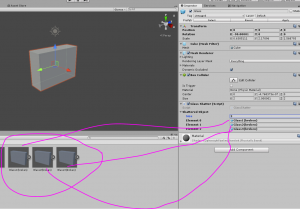
Now we need to drag in each fractured glass model (this part is tedious), delete the complete cube, assign a Mesh Collider (if it doesn’t already have one, and a Rigidbody to each fractured glass piece, and then make a prefab with this labelling convention: “Glass1(broken)”.
You should now have three prefabs labelled “Glass1(broken)”, “Glass2(broken)”, etc.
With the editor stuff out of the way (at least most of it), we move on to Visual Studio to start crafting our script. Open up “GlassShatter” and create a new array of Game objects called “shatteredObject”. Then, we use OnTriggerEnter to determine whether or not the ball has overlapped, if it has, we instantiate a random game object from the “shatteredObject” array and simultaneously delete ourselves.
public class GlassShatter : MonoBehaviour {
    public GameObject[] shatteredObject;
    // Use this for initialization
    void Start () {

	}

	// Update is called once per frame
	void Update () {

	}
    private void OnTriggerEnter(Collider other)
    {
        if (other.CompareTag("destructive"))
        {
            //picks a random gameobject in the array
            int objectIndex = Random.RandomRange(0, shatteredObject.Length);
            Instantiate(shatteredObject[objectIndex], transform.position, shatteredObject[objectIndex].transform.rotation);
            Destroy(gameObject);
        }
    }
}
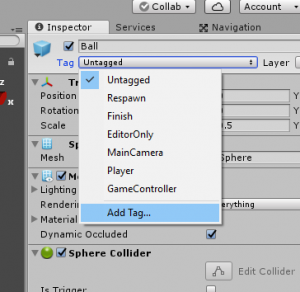
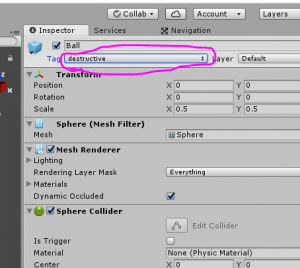
This script requires that the ball posses a tag with the label “destructive”. Let’s go ahead and select our ball,
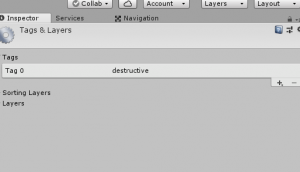
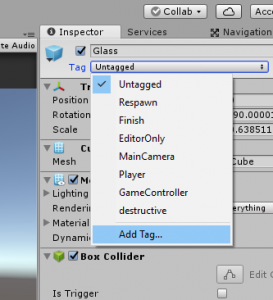
create a tag called “destructive” (make sure it is exactly how it appears in the script),
and then assign it to the ball.
We also need to populate the “shatteredObject” array in the editor. Set the range to 3 and drag in each “Glass(broken)” prefab.
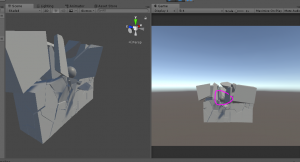
If you don’t already have one, drag into the hierarchy a “Glass” prefab and fire a ball at it.
If everything was done correctly, it should shatter into a million pieces. Congratulations! Now take a moment and just appreciate the destruction you have caused.
Creating the third mechanic: Moving Camera
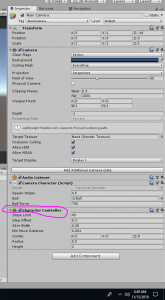
The third, and probably most straightforward, part of this tutorial is the moving camera. The way we do this is by using something called a Character Controller. The reason is that we can easily move the object in code (literally just one line) and it has physics interactions. So go to your camera and create a Character Controller component.
Then go back to your CameraCharacter script and let’s make this thing move!
I’m just going to give you the final script (which means we won’t have to come back to it in this tutorial series) so that we can get past the coding and onto designing.
using System.Collections;
using System.Collections.Generic;
using UnityEngine;
using UnityEngine.SceneManagement;
using UnityEngine.UI;

public class CameraCharacter : MonoBehaviour
{
    public float speed = 1;
    public float incrementFactor = 0.02f;
    public float spawnHelper = 4.5f;
    public GameObject ball;
    public float ballForce = 700;
    public GameObject button;

    //We use this when we implement UI
    public static bool camMoving = false;

    private CharacterController cameraChar;
    //A boolean whose value will be determined by OnTriggerEnter
    private bool collision = false;
    private Camera _cam;


    // Use this for initialization
    void Start()
    {
        cameraChar = gameObject.GetComponent<CharacterController>();
        _cam = GetComponent<Camera>();
    }

    // Update is called once per frame
    void Update()
    {
        Debug.Log("Speed is " + speed);

        float mousePosx = Input.mousePosition.x;
        float mousePosy = Input.mousePosition.y;

        Vector3 BallInstantiatePoint = _cam.ScreenToWorldPoint(new Vector3(mousePosx, mousePosy, _cam.nearClipPlane + spawnHelper));

        //This checks if we have collided
        if (!collision && camMoving)
        {
            cameraChar.Move(Vector3.forward * Time.deltaTime * speed);
            //This is so that the camera's movement will speed up
            speed = speed + incrementFactor;
        }
        else if (collision || !camMoving)
        {
            cameraChar.Move(Vector3.zero);
        }

        if (Input.GetMouseButtonDown(0) && camMoving)
        {
            GameObject ballRigid;
            ballRigid = Instantiate(ball, BallInstantiatePoint, transform.rotation) as GameObject;
            ballRigid.GetComponent<Rigidbody>().AddForce(Vector3.forward * ballForce);
        }

    }
    private void OnTriggerEnter(Collider other)
    {
        if (other.CompareTag("glass"))
        {
            collision = true;
            Debug.Log("Collided with glass!! Man down!!");
            camMoving = false;
            button.SetActive(true);
        }
    }
    public void StartCam()
    {
        camMoving = !camMoving;
    }
    public void Reset()
    {
        SceneManager.LoadScene("Scene1");
    }

}
There is a lot here that we won’t be using in this tutorial. But, notice the “OnTriggerEnter” method will check if the overlapped game object posses the tag “glass”. You probably know what to do, go to your glass prefab,
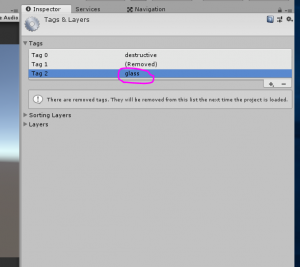
create a new tag called “glass”,
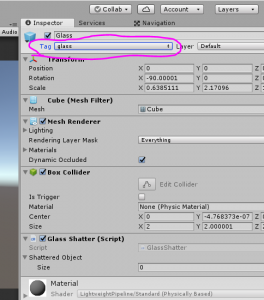
and then assign it to your glass prefab.
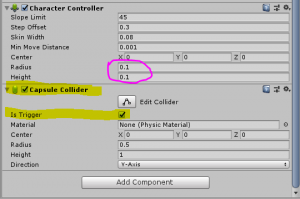
The idea of the collider on the camera is that if the player fails to break the glass in front of it, the game should restart or something. Now, here is where you, the game designer, gets to make a decision: do you assign this tag to your “Glass(broken)” prefabs (knowing that if the camera touches the shattered pieces it stops moving) or do you exercise mercy on your players and let them hit the broken pieces all they want? It’s up to you. Also, your camera needs to have a Capsule Collider that is a trigger and sized appropriately (also your decision on the correct size). I recommend making the Character Controller’s “height” and “radius” values near zero, otherwise, you might get it “riding-over” the top of the broken pieces.
With all those things done, and everything tweaked the way you like it, let’s drag in some Glass prefabs and enjoy our moving camera while smashing through some glass!
Conclusion
Whew! Congratulations on getting through the tutorial! I know it doesn’t seem like much of a game, but in Part 2 and Part 3, we will be adding shaders to supercharge our game objects, a UI system, and other things to basically make it feel more like a game. We have done most of the hard work, so we shouldn’t have to do much more coding here on in. I hope that what we have done with creating mechanics first, and seeing what those mechanics can do, will make you want to continue in this tutorial series. In the end, you will have a complete game equipped with a menu and a level, all of which I encourage you to modify and change to match whatever look you are going after. With this in mind, I’ll see you in the next tutorial. As ever:
Keep making great games!
