Table of contents
Introduction
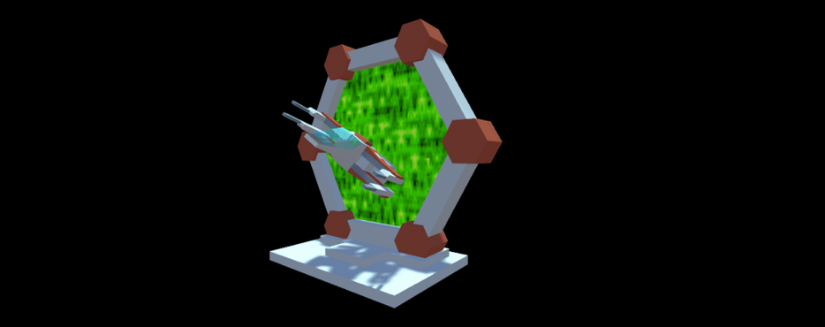
In this tutorial, we will be using the Scriptable Render Pipeline in Unity to supercharge our materials and make them look awesome. We will be utilizing the Scriptable Render Pipeline (or, as it is often called, SRP) in two different applications. In the first, we will be making a more realistic material for glass, and the second we will be adding some visual “effects” to a tele-porter to make it look more “futuristic”. By the end of this tutorial you should have a fair grasp of the Scriptable Render Pipeline and how to use it in your own projects.
What is SRP?
The Scriptable Render Pipeline came out with Unity 2018. The bottom line is this: SRP is a feature in Unity that allows developers to control the way materials and objects are rendered. Included in the SRP is what’s called the “Shader Graph” which a graphical, node-based way of making custom shaders. Because of this, we can create some pretty cool looking results in an extremely short time. The initial concept and look of the shader graphs from SRP may look daunting and complicated, but once you get the hang of it, you’ll find it is an incredible tool.
Assets and requirements
You can download the assets used in this tutorial by clicking here. These assets are from the Kenny assets website. You can check out their website here, kenny.nl. For this tutorial you will need a computer (in case you didn’t figure that out) and that computer needs to be running at least Unity 2018.1, this is the only version that SRP works in. Also, this tutorial assumes that you have no prior knowledge of SRP but that you have a basic knowledge of Unity (how to navigate the UI, manipulate tabs, etc.). Also, previous experience with a node based editor (either from using the Blender compositor or something similar) will make thing a lot easier to understand. With that out of the way, let’s start into our project!
Did you come across any errors in this tutorial? Please let us know by completing this form and we’ll look into it! FINAL DAYS: Unlock coding courses in Unity, Godot, Unreal, Python and more.
Setting up the project
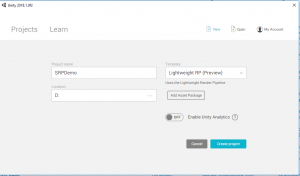
Open up Unity and click “new”. Give your project a sensible title, something like “SRPDemo”. In order for SRP to work we need to change the template from “3D” to “Lightweight RP” (RP stands for Render Pipeline).
Click “Create Project” and let’s get started!
Project 1: Making glass
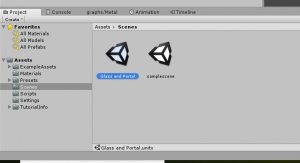
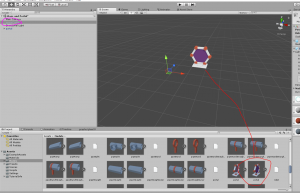
When Unity finishes compiling our project, you’ll see that we have an example scene already loaded. Go ahead and hit play just to see what the team at Unity has created for a demo. We aren’t going to be using this actually so go to your project tab and in the folder marked “scenes” create a new scene called “Glass and Portal”.
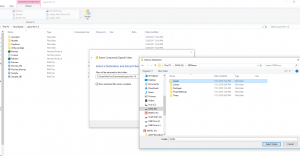
Open this up and let’s get started. First things first, we need to import our assets. If you downloaded them and still haven’t unzipped it, just set the extraction folder to be the “Assets” folder in our project.
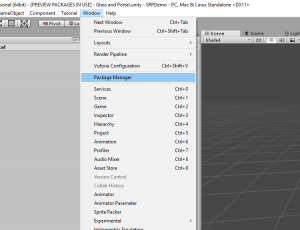
This reduces an extra coping stage. Next, we need to import SRP. Go to Window -> and Package Manager
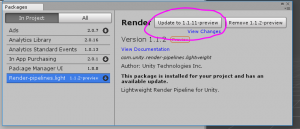
and import or update “Scriptable Render Pipeline”.
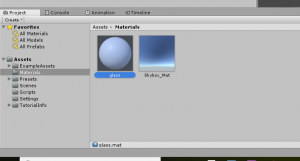
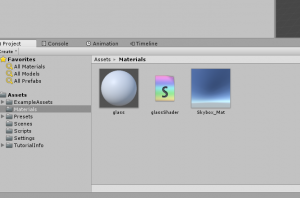
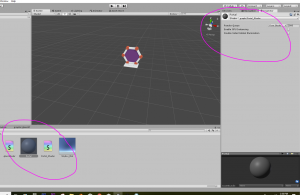
Once it has finished importing, go to the materials folder in your project tab and create a new material called “glass”.
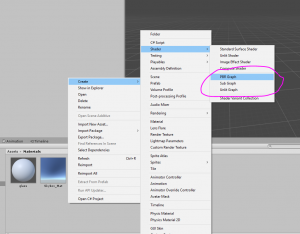
Then right-click and go to Create -> Shader -> PBR Graph
and name it “glassShader”.
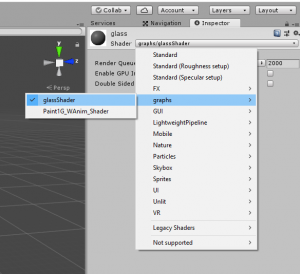
After that, go to our glass material and set the Shader to our “glassShader”.
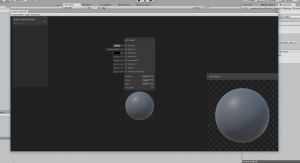
Now if we double click on our glassShader it will bring up a new window.
This is where all the magic happens. If you like you can leave this window free from the main Unity window, or you can find a good place to dock it, I put mine here.
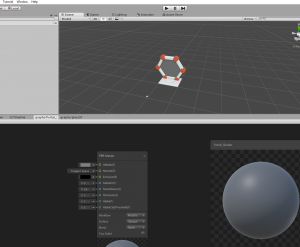
A quick glance at this window shows that most of the attributes on the main node, are those that were in the original material window.
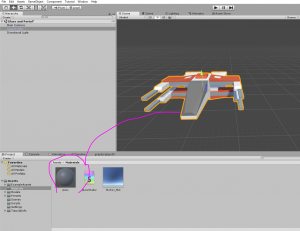
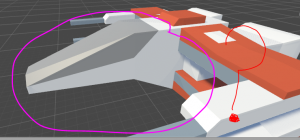
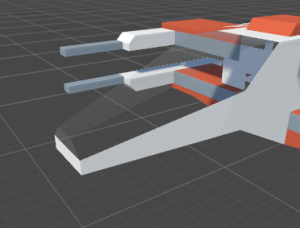
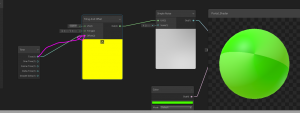
This is how SRP works, we edit these basic attributes by using other nodes in order to change the look of an object. With this in mind, let’s get started making the first part of our project, a glass material. The tricky thing about glass is it needs to be transparent but reflective as well. There are several ways to do this, the way we are going to do it is by using something called a “Fresnel” (pronounced “FRA-nel”) effect. Fresnel is the natural phenomena where the visible edges of an object are lighter or shinier than the center. It is most easily visible on spherical objects. The way we are using Fresnel is by having the edges reflect light while being transparent in the center. But we need an object in the scene with glass so that we can see the result of our shader in realtime. I used the space ship from the asset pack. Drag our glass material onto the windshield of the space craft and we will be ready to start making our shader.
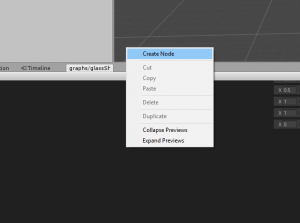
Go to our shader window and right-click in empty space. Go to “Create Node”.
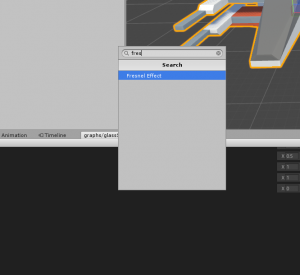
Just search “Fresnel” and it should come up.
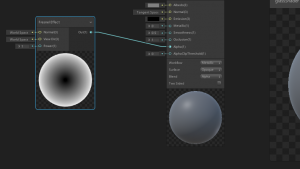
Then plug the out thread into the “Alpha” input on our base node.
Click “Save asset” and check out what it looks like. Well, it hasn’t changed.
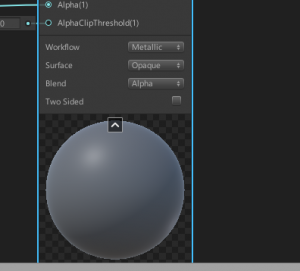
How come? Well, there are a couple ways of interacting with this base node, you can see the options at the bottom of the node in “Workflow” and “Surface”.
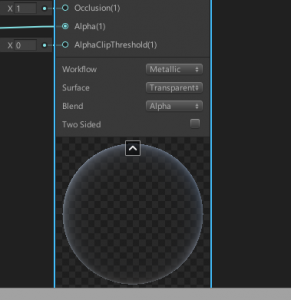
Workflow should probably remain “Metalic” if we are working with a man made object, all “Metalic” means is that the surface is more prone to reflecting. For this project we should change “Surface” from “Opaque” to “Transparent”.
Now hit save and check out the results. Now you can tweak the power of the Fresnel effect and change the “Albedo” color to give an interesting tint.
Get creative!
Project 1: making the portal
That one was kind of simple right? Well I hope you learned as much as you can because this one isn’t going to be as simple. In this part we are going to be making the portal. Find the “portal” game object in your project tab and drag it into the scene.
Go ahead and disable the space ship so that we can have a clean work space. Go to the materials folder and create a new material called “Portal” and create a new PBR graph called “Portal Shader”.
Then set up the material with the shader and drag it on to the portal. 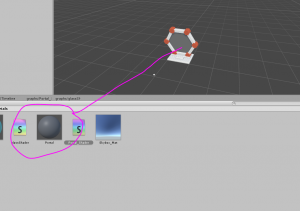 Open up the shader and dock it next to the old shader.
Now this part of the tutorial will use something called “Procedural noise”. Procedural Noise, or “clouds” as they are sometimes called, is like the Swiss Army knife of shaders, it has a lot of uses. And I think you will see why as we start using them. What we are doing to this portal is to change the look of center of the portal (the actual teleporting part) so that it looks more like an effective futuristic portal, not a solid object.
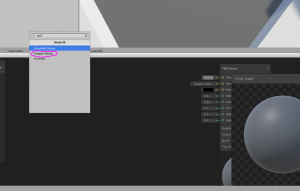
Let’s start this off by creating a new noise node by just searching “noise”,
select the “Simple Noise” node and connect it to the albedo field.
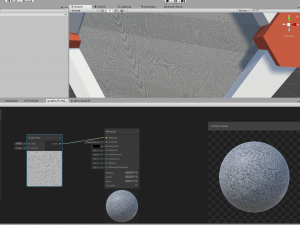
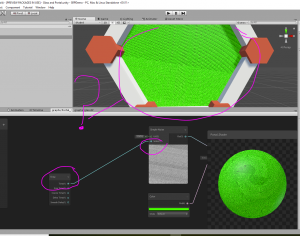
Saving the shader reveals an extremely fine noise on the game object; let’s change the scale so that it isn’t as fine.
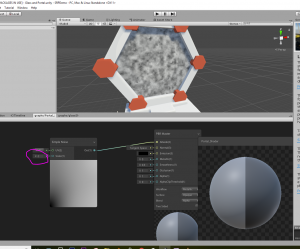
This is the key stone of our shader. Right now it is plugged into the albedo field which means that we can’t change the color of this node and that it will always be this dull grey color. To fix this, we need another node that will blend the texture and a color that we specify. This node is appropriately called a blend node. You know how to add it in (right-click and click “create node” and search “blend”), drag the out put of the noise node and place it in one of the slots in the blend node. Then create a new color node (you know the drill) and place it’s output in one of the slots on the blend node. Change the color of the color node and drag the out put of the blend node into the albedo socket.
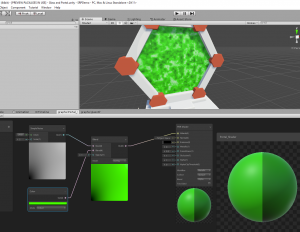
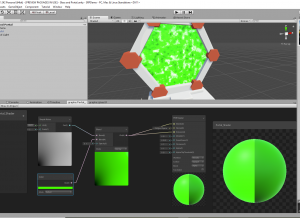
Now that we have the texture colored, we want it to be bright and emit light. This can be accomplished by simple dragging the output of blend node into the “Emission” socket on the base node.
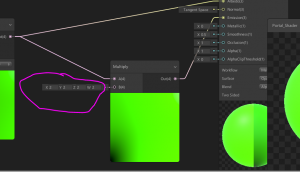
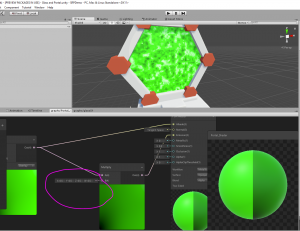
But this seems a little too bright. What we can do about this is to create another node, called a Multiply node, that simply multiplies two values together, except, we can make one of the values an output from another node, which, in our case, is the Blend node. You already know how to create a node so just search Multiply and add it in. The bottom value is what we use to change the emission.
It has four values because the output from the blend node is a Vector4, I encourage you to play around with these values as you can make some really interesting results, for me, I just wanted the brightness to be decreased as a whole which meant that I reduced all of the values to a fourth of the original.
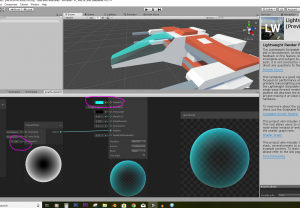
By the way, be sure to save the asset after you make a change, otherwise you wont be able to see the result! Our portal is looking fairly decent, but it lacks something. If we were to put this in a game it would just look like a very odd colored game object. What could we add to make it look, well, look more like a portal? How about animating this texture? How about a texture that will change its appearance over time? This would give the game object a sense of urgency or usefulness. There are a couple ways to do this, one would be to just create a new node, called a Time node that outputs a value that gets modified over time, and then to plug that node into the Scale socket on the noise texture. Go ahead and try this, just pick an output socket (or experiment) and plug it into the Scale socket on the Simple Noise node.
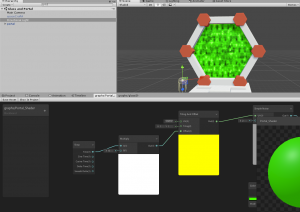
This does make the texture change over time, but we can also make it so that it looks like the texture is constantly moving in one direction on the game object. Basically, we can make the texture move. To do this we need a new node (of course!) called a Tiling and Offset node. By now whenever I say that we need a new node and I specify the name, you should know that all you have to do is search the name and you can find it and add it to your shader. This node’s output will plug into the UV section of our texture, 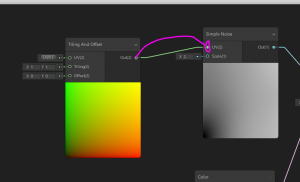 and the input we are concerned with on this node is the “Offset” socket, this will receive input from the top socket on the Time node.
This should make your preview automatically start moving. What is going on here? Well, whenever we create a noise node we are actually creating a new texture. And when we use the UV socket we are modifying the properties of the texture itself. One of those properties for a noise texture is the position, or offset, of the texture. And so we are telling the texture to change its position over time (by using the time node). Now if we hit save and take a look, our texture is moving!
However, if your are looking at this and thinking, “That’s kind of slow” you are thinking the exact same thing when I first saw this. And if you are thinking that (and you’ve been paying attention), you should already have a solution. How would you fix that? Simple, use a Multiply node! That’s right, all you do is place it between the Time node and the Tiling and Offset node and change the lower value to speed it up! You knew how to do that right?
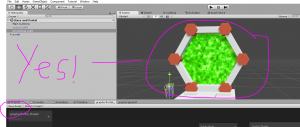
Wow. Guess what you’re done!
Properties
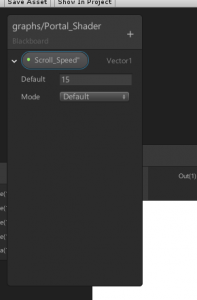
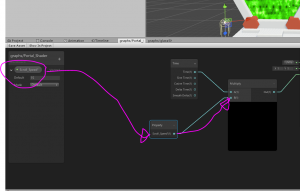
Before we finish, there is one part of the SRP that is kinda like the icing on the cake, properties. Click the plus icon on the left window and create a Vector1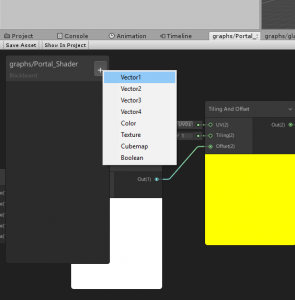
called “Scroll Speed” and set the default to 15.
Now actually drag the property onto the shader and grab the output and plug it into the lower value on the Multiply node.
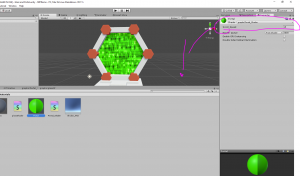
What did we just do? Well, go to you material and check out what just happened.
Isn’t that cool! Now you can customize this value during gameplay without having to open the shader at all!
Conclusion
I hope you have enjoyed this tutorial. This tutorial was obviously not exhaustive, there is much more to explore, which is what I encourage you to do. Start exploring what other nodes can go into the UV slot, or experiment with different types of noise textures. It’s really a neat tool, so use it to,
Keep making great games!
