At the beginning of this tutorial series, we started building our Phaser 3 MMORPG. In Part 1, we did the following:
- We set up the basic project and installed the required dependencies.
- We added SocketIO to our project and added the server side logic for when a player connects and disconnects to our game.
- We wrapped up by adding the SocketIO library to the client side code.
In Part 2 of this tutorial series, we will continue adding the web socket logic to client-side code, update the logic for adding players to our game and start adding the logic for allowing the players to attack.
If you didn’t complete Part 1 and would like to continue from here, you can find the code for it here.
You can download all of the files associated with the source code for Part 2 here.
Let’s get started!
Did you come across any errors in this tutorial? Please let us know by completing this form and we’ll look into it! FINAL DAYS: Unlock coding courses in Unity, Godot, Unreal, Python and more.
Table of contents
Refactoring Client Logic
Before we start working on the logic for creating our player when the currentPlayers web socket message is received, we are going to refactor the logic in the methodcreate of our Phaser game. Currently, our methodcreatecontains a lot of logic and to make our game more manageable,so we are going to split the logic out into a few different functions.
To do this, open public/assets/js/game.js and replace all of the logic in the create function with the following code:
create() {
  this.socket = io();

  // create map
  this.createMap();

  // create player animations
  this.createAnimations();

  // create player
  this.createPlayer();

  // update camera
  this.updateCamera();

  // user input
  this.cursors = this.input.keyboard.createCursorKeys();

  // create enemies
  this.createEnemies();
}

createMap() {
  // create the map
  this.map = this.make.tilemap({
    key: 'map'
  });

  // first parameter is the name of the tilemap in tiled
  var tiles = this.map.addTilesetImage('spritesheet', 'tiles', 16, 16, 1, 2);

  // creating the layers
  this.map.createStaticLayer('Grass', tiles, 0, 0);
  this.map.createStaticLayer('Obstacles', tiles, 0, 0);

  // don't go out of the map
  this.physics.world.bounds.width = this.map.widthInPixels;
  this.physics.world.bounds.height = this.map.heightInPixels;
}

createAnimations() {
  //  animation with key 'left', we don't need left and right as we will use one and flip the sprite
  this.anims.create({
    key: 'left',
    frames: this.anims.generateFrameNumbers('player', {
      frames: [1, 7, 1, 13]
    }),
    frameRate: 10,
    repeat: -1
  });

  // animation with key 'right'
  this.anims.create({
    key: 'right',
    frames: this.anims.generateFrameNumbers('player', {
      frames: [1, 7, 1, 13]
    }),
    frameRate: 10,
    repeat: -1
  });

  this.anims.create({
    key: 'up',
    frames: this.anims.generateFrameNumbers('player', {
      frames: [2, 8, 2, 14]
    }),
    frameRate: 10,
    repeat: -1
  });

  this.anims.create({
    key: 'down',
    frames: this.anims.generateFrameNumbers('player', {
      frames: [0, 6, 0, 12]
    }),
    frameRate: 10,
    repeat: -1
  });
}

createPlayer() {
  // our player sprite created through the phycis system
  this.player = this.physics.add.sprite(50, 100, 'player', 6);

  // don't go out of the map
  this.player.setCollideWorldBounds(true);
}

updateCamera() {
  // limit camera to map
  this.cameras.main.setBounds(0, 0, this.map.widthInPixels, this.map.heightInPixels);
  this.cameras.main.startFollow(this.player);
  this.cameras.main.roundPixels = true; // avoid tile bleed
}

createEnemies() {
  // where the enemies will be
  this.spawns = this.physics.add.group({
    classType: Phaser.GameObjects.Zone
  });
  for (var i = 0; i < 30; i++) {
    var x = Phaser.Math.RND.between(0, this.physics.world.bounds.width);
    var y = Phaser.Math.RND.between(0, this.physics.world.bounds.height);
    // parameters are x, y, width, height
    this.spawns.create(x, y, 20, 20);
  }
  // add collider
  this.physics.add.overlap(this.player, this.spawns, this.onMeetEnemy, false, this);
}
In the code above, we moved all of the logic that was in the create function into separate functions, and we removed the collision logic for the object layer in our game.
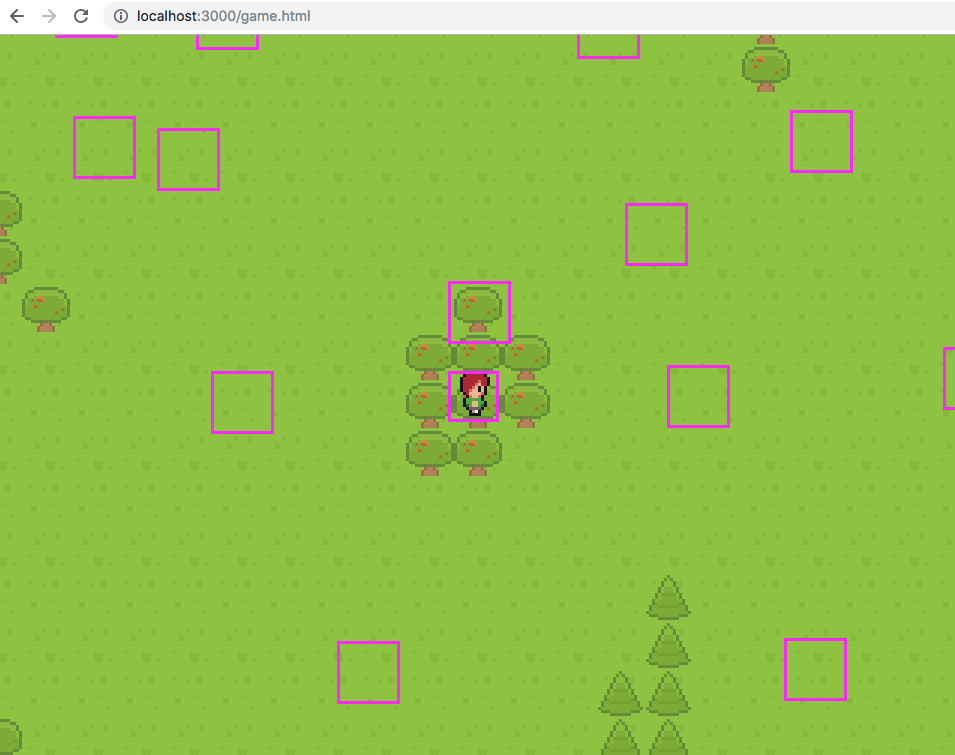
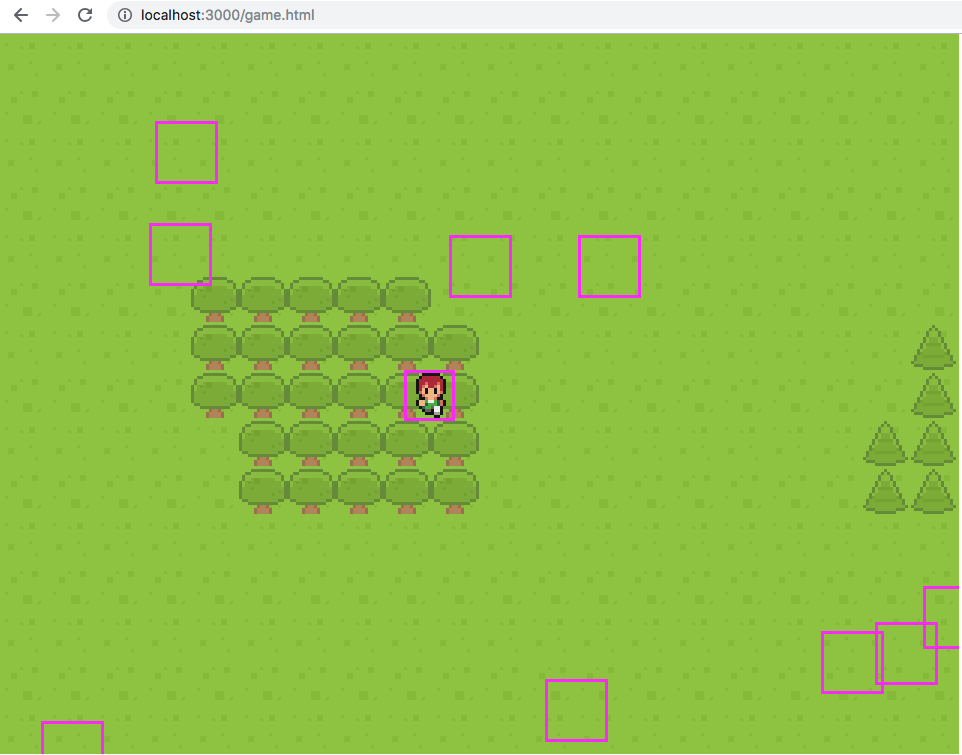
If you save your code changes, restart the server, and visit http://localhost:3000/game.html in your browser, you should see that the game still loads. If you move your character around the map, you should notice that the character can now walk through the trees.
Updating the Player Creation Logic
With the create function logic refactored, we will now work on updating the player creation logic. To do this, replace the create function in the WorldScene class, in public/assets/js/game.js with the following code:
create() {
  this.socket = io();

  // create map
  this.createMap();

  // create player animations
  this.createAnimations();

  // user input
  this.cursors = this.input.keyboard.createCursorKeys();

  // create enemies
  this.createEnemies();

  // listen for web socket events
  this.socket.on('currentPlayers', function (players) {
    Object.keys(players).forEach(function (id) {
      if (players[id].playerId === this.socket.id) {
        this.createPlayer(players[id]);
      } else {
        this.addOtherPlayers(players[id]);
      }
    }.bind(this));
  }.bind(this));

  this.socket.on('newPlayer', function (playerInfo) {
    this.addOtherPlayers(playerInfo);
  }.bind(this));
}
In the code above, we did the following:
- First, we removed the `this.updateCamera();` line. We will be moving this to the
createPlayerfunction. - We then added event listeners for the
currentPlayersandnewPlayerweb socket messages. - In the function that is triggered when the
currentPlayersevent is received, we create an array of all the keys in theplayersobject and loop through them. We then check to see if that object’splayerIdmatches the socket id of the currently connected player.- If the id matches, then we call the
createPlayerfunction and pass that function the player object. - If the id does not match, then we call a new function called
addOtherPlayersand pass that function the player object.
- If the id matches, then we call the
- In the function that is triggered when the
newPlayerevent is received, we call theaddOtherPlayersfunction and pass that function theplayerInfoobject.
Next, replace the logic for the createPlayer function inside the WorldScene class with the following code:
createPlayer(playerInfo) {
  // our player sprite created through the physics system
  this.player = this.add.sprite(0, 0, 'player', 6);

  this.container = this.add.container(playerInfo.x, playerInfo.y);
  this.container.setSize(16, 16);
  this.physics.world.enable(this.container);
  this.container.add(this.player);

  // update camera
  this.updateCamera();

  // don't go out of the map
  this.container.body.setCollideWorldBounds(true);
}
In the code above, we did the following:
- First, we updated the
xandyposition of the player game object to be 0. Since we will be placing the player game object inside a container, that object’s location will be relative to the container’s location. - Next, we created a new container and placed that container at the location of the
playerInfoobject that was created on the server. - Then, we enabled physics on the container and added the player game object to the container.
- Finally, we called the
updateCamerafunction and updated thesetCollideWorldBoundlogic to be tied to the new container instead of the player game object.
Now, we need to update a few places in our code where we are referencing the player game object and replace it with the new container object. First, in the updateCamera function in the WorldScene class, update the following line: `this.cameras.main.startFollow(this.player);` to be:
this.cameras.main.startFollow(this.container);
Next, we will need to replace the update function logic in the WorldScene class with the following code:
update() {
  if (this.container) {
    this.container.body.setVelocity(0);

    // Horizontal movement
    if (this.cursors.left.isDown) {
      this.container.body.setVelocityX(-80);
    } else if (this.cursors.right.isDown) {
      this.container.body.setVelocityX(80);
    }

    // Vertical movement
    if (this.cursors.up.isDown) {
      this.container.body.setVelocityY(-80);
    } else if (this.cursors.down.isDown) {
      this.container.body.setVelocityY(80);
    }

    // Update the animation last and give left/right animations precedence over up/down animations
    if (this.cursors.left.isDown) {
      this.player.anims.play('left', true);
      this.player.flipX = true;
    } else if (this.cursors.right.isDown) {
      this.player.anims.play('right', true);
      this.player.flipX = false;
    } else if (this.cursors.up.isDown) {
      this.player.anims.play('up', true);
    } else if (this.cursors.down.isDown) {
      this.player.anims.play('down', true);
    } else {
      this.player.anims.stop();
    }
  }
}
In the code above, we did the following:
- First, we added a check to see if the new container object existed. We did this to make sure we didn’t run any of our
updatelogic until the container object has been created. - Next, we updated all of the
setVelocitylines to be tied to the container game object instead of the player game object.
The last thing we need to do before we can test our code changes is to update the createEnemies logic. In the createEnemies function in the WorldScene class, remove the following code:
this.physics.add.overlap(this.player, this.spawns, this.onMeetEnemy, false, this);
Now, if you save your code changes and refresh your browser you should see that the game still loads and that the player is now at a new location.
If you refresh your browser, you should see that the player gets created at a new location each time.
Creating other players
With the logic in place for creating the main player, we will now add the logic for the addOtherPlayers function. To keep track of the other players in our game, we will first need to create a new Phaser Physics Group. To do this, add the following line at the top of the create function inside the WorldScene class, below the this.socket = io() line:
this.otherPlayers = this.physics.add.group();
Then, add the following code below the createPlayer function in the WorldScene class:
addOtherPlayers(playerInfo) {
  const otherPlayer = this.add.sprite(playerInfo.x, playerInfo.y, 'player', 9);
  otherPlayer.setTint(Math.random() * 0xffffff);
  otherPlayer.playerId = playerInfo.playerId;
  this.otherPlayers.add(otherPlayer);
}
In the code above, we did the following:
- First, we created a new game object using the information contained in the
playerInfoobject. - Then, we choose a random tint for the
otherPlayergame object and stored that player’s id inside theotherPlayerobject so we can reference that value later. - Finally, we added the
otherPlayergame object to theotherPlayersgroup.
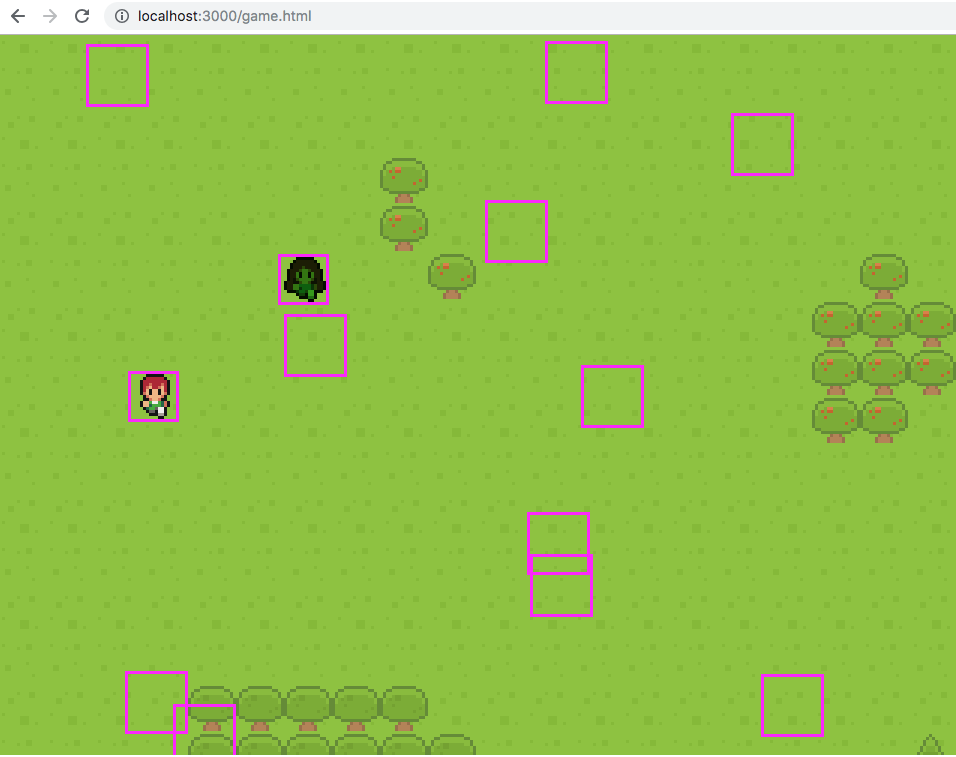
Now, if you save your code changes and refresh your browser, the game should load like before. However, if you open a new tab or window and navigate to the game page, you should see the other player in your game.
Note: you may need to move your player around the map to find the other player.
Handling Players disconnecting
Before we move on to creating our enemies, we have one issue we need to resolve with our player creation logic. Currently, if a player keeps refreshing their browser, or if they exit our game that player’s game object will stay in the other player’s game.
To fix this issue, we need to update our client-side logic to listen for the disconnect event, and when this event is received, we can delete that player’s game object. To do this, add the following code to the bottom of the create function:
this.socket.on('disconnect', function (playerId) {
  this.otherPlayers.getChildren().forEach(function (player) {
    if (playerId === player.playerId) {
      player.destroy();
    }
  }.bind(this));
}.bind(this));
Let’s review the code we just added:
- First, we listened for the
disconnectevent and we defined a function that will be triggered when this event is triggered. - When this function is called, that function will receive the id of the player that disconnected. Inside this function, we create an array of all of the
otherPlayergame objects by calling thegetChildrenmethod on the Phaser group. We then, use theforEachmethod to loop through the array. - While looping through the array of game objects, we check to see if that game objects
playerIdmatches the providedplayerId, and if it does then we destroy that game object. Now, if you save your code changes, refresh your browser, and load the game in multiple tabs, you should see that the individual player game objects are removed when they leave the game.
Creating Enemies
With the player creation logic out of the way, we will now start working on creating the enemies in our game. For this tutorial series, we will be creating the enemies on the client side of our game. Normally, we would want to create these enemies on our server and broadcast their location to the client side, however, this is out of scope for this tutorial.
For the enemies, we will be replacing the zones that are randomly placed around the map with player game objects. To do this, the first thing we need to do is load in the images that we will be using for enemies in our game. In the BootScene class, add the following code at the bottom of the preload method:
this.load.image('golem', 'assets/images/coppergolem.png');
this.load.image('ent', 'assets/images/dark-ent.png');
this.load.image('demon', 'assets/images/demon.png');
this.load.image('worm', 'assets/images/giant-worm.png');
this.load.image('wolf', 'assets/images/wolf.png');
this.load.image('sword', 'assets/images/attack-icon.png');
Then, replace all of the code in the createEnemies function in the WorldScene class with the following code:
createEnemies() {
  // where the enemies will be
  this.spawns = this.physics.add.group({
    classType: Phaser.GameObjects.Sprite
  });
  for (var i = 0; i < 20; i++) {
    const location = this.getValidLocation();
    // parameters are x, y, width, height
    var enemy = this.spawns.create(location.x, location.y, this.getEnemySprite());
    enemy.body.setCollideWorldBounds(true);
    enemy.body.setImmovable();
  }
}
In the code above, we did the following:
- First, we changed the class type of the game object that was being created from Zone to Sprite.
- Next, we changed the number of enemies created from 30 to 20.
- Then, when we are creating the enemy game objects we call a new function called
getValidLocationto get the location for where to place the enemy game object. Then, when we create the enemy game object we pass thelocationwe just created and we use a new function calledgetEnemySpriteto get the sprite for this enemy game object. - Finally, we call the
setCollideWorldBoundsandsetImmovablemethods on the enemy game object’s body.
Next, in the WorldScene class add the following code below the createEnemies function:
getEnemySprite() {
  var sprites = ['golem', 'ent', 'demon', 'worm', 'wolf'];
  return sprites[Math.floor(Math.random() * sprites.length)];
}

getValidLocation() {
  var validLocation = false;
  var x, y;
  while (!validLocation) {
    x = Phaser.Math.RND.between(0, this.physics.world.bounds.width);
    y = Phaser.Math.RND.between(0, this.physics.world.bounds.height);

    var occupied = false;
    this.spawns.getChildren().forEach((child) => {
      if (child.getBounds().contains(x, y)) {
        occupied = true;
      }
    });
    if (!occupied) validLocation = true;
  }
  return { x, y };
}
Let’s review the code we just added:
- First, in the
getEnemySpritefunction we created an array of the enemy sprites we loaded earlier. Then, we usedMath.floorandMath.randomto return a random sprite from that array. - Then, in the
getValidLocationfunction we create a while loop and inside the while loop, we generate a random x and y position that is within the bounds of our game.- Once we do this, we loop through all of the enemy game objects.
- For each of the enemy game objects, we get the bounds of that game object and we check to see if the
xandypositions we created earlier are contained within those bounds. - If the
xandypositions are not occupied, then we exit out of the while loop and return those positions.
Finally, we need to add a collider between the player container and the enemies group. To do this, add the following line at the bottom of the createPlayer function in the WorldScene class:
this.physics.add.collider(this.container, this.spawns);
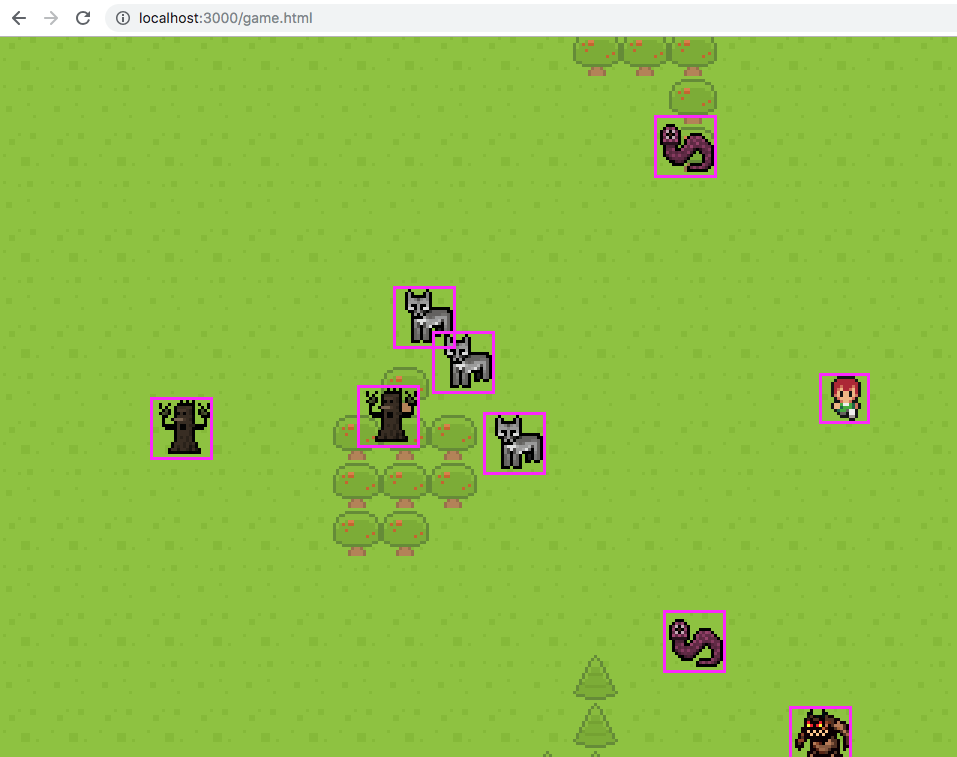
Now, if you save your code changes and refresh your browser, you should see the new enemy game objects.
Conclusion
With the new enemy game objects in place, that brings this part of the tutorial to an end. In Part 3, we will wrap up the tutorial by doing the following:
- Add logic for moving the enemy game objects.
- Add logic for attacking the enemy game objects.
- Add logic for allowing the players to chat.
I hope you enjoyed this and found it helpful! If you have any questions, or suggestions on what we should cover next, please let us know in the comments below.
