Hello world! In this post, we’re going to learn how we can use Google Play Services to access the user’s location. Along with that, we’re also going to learn how to use Android Marshmallow’s new runtime permissions to ask the user for location permission at runtime instead of when they download your app.
We’ll be building off of an existing application from a previous post here. In that post, we learned how to access the Internet and pull weather data from OpenWeatherMap given a specific latitude and longitude. We’re going to extend that app, and, instead of providing a latitude and longitude, the system will grab the user’s last known location and we’ll use that as the location to send to OpenWeatherMap!
Did you come across any errors in this tutorial? Please let us know by completing this form and we’ll look into it!

FINAL DAYS: Unlock coding courses in Unity, Godot, Unreal, Python and more.
Download the source for this project here.
Let’s get started! From the previous mentioned post, run NetworkDemo to double-check that it still works. We’re going to be adding location functionality in this app to grab the user’s location and send it to OpenWeatherMap instead. However, before we do that, we can’t just grab the user’s location without their permission!
The permission model took a new turn in Android 6.0 Marshmallow to an approach similar to iOS: ask for permission only when needed! In the old Android permission model, developers would post all of the permissions that their app used in the AndroidManifest. When they published their app, users could see all of the permissions that a particular app required on the Play Store. The downside was that before users could install the app, they had to agree to grant the app all of the permissions it requested. Concern arose when simple “Flashlight” apps requested Internet, camera, or audio permissions. Users didn’t like this as they had to debate whether or not to install a particular application based on that one suspicious condition. Browsing through the Play Store, users had to decide whether it was worth the risk of downloading a simple app that, for some reason, needed access to your camera.
The old permission model also promoted bad practices for developers as well. If your app tried to access some data without the appropriate permission, Android would just crash your app. This can get annoying if you keep forgetting to add permissions. To remedy this headache, instead of carefully thinking what about permissions their app really needs, developers would just add all of the permissions or much more than necessary so that they could develop more seamlessly. When they would go to publish, their app would have many unnecessary permissions that users wouldn’t be comfortable with so developers lose user installs and wonder why!
Starting in Android 6.0 Marshmallow, we now have runtime permissions that developers must declare in both the manifest (partly for backwards compatibility) and request them at runtime. This forces developers to only include the permissions they need and gives the users more freedom and security in limiting what your app can do. For example, take the Google Keep app. We can add audio or images to a note, but those permissions aren’t enabled at first. The first time a user clicks on the audio button, the app asks the user whether or not they have permission to access the device’s microphone. Should the user say yes, then the appropriate action occurs. However, if the user declines, we can just disable the functionality that requires that permission. For example, if I didn’t want Keep to access my microphone, I wouldn’t be able to take audio notes until I tap the audio icon again and accept the permission. Also, we can decide when to ask again, as long as we don’t pester the user about accepting a permission.
We’ll generally want to ask the user for permission when we need it with one exception: if the permission is central to our app, then we can request it right at the start. If the user declines, we should show some rationale as to why this permission is central to our app. Hopefully, this won’t be the case since our app’s purpose will be clear enough that users will understand why we need a particular permission.
In our case, location is obviously central to our application so we can just request our permission in onCreate(…) . Add the following code to the method.
if (ContextCompat.checkSelfPermission(this, Manifest.permission.ACCESS_COARSE_LOCATION)
        != PackageManager.PERMISSION_GRANTED) {
    ActivityCompat.requestPermissions(this, new String[] { Manifest.permission.ACCESS_COARSE_LOCATION },
            PERMISSION_ACCESS_COARSE_LOCATION);
}
What we’re doing is first checking to see if the coarse permission location isn’t already granted. If it isn’t then we need to request it. We also need to give it a constant as an identifier in the callback method. We need a callback method as a check the result of the request. This is called onRequestPermissionResult(…) and we need to override it as the following.
@Override
public void onRequestPermissionsResult(int requestCode, String[] permissions, int[] grantResults) {
    switch (requestCode) {
        case PERMISSION_ACCESS_COARSE_LOCATION:
            if (grantResults.length > 0 && grantResults[0] == PackageManager.PERMISSION_GRANTED) {
                // All good!
            } else {
                Toast.makeText(this, "Need your location!", Toast.LENGTH_SHORT).show();
            }

            break;
    }
}
We perform a switch-case on the request code and check if the resulting array is greater than zero. If so, we check if the first (and only) permission was granted. If so, we’re good to go! If not, then we tell the user. As I mentioned before, there are more robust ways of doing this, but this method will suffice for now.
Now that we have permission to grab the user’s location, let’s actually do that and send it to OpenWeatherMap. We’ll have to refactor our existing code, but we first need to learn how to get location. The location APIs are now integrated with Google Play Services and made backwards-compatible all the way back to Android 2.2 Froyo devices. We also have a new FusedLocationProvider that will automatically select the best method of ascertaining the user’s location: either WiFi or GPS. It’s also very easy to use, but we’ll need to make sure we have the Google Play Services support library and add it to our Gradle build file. Open up the SDK manager and go to the SDK Tools tab. Download the latest version of Google Play services. Afterwards, expand the Gradle Scripts item in Android Studio’s Project Explorer on the left. Double-click the build.gradle file for the app module, NOT FOR THE PROJECT! In the dependencies code block, add the following line: compile ‘com.google.android.gms:play-services:8.3.0’ . Replace the version number with the most recent one. This will give us access to Google Play services and the FusedLocationProvider API.
Now let’s go back to our MainActivity.java file. Let’s declare a field for the Google Play Services API client and instantiate it on onCreate(…) like the following.
...
private GoogleApiClient googleApiClient;

...

@Override
protected void onCreate(Bundle savedInstanceState) {
    ...

    googleApiClient = new GoogleApiClient.Builder(this, this, this).addApi(LocationServices.API).build();
}
We create a new client through the means of a builder inner class. The first parameter is the Context and the next two parameters are callbacks for when the connection succeeded, was suspended, or failed. Then we add the location services API and finally call build() . However, now that we have the client, we need to connect it when we need to use location and disconnect it when we’re not using location to conserve system resources. Ideal places to do this are the onStart() and onStop() methods. The former is called before the Activity is visible on screen and the latter is called after the Activity leaves the screen. These won’t be called when a dialog or other view partially blocks the current activity, else we’d be connecting and disconnecting very frequently and wasting even more resources! Override those lifecycle methods and add the following code inside them to connect and disconnect the API client.
@Override
protected void onStart() {
    super.onStart();
    if (googleApiClient != null) {
        googleApiClient.connect();
    }
}

@Override
protected void onStop() {
    googleApiClient.disconnect();
    super.onStop();
}
Now that we have the connection set up, we can look at the most important method for Google Play services: onConnected(…) . This method is called when we’ve successfully connected to Google Play services. Beyond this point, we can use any of the APIs we declared when we were building the object. We should first check if the user gave the permission to use location services in the same fashion as the onRequestPermissionsResult(…) method. Then we can get the user’s last known location and run the code to fetch the weather. We can implement the method like the following.
@Override
public void onConnected(Bundle bundle) {

    if (ContextCompat.checkSelfPermission(this, Manifest.permission.ACCESS_COARSE_LOCATION)
            == PackageManager.PERMISSION_GRANTED) {
        Location lastLocation = LocationServices.FusedLocationApi.getLastLocation(googleApiClient);

        double lat = lastLocation.getLatitude(), lon = lastLocation.getLongitude();
        String units = "imperial";
        String url = String.format("http://api.openweathermap.org/data/2.5/weather?lat=%f&lon=%f&units=%s&appid=%s",
                lat, lon, units, APP_ID);
        new GetWeatherTask(textView).execute(url);
    }
}
Notice that we can retrieve the user’s last location very simply using the FusedLocationAPI. We then extract the latitude and longitude from the Location object and execute the task. Note: we know need a field that store the main textView of the screen so that we can grab a reference to the textView in onCreate(…) for efficiency reasons. We can do this using standard procedure: textView = (TextView) findViewById(R.id.textView); .
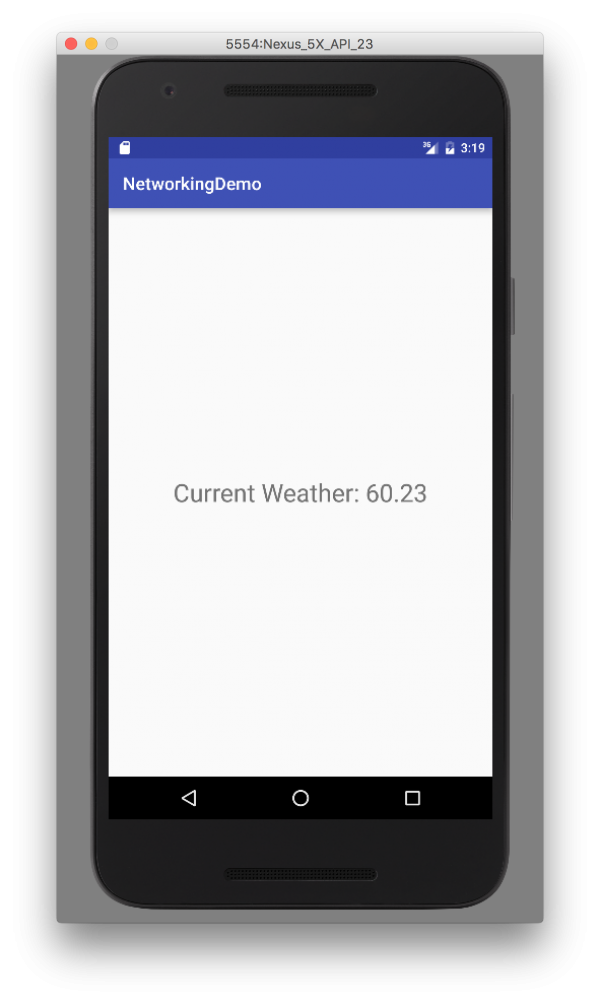
There’s just one last thing we have to do before we can run this application. We need to make sure our emulator supports Google Play services. We can do this by opening up the SDK manager once more and downloading a system image that says “Google APIs” in the title. Create a new AVD from that system image and we should be good to go! After we’ve done all of this, we should have a complete application and it will ask for your location and then display the current weather at that latitude and longitude! Here are some screenshots below.

Conclusion
In this post, we learned about Android Marshmallow’s new runtime permissions model that asks the user for permission only when needed, not all up front. We also covered how to connect to Google Play Services. Many of Android’s newer APIs, like location services, will require the Google Play Services configuration. Finally, we used the FusedLocationProvider API to gain access the the user’s last known location and sent that through to OpenWeatherMap to give the user the current weather at their current location.
FAQ
Why is the location always null?
Make sure that you are connected to the internet and that location is turned on. For anyone integrating location into their code, remember that that the GoogleApiClient could connect before we have permission or vice-versa! Do not try to fix this by using infinite loops! Try putting location-sensitive code into another method and call it in a way that the ordering of callbacks leads to the same result. In other words, use that method call so that the app works regardless of if we connect to Google Play Services or get permission first.


