Table of contents
Introduction
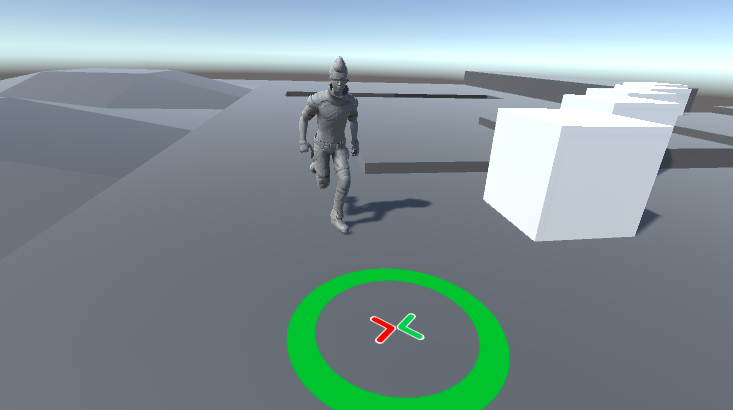
In this lesson we will make a character move to where the user clicks. This may sound simple but, as you will soon find out, it can get pretty complicated. I am using the current Navigation system in Unity 5.6. However, there are some new things coming to Navigation, which I discuss at the end of this tutorial. The scripts and terrain prefab can be downloaded here.
Did you come across any errors in this tutorial? Please let us know by completing this form and we’ll look into it!
FINAL DAYS: Unlock coding courses in Unity, Godot, Unreal, Python and more.
Setting Up The Project
Go ahead and create a new project called Navigation. Once the project has been created make a new folder called “Scenes.”
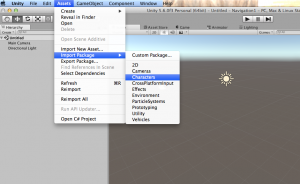
Save the current scene in that folder. Name the scene whatever you like, I called mine “Environment.” After that import the Unity Characters Standard Assets package.
It is possible to use primitive objects instead of humanoid characters but this just gives a nice visualization of how the system works. When the import dialogue box appears uncheck the First Person Character since we will only be working with the Third Person Controller. Once it is done importing create a folder called “Models”.
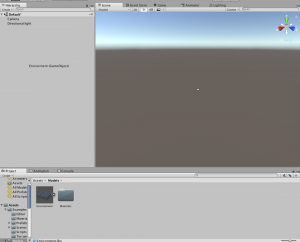
This is where we will store the terrain. Import the terrain model and prefab. Store the terrain in our recently created folder, “Models.” We now have our project set up and are ready to begin.
Making the character move to the clicked point
Drag the “terrain” prefab into the scene.
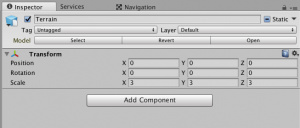
I found I had to triple the size so let’s do that now.
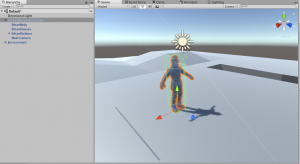
After you have scaled your terrain open the folder marked Standard Assets and navigate to Characters > ThirdPerson > Prefabs and drag onto the terrain the prefab marked “AIThirdPerson”
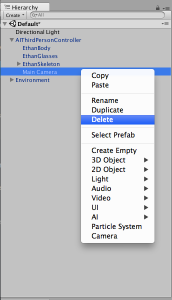
and delete the camera that is parented to it.
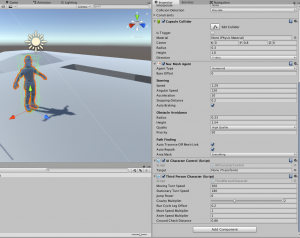
Check the inspector and make sure “AIThirdPerson” has a “Nav Mesh Agent” and an “AI Character Control” component attached to it.
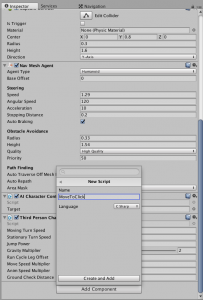
But we need to add one more component. Create a folder called “Scripts”. This is where we will put our new component. With the “AIThirdPersonController” selected click “Add New” in the inspector. Select “New Script” and call the script “MoveToClick”.
Before opening Mono-develop add the newly created script into our “Scripts” folder.
Now open the script and add these lines of code:
using System.Collections;
using UnityEngine;

public class MoveToClick : MonoBehaviour {
	private Ray _ray;
	private RaycastHit _Hit;
	public Transform OBJ;

	// Use this for initialization
	void Start () {
	}

	// Update is called once per frame
	void Update () {
		if (Input.GetMouseButtonDown (0)) {
			if (Physics.Raycast (Camera.main.ScreenPointToRay (Input.mousePosition), out _Hit)) {
				OBJ.position = _Hit.point;
			}
		}
	}
}
The script is really simple. When the user clicks, a Ray is sent out. Wherever the Ray hits, it moves a Gameobject (called OBJ) to the point where the Ray intersects that object’s collider. Obviously in order for the script to work it needs a Gamobject that it can move. Create an empty game object and call it “Target”. Drag “Target” into the reference box on the “MoveToClick” script. Also drag “Target” into the “AICharacterControl” reference box.
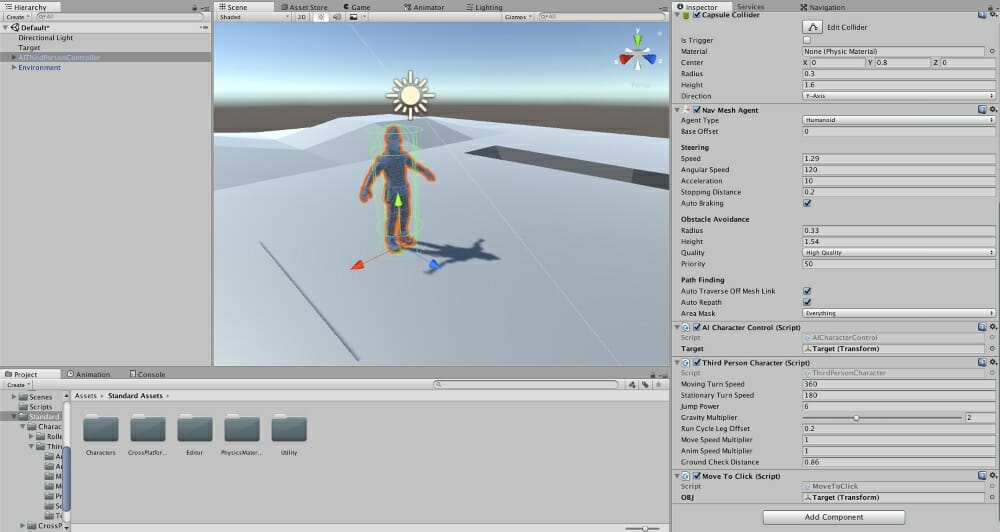
We will cover what is going on in the “AICharacterControl” script later in this lesson. After that is done play the game and try clicking to see if the character moves.
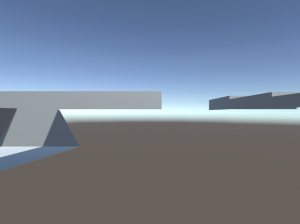
Oops, we forgot to position the camera. Position it so that it gets all of the terrain. Now play and click somewhere on the terrain. What happens? Nothing!
Baking the Nav-Mesh
Why didn’t anything happen? Well, part of the answer lies in the “AICharacterControl”. Go ahead and open the “AICharacterControl”. At first glance there seems to be lot of scary stuff and that feeling is pretty accurate but if you notice in the Update function there is a certain line that is of interest:
if (target != null)
                agent.SetDestination(target.position);
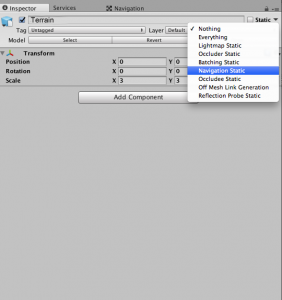
What this line of code is doing is telling something called a “Nav-Mesh Agent” to go to what ever transform is assigned. You’ll notice that a “Nav-Mesh Agent” is assigned to the “AIThirdPersonControl”. A “Nav-Mesh Agent” is a component with the ability to navigate on a “Nav-Mesh”. A “Nav-Mesh” is a procedurally generated mesh that allows the “Nav-Mesh Agent” to navigate to a specific target while avoiding obstacles. To make a Nav-Mesh click on the terrain and make it “Navigation Static”,
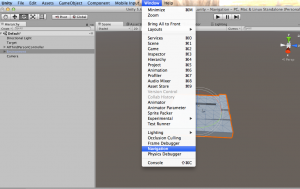
do the same to the “AIThirdPersonControl”. Then navigate (no pun intended) to Window > Navigation.
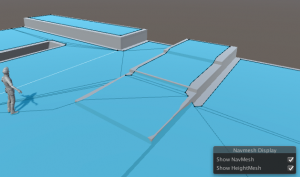
Click on the one tab labeled “Bake” then click the “Bake” button on the bottom of the tab. After it is done baking notice the blue plane that is created.
That is the Nav-mesh. Now let’s press play and see what happens. It still doesn’t move to where you click. Why? The answer is simple. Go to the terrain and locate the child named “Cube” then add a mesh collider.
What was happening was the Ray that the “MoveToClick” script was sending wasn’t colliding with the terrain because the terrain had nothing to collide with! NOW try and play. There beautiful! Now the character moves wherever we click! What we have done is really the moral to this story when it comes to the Nav-mesh. Test, fail, tweak, repeat. That is just all there is.
Tweaking the Nav Mesh Bake Settings
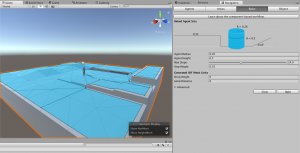
In the Nav Mesh bake settings there are a few things that effect how the Nav Mesh bakes to our environment. “Agent Radius” determines how wide the agent is. An agent’s radius is determined by the “Nav Mesh Agent” component. For the most part, make the height and radius in the bake settings the same values as the ones in the “Nav Mesh Agent”. “Max Slope” determines what a slope is. Anything less than that is considered walkable. Here I set mine to 20 degrees which makes both hills walkable. “Step Height” is the highest step the agent can run over. I set mine to 0.17, this makes the agent able to run over the first step on the stairs but still has to walk up all of them to get to the top. The last section, “Generated Off Mesh links”, isn’t necessary since we will do all of this manually. You can set any of these values to whatever you like. In fact it would be best if you did to get a feel for how the Nav Mesh bakes to certain changes in the settings.
Advanced Nav Mesh bake settings
If your settings are the following:
then you should notice that the Nav Mesh bakes the stairs as if they were a slope.
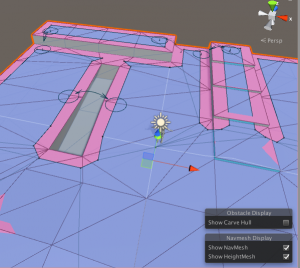
This is not always a bad thing. However, if you need exact placement of your agent on a step, such as to pick up a coin, this is where something called a “Height Mesh” comes in. A Height Mesh does exactly what we need it to, allows the agent to be precisely placed on a walkable surface. Under “Advanced” in the bake settings check “Height Mesh” and re-bake. 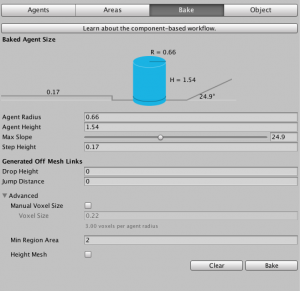
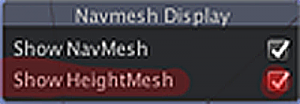
If you see no change make sure you can see the height mesh by enabling height mesh visibility.
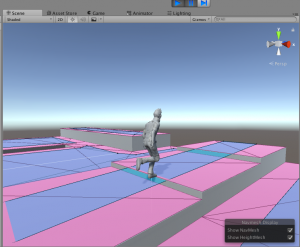
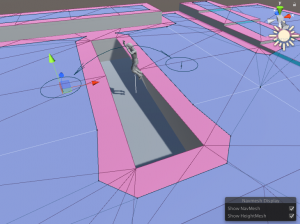
What you should see is a pink mesh generated over all the flat surfaces. Press play and see what happens. You may not notice too much of a difference. Position the camera closer to the steps and then see what happens. As opposed to a smooth walk up and down it now looks more choppy. This the way walking up stairs should look.
The other settings, “Manual Voxel Size” and “Min Region Area” are a manual way to describe how the Nav Mesh is baked. “Min Region Area” allows you to remove small, disconnected parts of the Nav Mesh. With Manual Voxel Size checked you can set the precision of the bake. The only time you may need this is if you want a more precise Nav Mesh or if you have a small agent radius. We are only using the “Height Mesh” so you can ignore the other settings.
Off Mesh Links
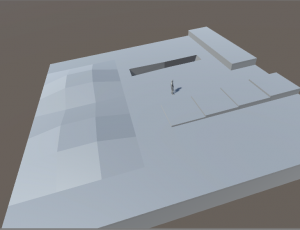
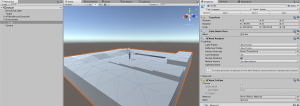
So now we have our character navigating up hills and stairs but there are still some places that our character is unable to get to, such as the big step/platform and the big trench/ditch. Well, both of those areas are to big to deal with by just using the Nav Mesh so why not make it where the player jumps over or onto either of them? This is accomplished by using something called “Off Mesh links”. An Off Mesh Link allows the navigation agent to interpolate (or jump) from one Off Mesh Link to another. Create an empty game object and call it “OffMeshLinks”, this will be the parent for all of our off mesh links. Create another game object and place it on one side of the trench, name it “Link1”. Add an “Off Mesh Link” component to Link1. Duplicate Link1 and place it’s clone on the other side of the trench. Populate the Start and End fields in the Off Mesh Link component with Link1 and its clone.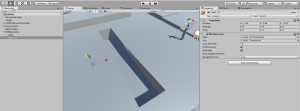
Only one Off Mesh Link component is necessary for a pair of Off Mesh Links so you can delete one of the components. Now play and see what the character does when you click on the other side of the trench. He now floats across the trench!
Now lets do the same thing for the big step/platform. Duplicate Link1 and drag it to the bottom of the platform. Duplicate it and move it to the edge of the step. Now populate the Start and End with… well you get the idea. Now would be a good time for you to populate your scene with as many Off Mesh links as you want. I am going to give you an overview of the Off Mesh Link component and then show you what I did to my scene. The “Start” and “End” fields should be pretty self explanatory. Two transforms that the agent can interpolate between. The “Bi-Directional” boolean determines if the links are reversible. With this checked the agent can go back and forth on the links. The “Cost Override” determines the priority of the link when it comes to the agent seeking a path. This is useful if you want your character to be more prone walking or vice versa. A higher value will make it less likely to be calculated in a path. “Activated” is another self explanatory one. Unchecked disables the link. With “Auto Update Position” checked it makes the links relative to each other. Moving the end point moves the start point as if they were parented. “Navigation Area” describes how the link is treated. Should the character walk over it? Should the character jump? Or not use it at all? This is how I used Off Mesh Links in my scene:
Nav Mesh Obstacles
So now our character can walk up slopes, jump over trenches, and avoid obstacles in its path. But what if those obstacles are moving? What do we do then? Well there is a component called (of course) “Nav Mesh Obstacle”. In order to use this component create a cube and place it somewhere on your environment. Then attach a new script to that object (placing it in the proper folder of course) called “Move”. In that script add these few lines of code:
using System.Collections;
using System.Collections.Generic;
using UnityEngine;

public class Move : MonoBehaviour {
	private bool switchedDirection = false;

	// Use this for initialization
	void Start () {

	}

	// Update is called once per frame
	void Update () {
		if (transform.position.x <= -9) {
			switchedDirection = true;
		}
		if (transform.position.x >= 8) {
			switchedDirection = false;
		}
		if (switchedDirection == true) {
			transform.Translate (Vector3.right * Time.deltaTime);
		}
		if (switchedDirection == false) {
			transform.Translate (Vector3.left * Time.deltaTime);
		}
	}
}
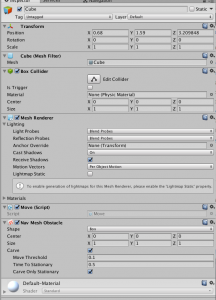
This script is a pretty basic “Move Back and Forth” script. Now attach the “Nav Mesh Obstacle” component to the cube along with our Move script.
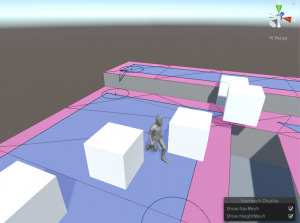
Now duplicate the cube and position the clones them all around your environment. Now press play and try putting your character in the path of a cube. You will notice that your character does its best to avoid the obstacles.
The “Nav Mesh Obstacle” is pretty self explanatory. However, the “Carve” boolean is very important. What it will do is actually put a hole in the Nav Mesh. With “Carve Only Stationary” checked the obstacle will only carve the Nav Mesh when the object is stationary. This optimizes pathfinding while not destroying your computer’s RAM at the same time.
The new Navigation system
At the 2017 GDC Unity announced a completely new navigation system. This system would completely remove the navigation window and go only to a component based system. Which means that instead of baking Nav Mesh’s before runtime they can be baked and rebaked according to whatever appears in the scene during runtime. Also, a new component similar to the off mesh link will allow agents to move across a whole area as opposed to the current Off Mesh Link which only allows for movement across two points. The new Navigation system is currently in beta, but the components can be downloaded at the Unity github here: https://github.com/Unity-Technologies/NavMeshComponents
This new system will hopefully be shipped soon with in Unity.
I hope this tutorial was helpful. Keep making great games!
