Today, we will finally start developing a game using everything we have learned in Unity3D. I have thought long and hard about how we should go about doing this and have decided to do the proper route. The proper route is we design, prototype, and implement the game. The tutorial today will be all about the design phase. The design phase is writing out what we want in the game with a few images pertaining to a rough draft to how the game will look.
become a professional vr game developer with unity
Pre-Order The Complete Virtual Reality Game Development with Unity and learn to create immersive games and experiences by building 10 VR games. The course assumes no prior Unity or VR experience – We’ll teach you C#, Unity and 3D programming from the ground-up
Check it out on Zenva Academy and get Early Access!
Part 1: Initial Design Phase
This section is the boring wall of text, sadly, there is no way around it although I will try to make it as short as possible while still being informative.
Section 1: Base game idea
To begin designing the game, we first need a basic idea that we can flesh out later. This section will be extremely short and act as a means to quickly jump into the next phase.
Our base game idea will be a 3D 3rd person view dodge game.
Section 2: Expanding upon the idea
Now that we have our base game idea, we need to begin to flesh it out some. The idea is to keep it as non-technically as possible in this phase.
3D 3rd person view dodge game that counts how long someone survives. It will have a leaderboard, a start screen, game play screen, credits screen, and game over screen.
The leaderboard will display the player’s name/ nickname and their survival time.
The Start Screen will allow the player to look at the leaderboard, play the game, exit the game, and look at the credits screen.
Section 3: Fleshing out more details
Now it is time to go into a brief idea of the game mechanics.
As the player plays the game, they must move around on the screen dodging obstacles that will drop down from the top, fly up from the bottom, or fly towards them from the right side of the screen. Player can only dodge the obstacles, no shooting.
Section 4: Starting the game design document
We now have the base idea for the game that has been fleshed out some. We can start writing our design document and specifying what features we want to have and would like to have. The main reason for want to have and would like to have is to determine what is critical to releasing the game and what features would expand upon the game that aren’t needed to release the game.
Your game design document can be as verbose as you want it with as deep of detail as you want to go. The idea for the design document is to allow for not only yourself to be able to look at it and start prototyping or developing the game, but for any developer that looks at it as well.
The game design document will follow (loosely depending on the type of game) this structure.
● Story
● Characters
● Level / environment design
● Gameplay
● Art
● Sound and Music
● User Interface, Game Controls
Section 5: Writing the document
The Big Story:
Ace pilot Jeffrey B is in deep trouble. He is out of ammo and rockets, deep in enemy skies, injured, and surrounded by pilots firing rockets at him. He called out to the radio tower for help, the radio man has control of the plane and has accessed the camera feed to assist Jeffrey B.
The Characters:
Jeffrey B. starring as himself
The player starring as the Radio Man
The Level/ Environment design:
A cloudy sky that has procedurally changing colors with each play through ranging from a sunrise orange, brilliantly sky blue, to a sunset red.
The Gameplay:
Character jet dodges procedurally generated rockets from various angles.
The Art Style:
3D Voxel artwork for simplicity and single person development.
The Sound and Music:
Music composed using an electronic keyboard and guitar. Menus will have a soft rock feel and the gameplay will have more hard rock to metal feel.
The User Interface:
A simple button interface for menus that designate whether it leads to another menu or to gameplay. Either by text or icons.
The Game Controls:
Controls for the menu will be handled via mouse input and game controls will allow for W,A,S,D/ Up arrow, Down arrow, Left arrow, Right arrow, or mouse movement.
Part 2: Prototyping
This section will detail how I go about prototyping, which involves pseudocode, crude pictures for the art design, and crudely written music.
What is Pseudocode?
The beginning programmer may not be familiar with the term, so let me start off by explaining what it is. Pseudocode is where you structure your writing to mimic your programming language.
Why go with crude pictures for the art design?
When doing your prototype, it doesn’t need to look like the finished product. Instead, you want to make it as quickly as possible and give an idea of how you want everything to look.
Why crude music?
This one is a personal preference for me. The crude music is the basic chord progressions you will be using with no leads or any real melody. It serves the purpose to see what bpm and feel you want to go for in the finished product.
Section 1: Crude Art
We know that we will be doing 3D Voxel art in the end, however, we can start off with 2D for the crude art. There are a couple of things we need to make. The Jet and the Missiles. Pretty basic even for the final product.
Our first item to make is the crude Jet. Go as simplistic as you can that conveys the basic idea.
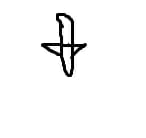
Pretty simple right? Now let’s look at what the final design looks like.
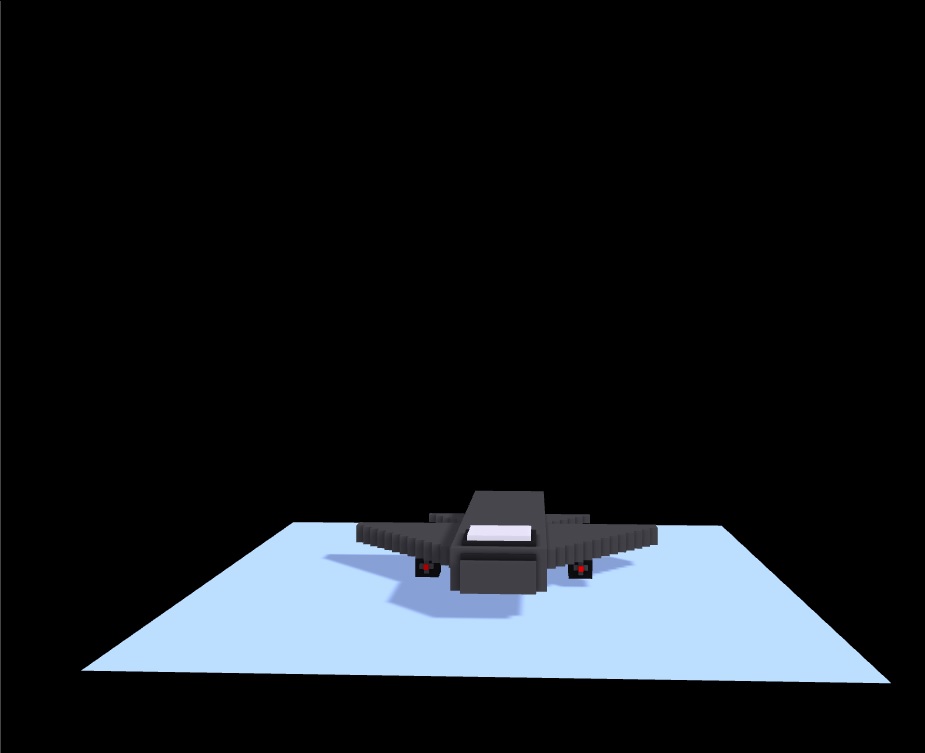
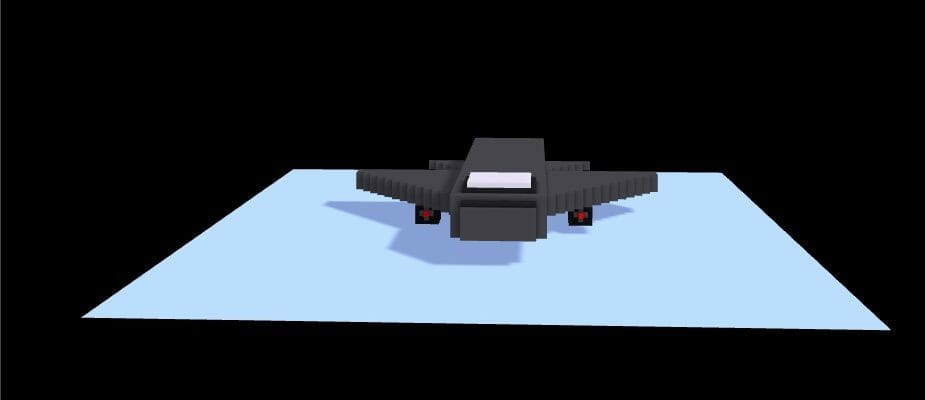
As you can see, the basic idea remains the same. The only difference is we started with 2D and ended with 3D Voxel art.
Let’s look at the missile now.
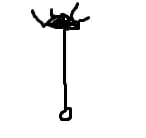
Again, extremely simple. Almost looks like an arrow. Again, we didn’t want to go too in depth with details. The artist will deal with that with the final product. Let’s look at the 3D version.
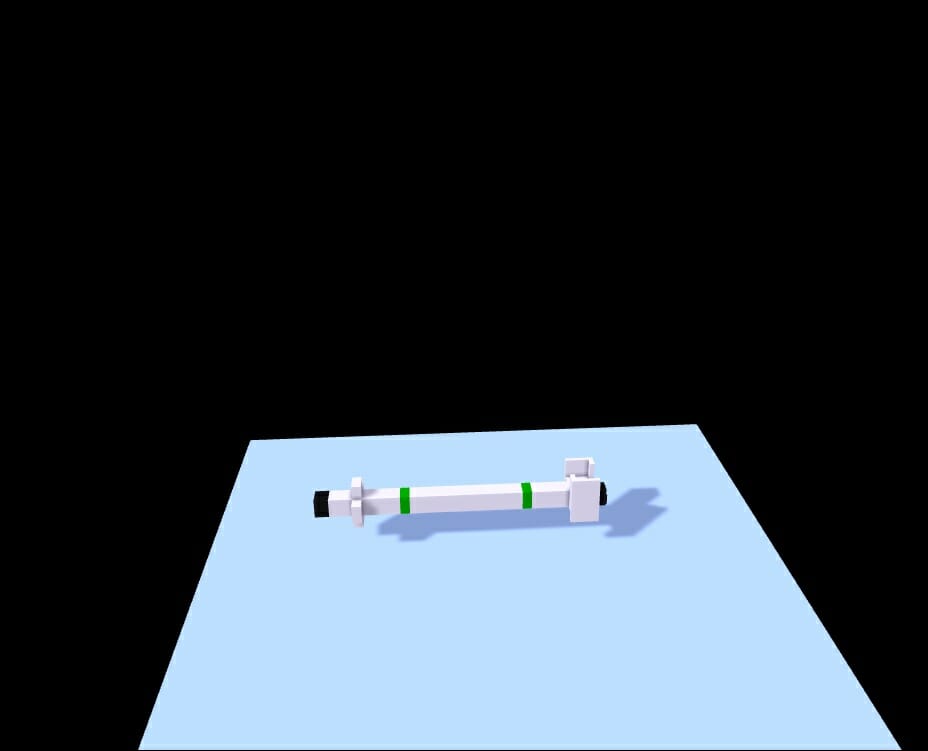
That looks a lot better and follows a design for an actual missile a bit better. On to the basic UI.
Here is how we envision our UI will look for starting the game.
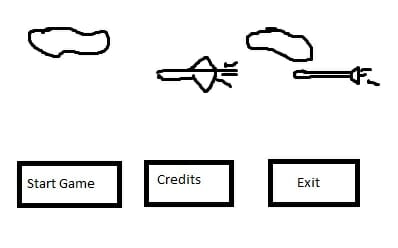
What we are looking at is the jet flying with a missile chasing it. Below, we have 3 buttons (Credits, Start Game, and Exit Game). This shows we want to have a minimalist UI that is easy to navigate. Let’s look at the final version from a Unity3D screenshot.
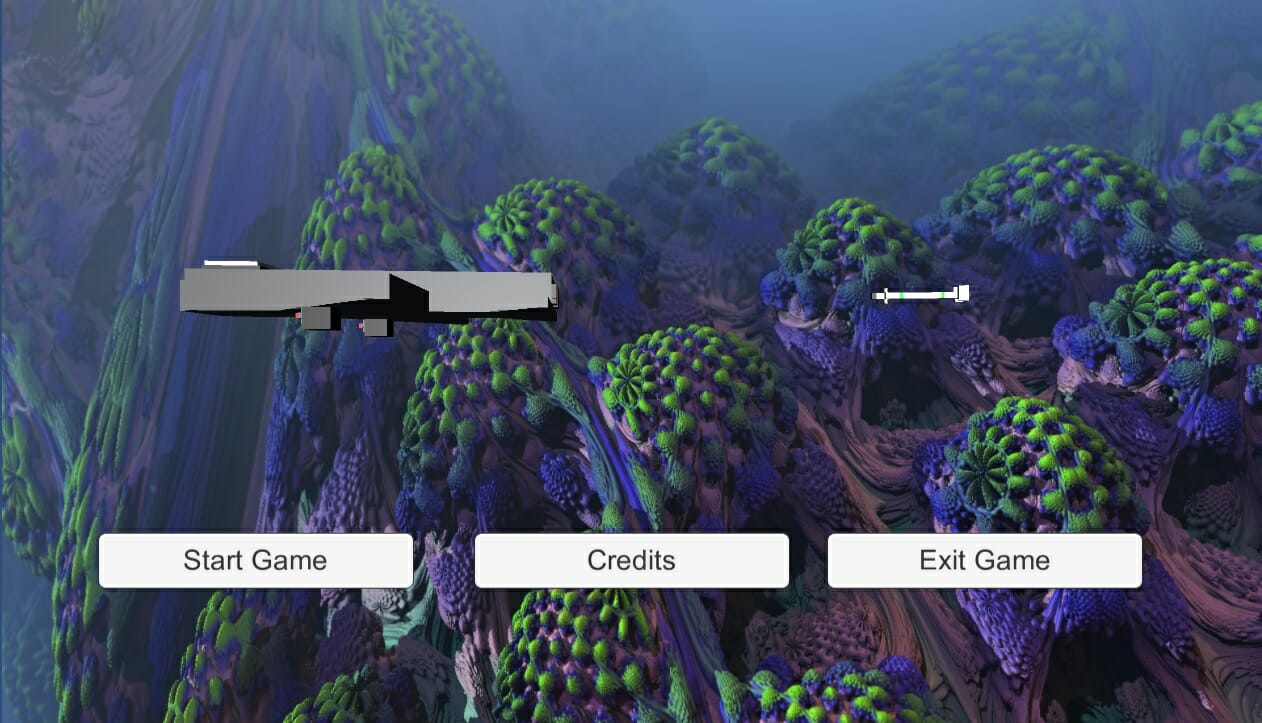
Very cool. It is starting to look a lot more like a game. But we haven’t addressed what we want for the background. I have decided that fractals based off the Mandelbrot and Julia sets would fit very well with the whole voxel theme.
Let’s take a step back for a moment here and answer a question you may have from my last statement. Fractals based off Mandelbrot and Julia sets? Fractals are images that have forever repeating patterns within it and is a very important and beautiful mathematical find. We are not going to be creating the fractals ourselves because that could be several tutorials of their own, instead, we are going to use fractals that have been premade.
Section 2: Crude music
This section is for those that have either used music creation software before or have musical knowledge. You can choose to skip it if you don’t have this knowledge or you can read it and hopefully start to learn a little bit about it.
As stated in the design document, we want the UI to have a more soft rock feel using keyboards and guitar. Now, we need to come up with the basic progression that would have that soft rock feel.
I am going to go with the key of C Major for the UI. I’m going with major because it sounds a little bit happier and it is also a lot easier to write. Below, I have the base scale and pentatonic scale written out in note letters. I have the diatonic Triads and chords that we can use written out as well as the Relative key.
The usage of the capitol M denotes that it is Major and the lower case m denotes that it is a Minor.
| Scale: | C, D, E, F, G, A, B |
| Pentatonic Scale: | C, D, E, G, A |
| Diatonic Triads: | 1. CM → C, E, G 2. Dm → D, F, A 3. Em → E, G, B 4. FM → F, A, C 5. GM → G, B, D 6. Am → A, C, E 7. Bdim → B, D, F |
| Relative Key: | A Minor |
Now that we have that information, we need to choose the chords we want to use.
CM, Am, GM, and Em are the basic chords we will use (C Major, A minor, G Major, and E minor). I chose these chords for 2 reasons. The first reason being that they are easy to play and very well used. The second reason is because it is very easy to incorporate using the relative key when writing the leads for the song.
Unfortunately, I cannot link the crude version of the song. What I will do is add it to the base project so that you can listen to it on your own time.
Part 3: Pseudocode Time
We are going to go through this section and specifically do the UI as pseudocode. The reason for this is because it seems we have been doing a focus on the basic UI. Which is perfectly fine because the next tutorial will be making the full game.
Section 1: Plan out what we want to do
We know we will need a Canvas Component to use certain components. We will also need 3 buttons.
Since this is editor, I will go with the GO structure. Which is an XML visualization of what we need.
<GOStructure>
<Canvas>
<Button1>
<Text>
</Button1>
<Button2>
<Text>
</Button2>
<Button3>
<Text>
</Button3>
</Canvas>
</GOStructure>
Pretty simple to follow right? GOStructure (Game Object Structure) is the root element of the entire XML file. Canvas is the Main Body of the XML. Button1, 2, and 3 all have a child element of Text.
This completes section 1 of the psudocode for our Editor with the Game Object Structure.
Section 2: Planning out button events
Now that we have the basic structure, it is time to figure out what each button does and how it does it. Now this is pretty simple in itself as well.
Button 1 is Start Game. Button 2 is the Credits scene. Button 3 is Exit Game.
Public ButtonController()
{
    Private void StartGame()
    {
        Start the game(); // This will utilize the Scene Manager class
    }

    Private void CreditsScene()
    {
        Go to the credits(); // Scene Manager class utilization once again
    }

    Private void ExitGame()
    {
        Exit the game(); // Application controls from System class
    }
}
The job of the pseudocode is to plan out the code. Not to write the actual code, although you could write code that “should” work instead. It is easier to go with pseudocode because you aren’t trying to copy and paste what you have just written.
Conclusion:
As you can see, the design process can take a vast amount of time to actually do. While it isn’t a bad thing, it could be resource consuming. If you are a hobbyist or a beginner, you could write the design document while you have down time at work, in class, or when you are bored. I would always suggest writing a design document whenever you are making any application or game.
Even if you are just recreating someone else’s game as practice, or making something on your own; the design document will help guide you along with the development cycle. It will also be something that you will need to know when getting a job as a developer. If you can read, write, and understand design documents and UML; it will most certainly be a plus.
I hope you enjoyed this tutorial, next week, we will use everything written in this tutorial as well as prior things I have taught to make this game. May your code be robust and error free, this is Jesse signing off.
