Table of contents
Introduction
Welcome back, and I hope you’re ready to finish creating our Godot FPS tutorial.
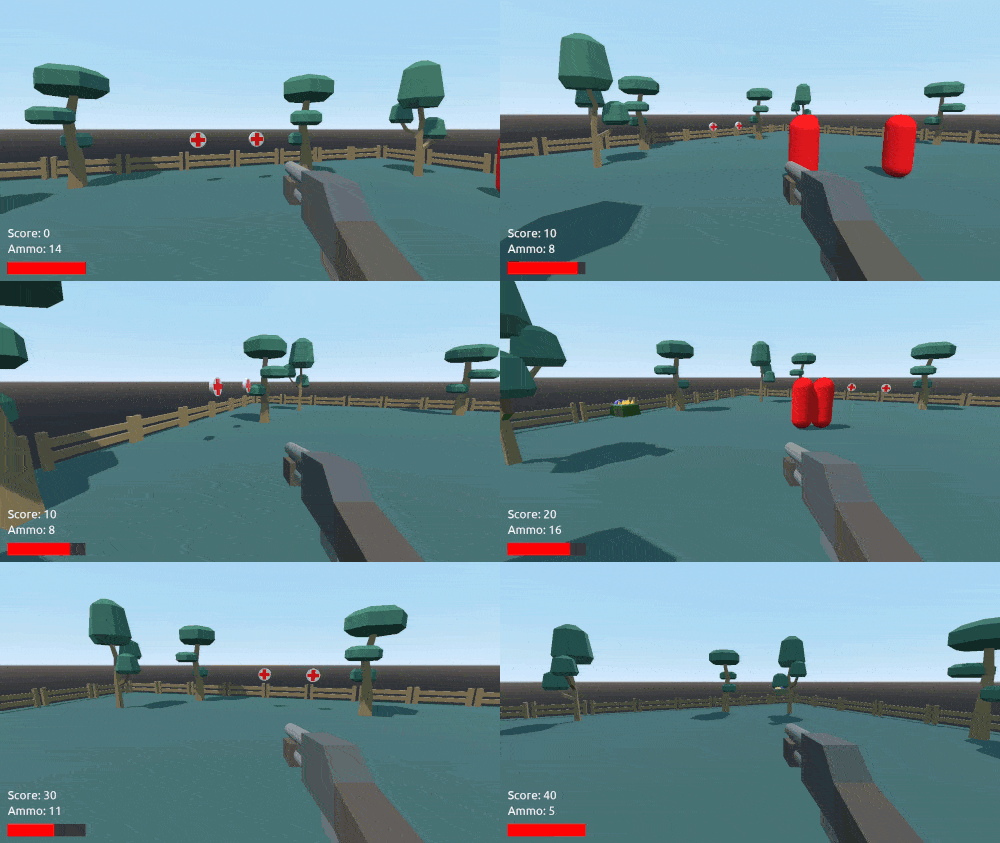
In Part 1, we set up our arena, our player character, our FPS camera, our gun, our bullets, and even our red enemies. However, while we certainly implemented the shooting mechanics, our enemies can’t yet damage players, get damaged themselves, or move. In addition, we have no pickups to speak of, let alone a UI to give the player essential health and ammo information. As such, in this tutorial, we will be jumping into setting those up.
By the end, you will have not only learned a lot about 3D game development, but also have a nifty FPS to add to your portfolio!
Project Files
For this project, we’ll be using a handful of pre-made assets such as models and textures. Some of these are custom-built, while others are from kenney.nl, a website for public domain game assets.
Did you come across any errors in this tutorial? Please let us know by completing this form and we’ll look into it! FINAL DAYS: Unlock coding courses in Unity, Godot, Unreal, Python and more.
Scripting the Enemy
Create a new script on the Enemy node. Let’s begin with the variables.
# stats
var health : int = 5
var moveSpeed : float = 1.0

# attacking
var damage : int = 1
var attackRate : float = 1.0
var attackDist : float = 2.0

var scoreToGive : int = 10

# components
onready var player : Node = get_node("/root/MainScene/Player")
onready var timer : Timer = get_node("Timer")
In the _ready function, we’ll set up the timer to timeout every attackRate seconds.
func _ready ():

    # setup the timer
    timer.set_wait_time(attackRate)
    timer.start()
If we select the Timer node, we can connect the timeout signal to the script. This will create the _on_Timer_timeout function. We’ll be working on this later on.
func _on_Timer_timeout ():
    pass
In the _physics_process function, we’ll move towards the player.
func _physics_process ():

    # calculate direction to the player
    var dir = (player.translation - translation).normalized()
    dir.y = 0

    # move the enemy towards the player
    move_and_slide(dir * moveSpeed, Vector3.UP)
The take_damage function gets called when we get damaged by the player’s bullets.
# called when we get damaged by the player
func take_damage (damage):

    health -= damage

    # if we've ran out of health - die
    if health <= 0:
        die()
The die function gets called when our health reaches 0. The add_score function for the player will be added soon.
# called when our health reaches 0
func die ():

    player.add_score(scoreToGive)
    queue_free()
The last function to add is the Attack function. We’ll be creating the player’s take_damage function soon.
# deals damage to the player
func attack ():

    player.take_damage(damage)
Finally in the _on_Timer_timeout function, we can check the distance to the player and try to attack them.
# called every 'attackRate' seconds
func _on_Timer_timeout ():

    # if we're at the right distance, attack the player
    if translation.distance_to(player.translation) <= attackDist:
        attack()
Player Functions
In the Player script, we’re going to add in a number of functions which we need right now and in the future. The die function will be filled in later once we have our UI setup.
# called when an enemy damages us
func take_damage (damage):

    curHp -= damage

    if curHp <= 0:
        die()

# called when our health reaches 0
func die ():

    pass

# called when we kill an enemy
func add_score (amount):

    score += amount

# adds an amount of health to the player
func add_health (amount):

    curHp = clamp(curHp + amount, 0, maxHp)

# adds an amount of ammo to the player
func add_ammo (amount):

    ammo += amount
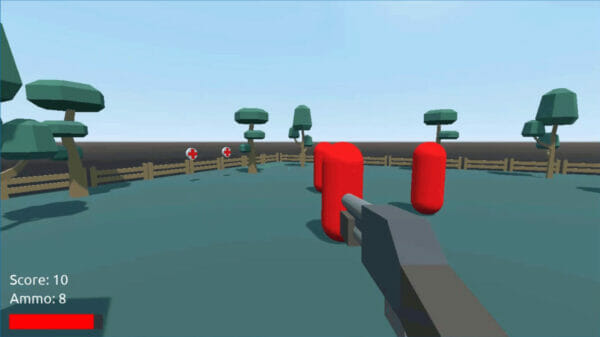
Now we can go to the MainScene and drag the Enemy scene into the scene window to create a new instance of the enemy. Press play and test it out.
Pickups
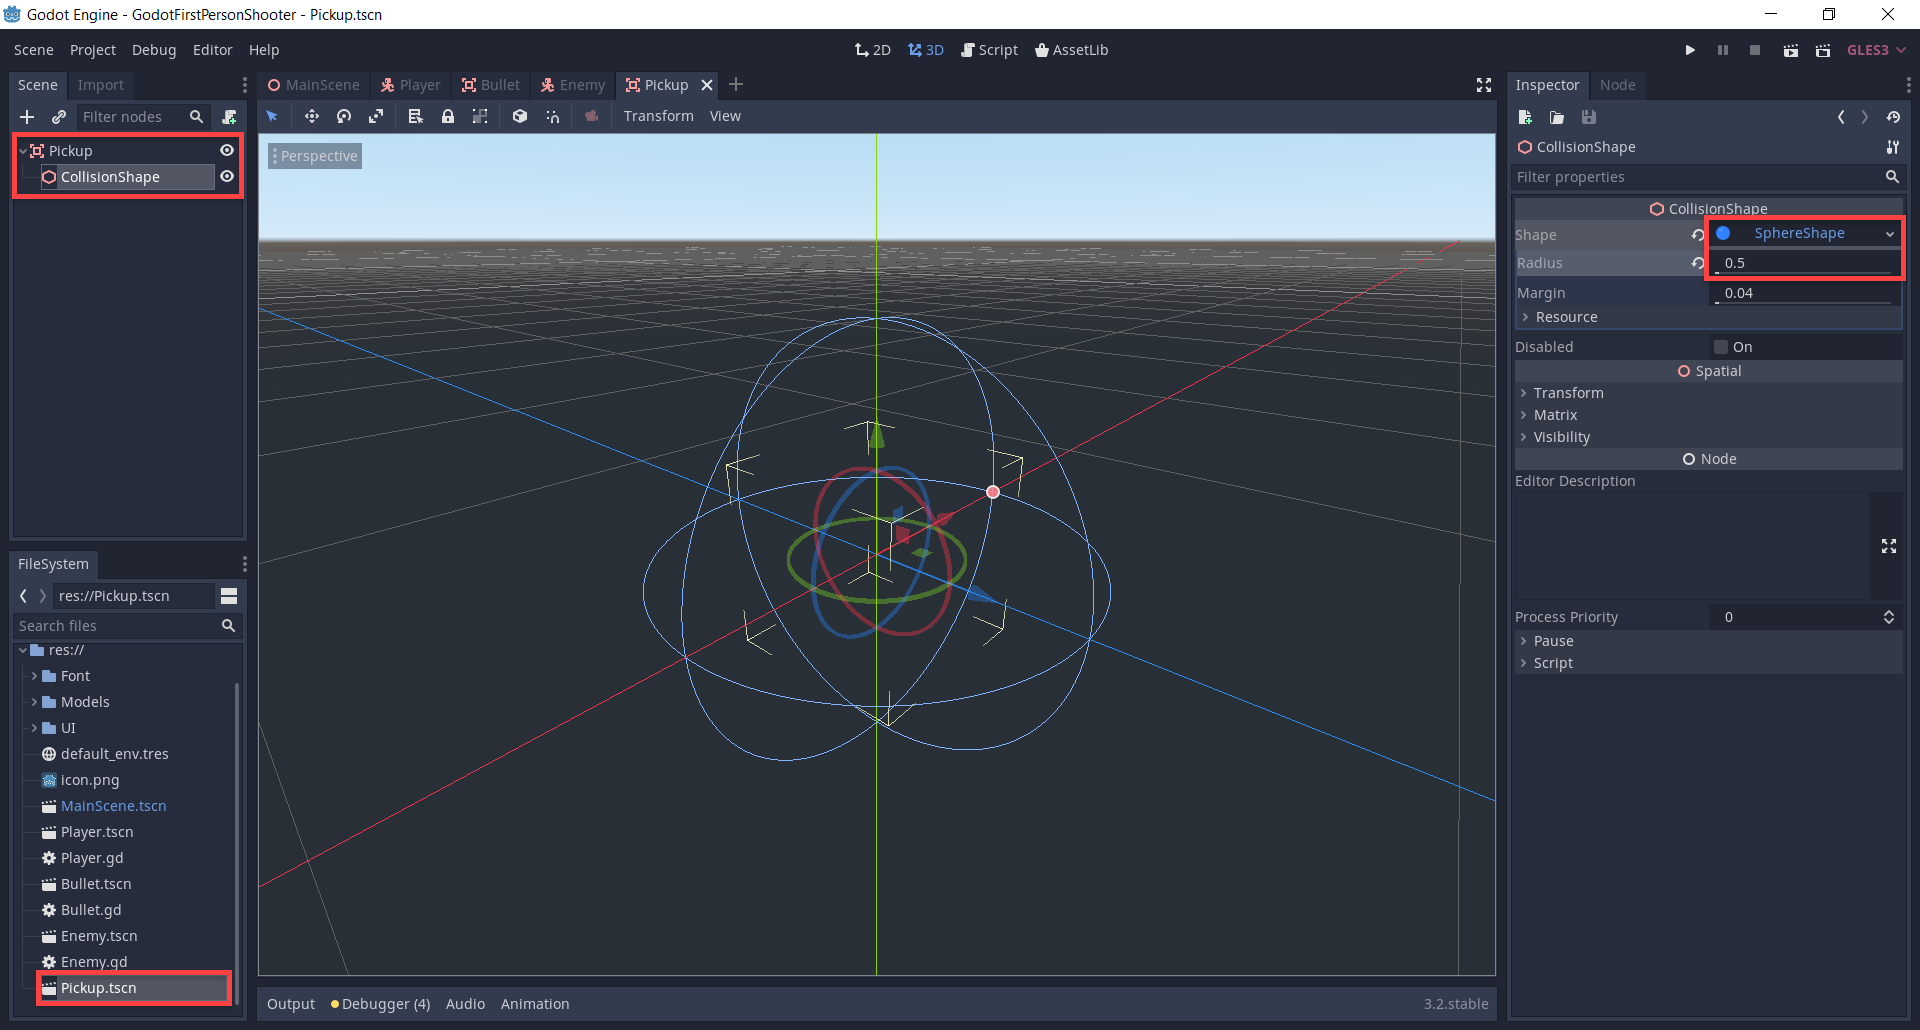
For our pickups, we’re going to create one template scene which the health and ammo pack will inherit from. Create a new scene with a root node of Area.
- Rename it to Pickup.
- Save the scene.
- Attach a child node of type CollisionShape.
- Set the Shape to Sphere.
- Set the Radius to 0.5.
Next, create a script on the Pickup node. First, we’ll create an enumerator which is a custom data type that contains different options.
enum PickupType {
    Health,
    Ammo
}
Then for our variables.
# stats
export(PickupType) var type = PickupType.Health
export var amount : int = 10

# bobbing
onready var startYPos : float = translation.y
var bobHeight : float = 1.0
var bobSpeed : float = 1.0
var bobbingUp : bool = true
In the _process function, we’re going to make the pickup bob up and down.
func _process (delta):

    # move us up or down
    translation.y += (bobSpeed if bobbingUp else -bobSpeed) * delta

    # if we're at the top, start moving downwards
    if bobbingUp and translation.y > startYPos + bobHeight:
        bobbingUp = false
    # if we're at the bottom, start moving up
    elif !bobbingUp and translation.y < startYPos:
        bobbingUp = true
Select the Pickup node and connect the body_entered node to the script.
# called when another body enters our collider
func _on_Pickup_body_entered (body):

    # did the player enter our collider?
    # if so give the stats and destroy the pickup
    if body.name == "Player":
        pickup(body)
        queue_free()
The pickup function will give the player the appropriate stat increase.
# called when the player enters the pickup
# give them the appropriate stat
func pickup (player):

    if type == PickupType.Health:
        player.add_health(amount)
    elif type == PickupType.Ammo:
        player.add_ammo(amount)
Now that we’ve finished the script, let’s go back to the scene and you’ll see that the Pickup node now has two exposed variables.
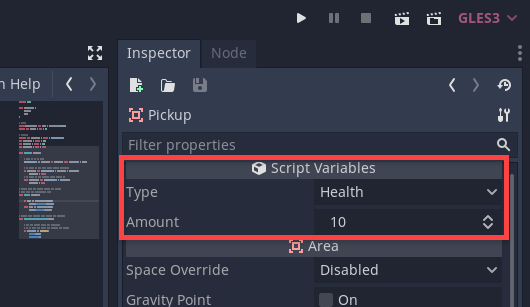
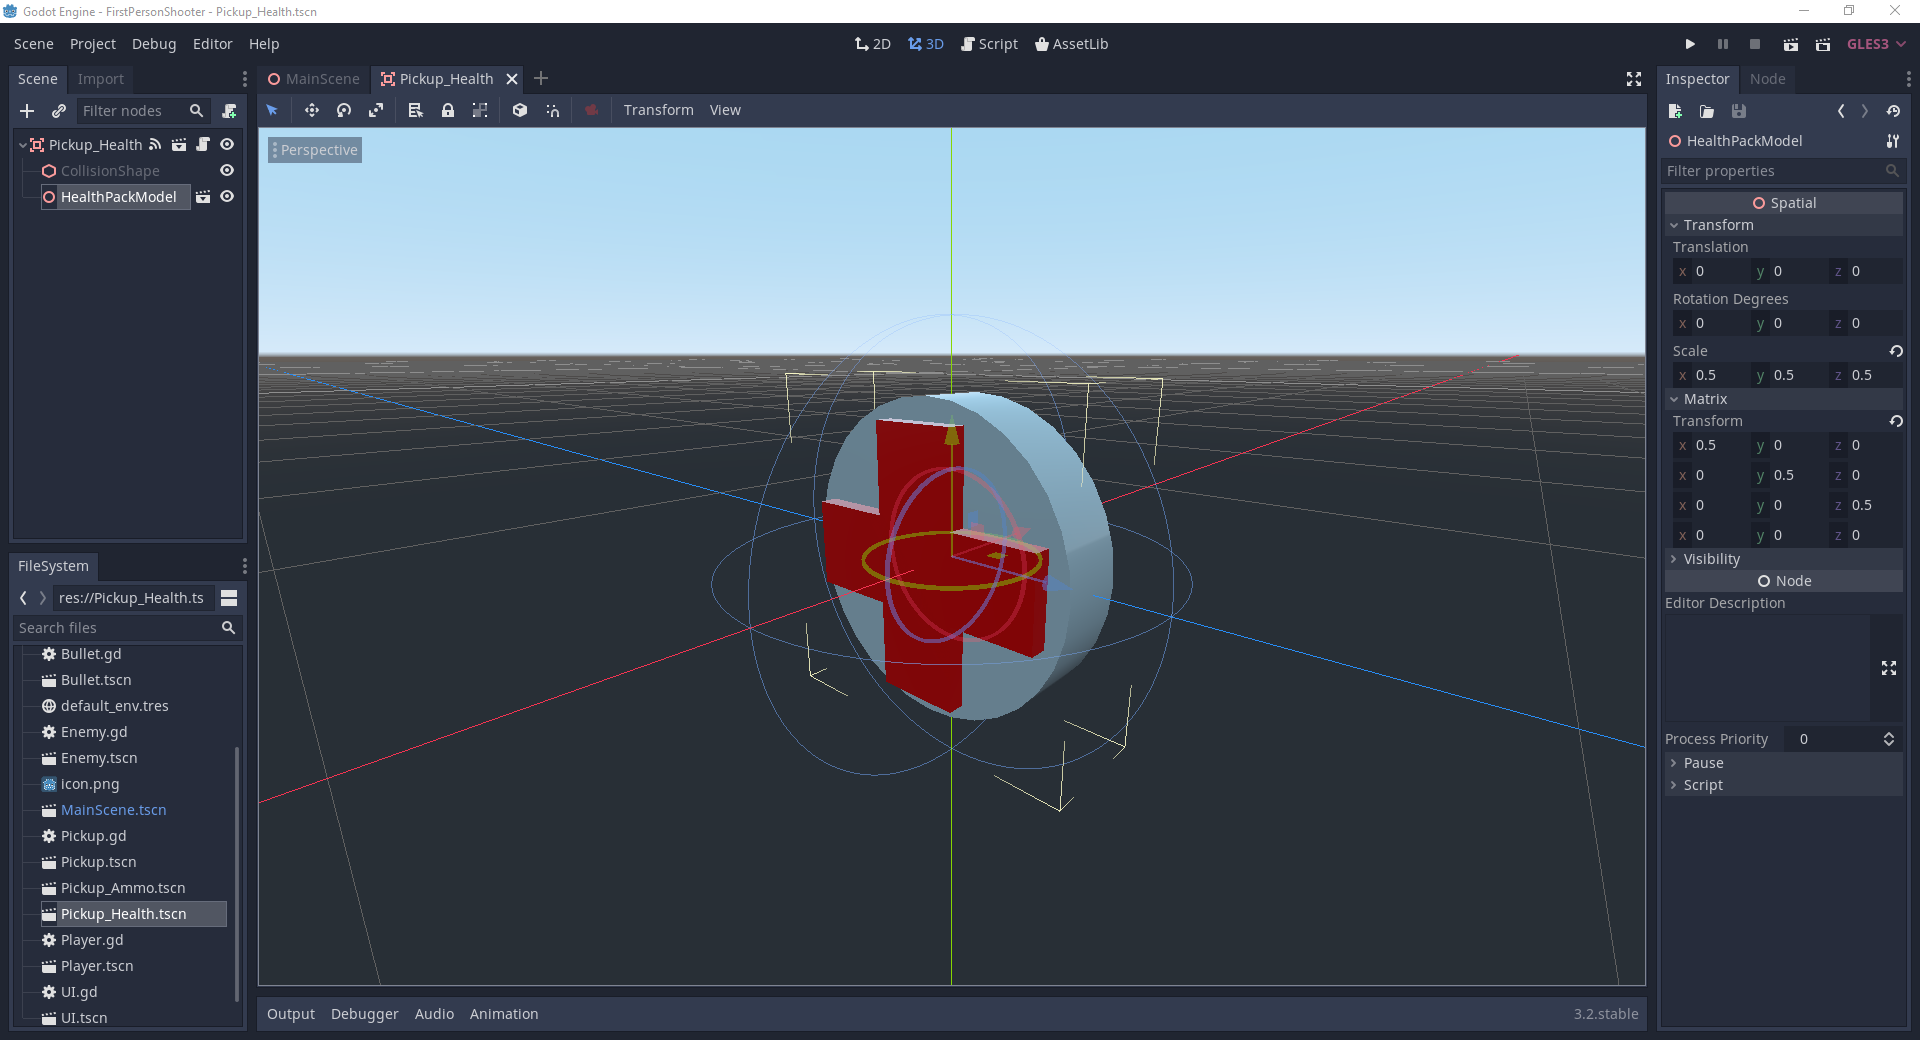
We’re now going to create two inherited scenes from this original Pickup one. Go to Scene > New Inherited Scene… and a window will pop up asking to select a base scene. Select the Pickup.tscn and a new scene should be created for you. You’ll see that there’s already the area and collider nodes there since they are a parent. This means any changes to the original Pickup scene, those changes will also be applied to the inherited scenes.
All we need to do here is…
- Rename the area node to Pickup_Health
- Set the pickup type to Health
- Drag in the health pack model
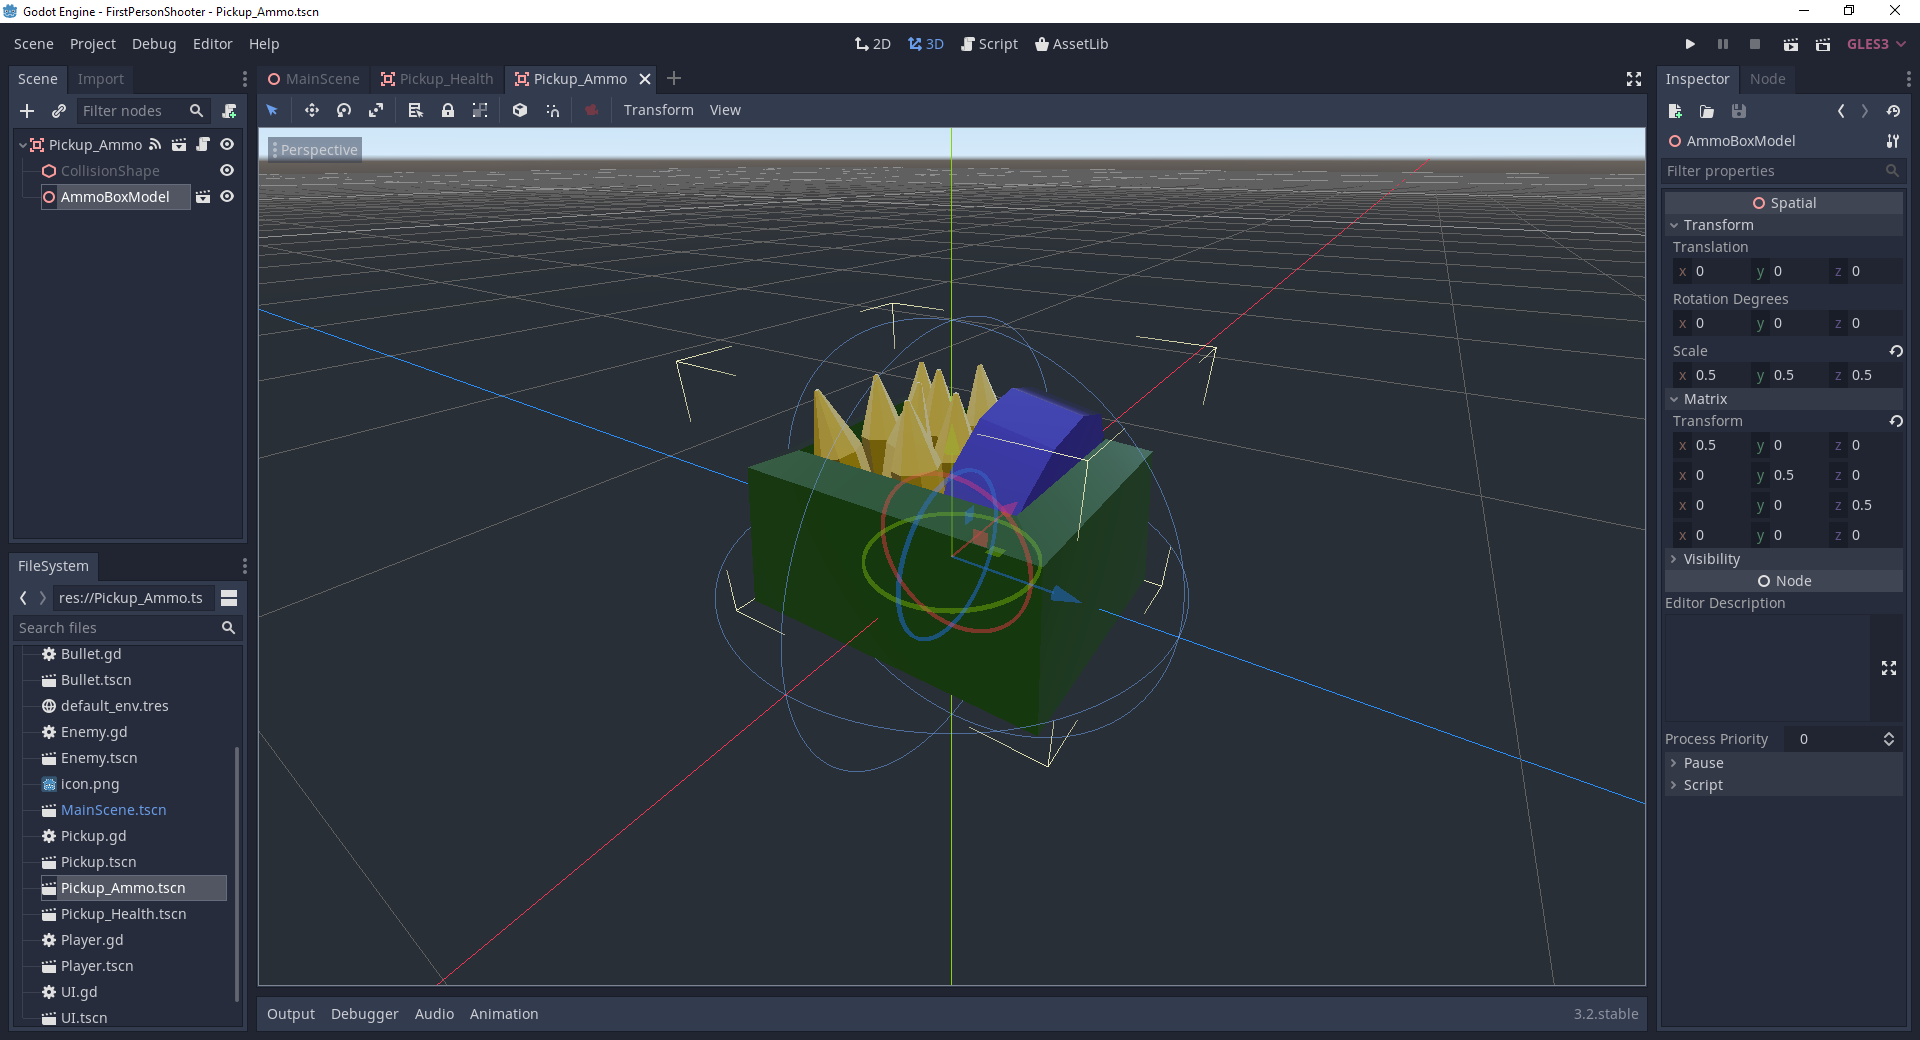
We also want to do the same for the ammo pickup.
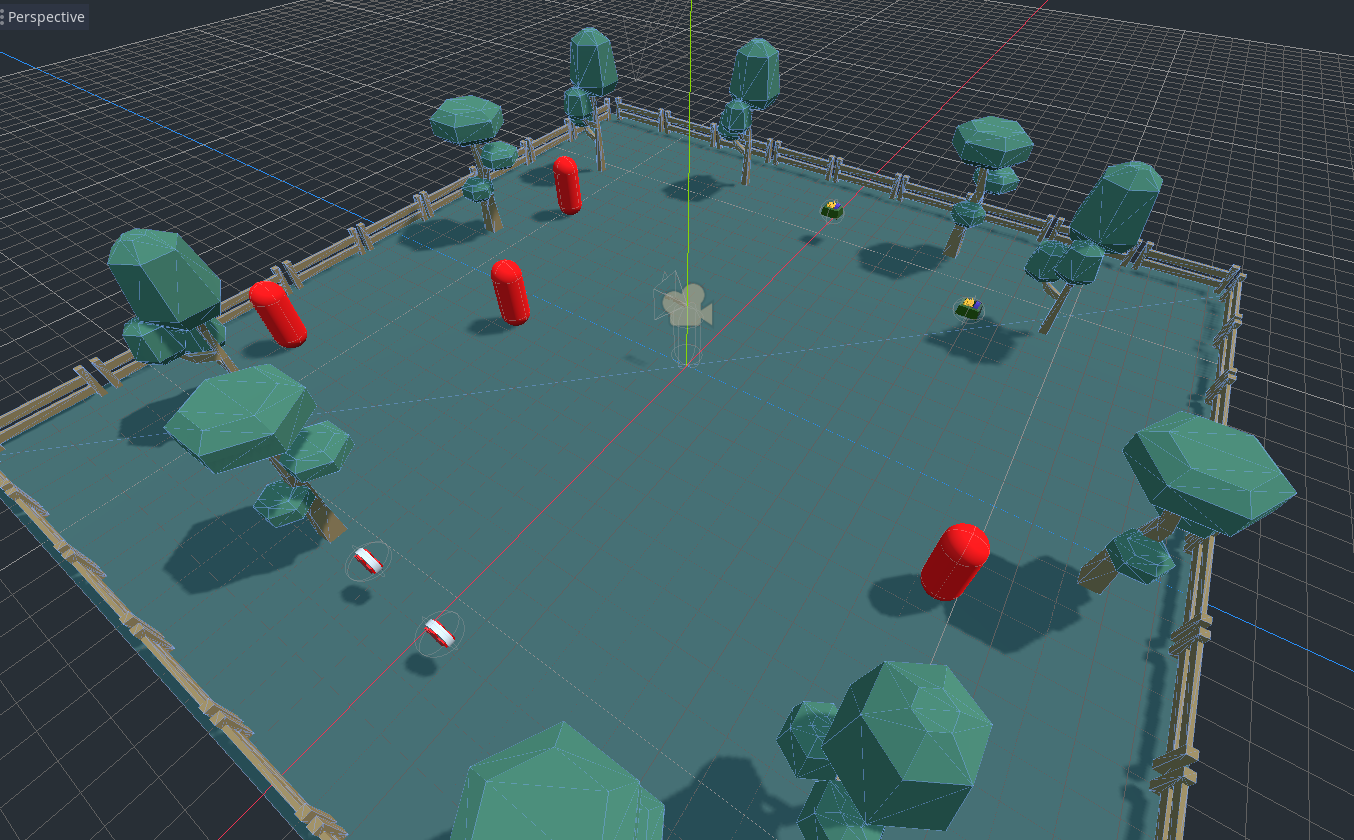
Back in the MainScene, we can drag in the Enemy, Pickup_Health and Pickup_Ammo scenes and place them around.
UI
Now it’s time to create the UI which will display our health, ammo, and score. Create a new scene with the root node being User Interace (control node).
- Rename the node to UI
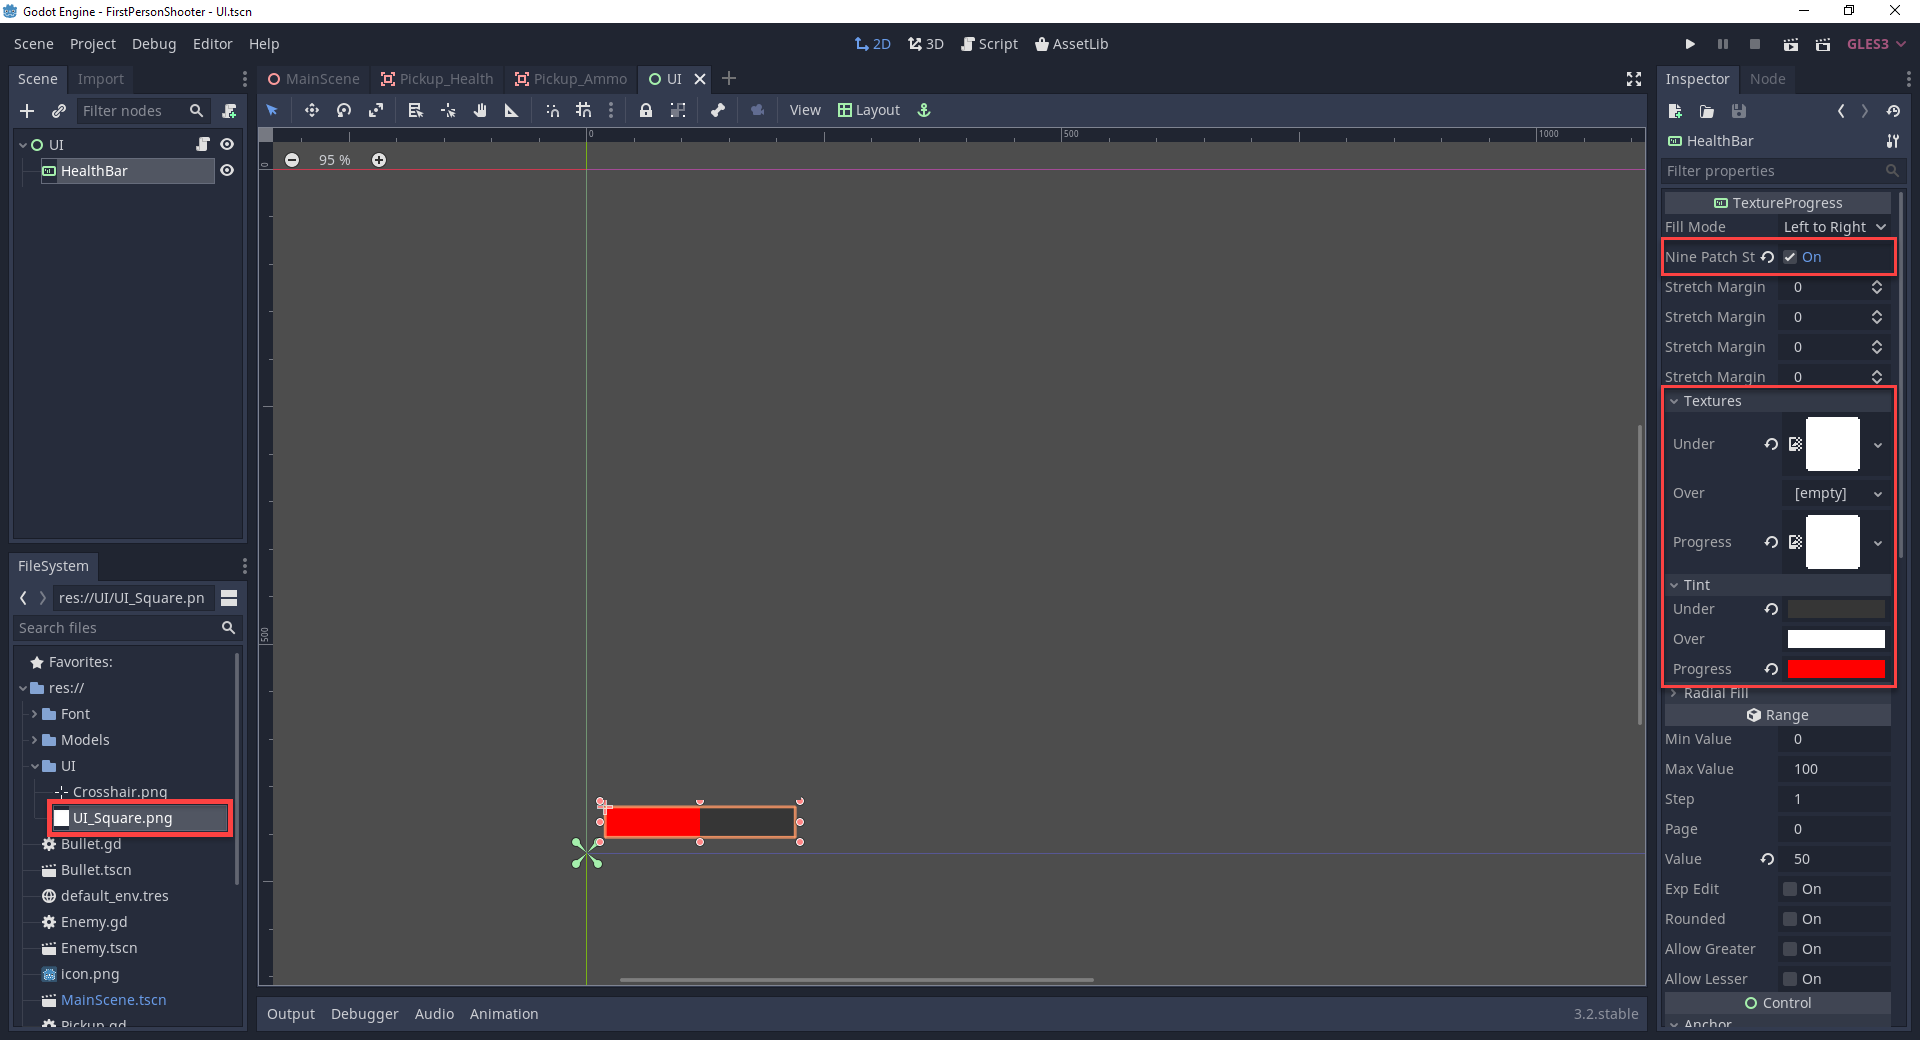
- Create a new child node of type TextureProgress
- Enable Nine Patch Stretch
- Rename it to HealthBar
- Move the health bar to the bottom left of the screen and re-size it
- Drag the 4 anchor points (green pins) to the bottom left of the screen
- Set the Under and Progress textures to the UI_Square.png image
- Set the Tints as seen in the image.
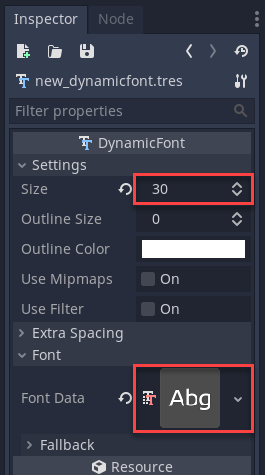
For the text, we need to create a new dynamic font resource. In the file system, find the Ubuntu-Regular.ttf file – right click it and select New Resource…
- Search for and create a DynamicFont
- In the inspector, set the Font Data to the ubuntu font file
- Set the Size to 30
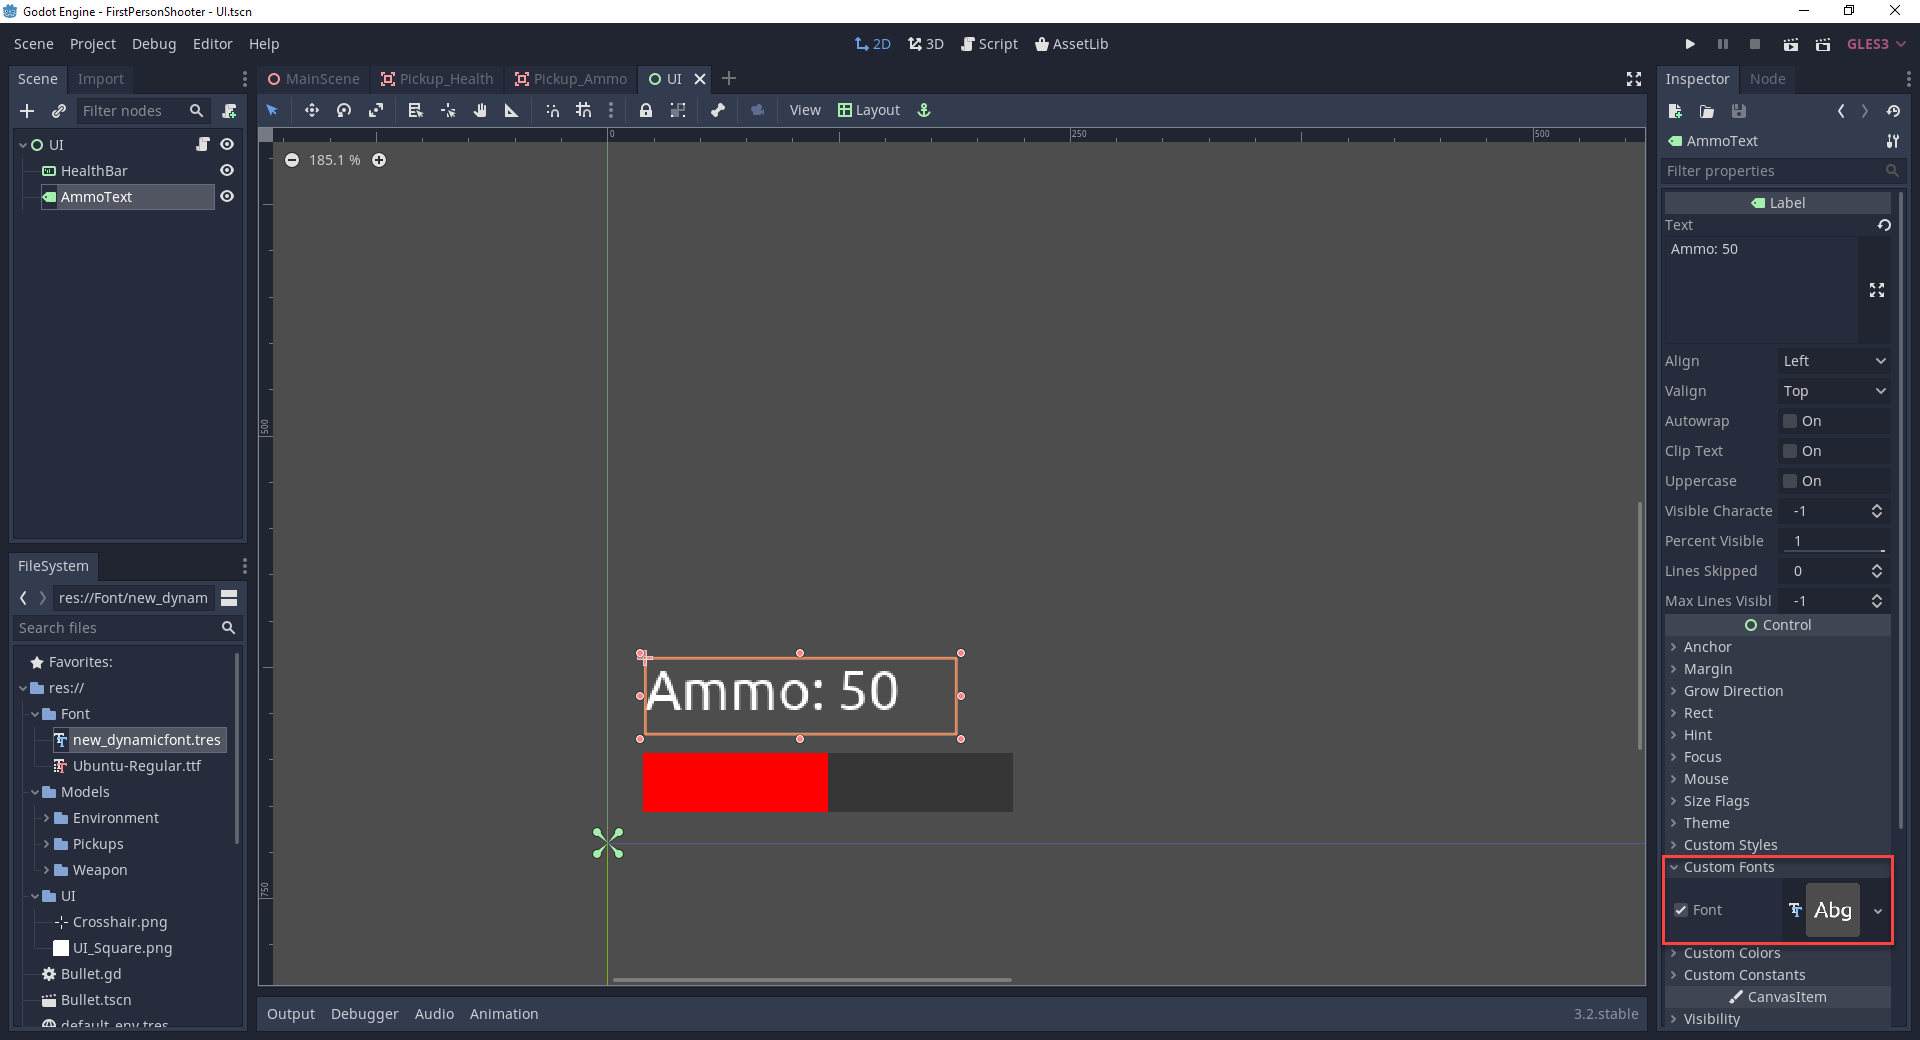
Now we can create the text elements. Create a new Label node and call it AmmoText.
- Resize and position it like in the image below
- Set the Custom Font to the new dynamic font file
- Move the anchor points down to the bottom left
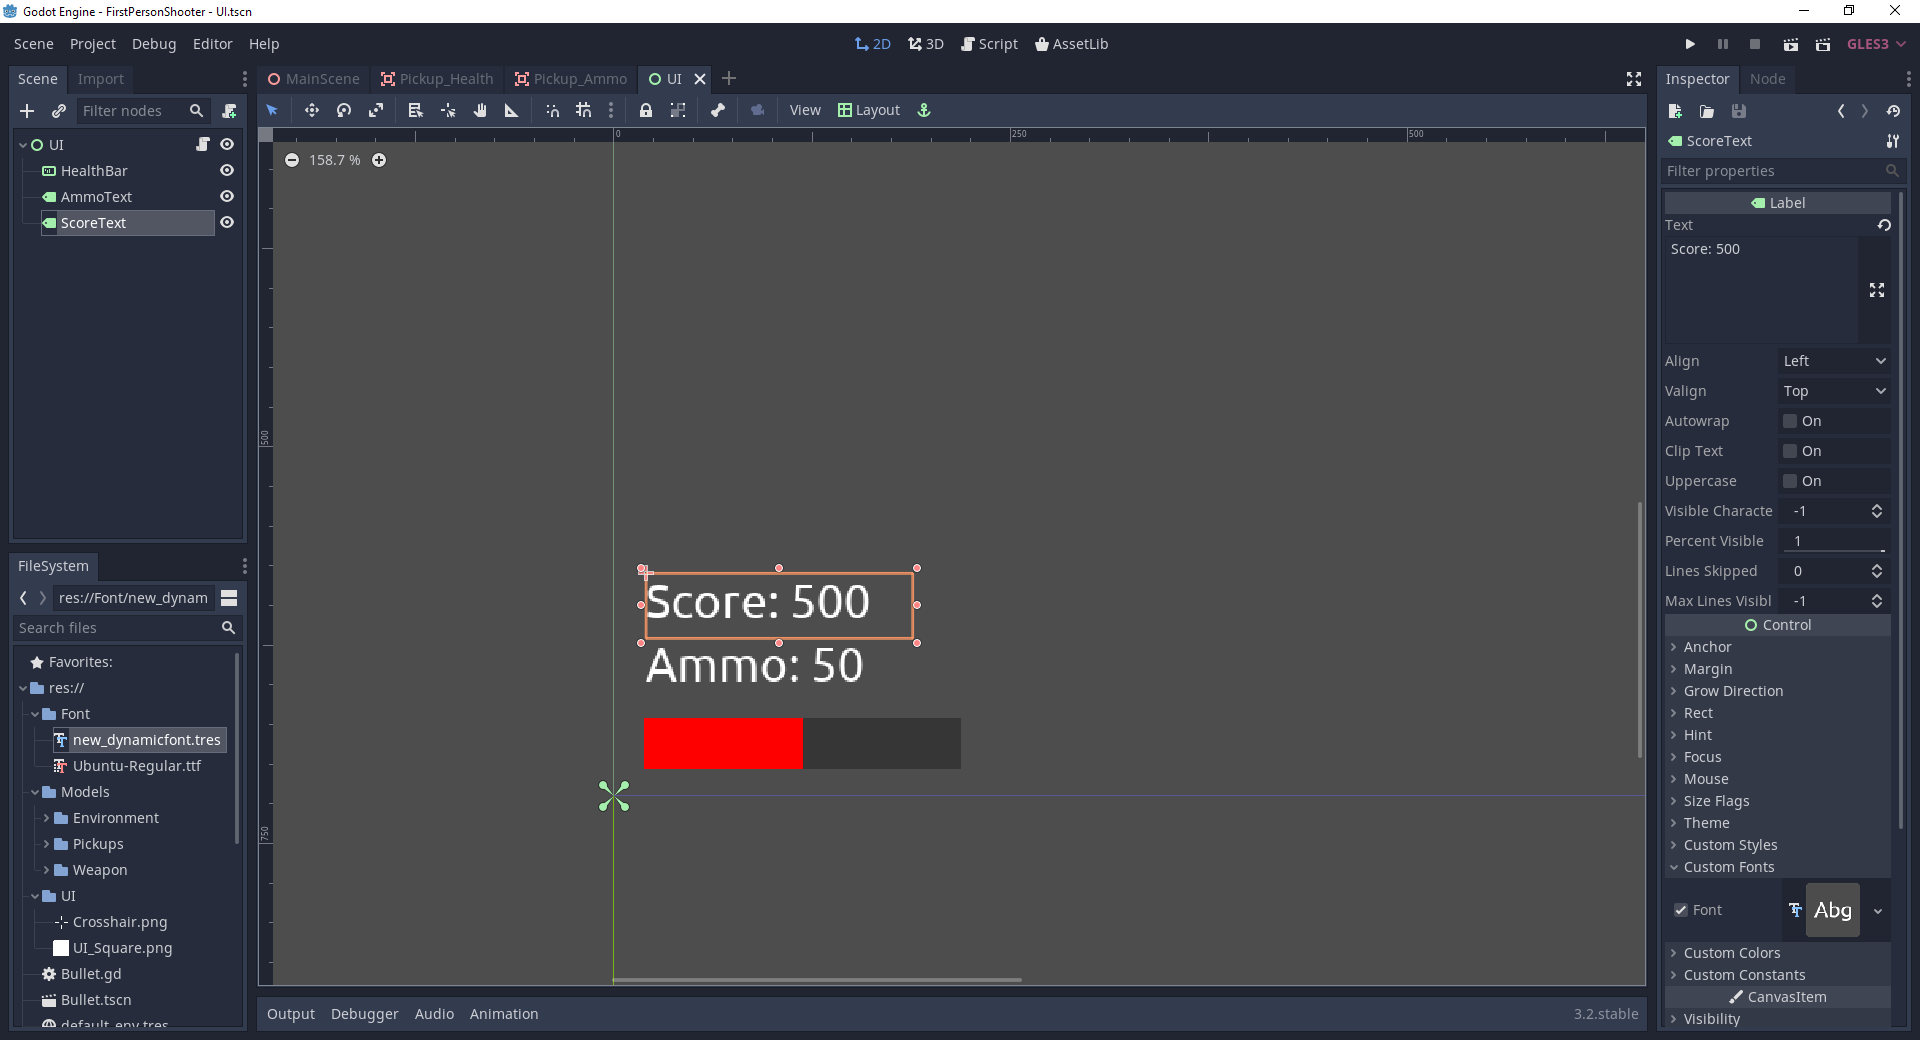
With the node selected, press Ctrl + D to duplicate the text.
- Rename it to ScoreText
- Move it above the ammo text
Scripting the UI
Now that we have our UI elements, let’s create a new script attached to the UI node called UI.
First, we can create our variables.
onready var healthBar : TextureProgress = get_node("HealthBar")
onready var ammoText : Label = get_node("AmmoText")
onready var scoreText : Label = get_node("ScoreText")
Then we’re going to have three functions which will each update their respective UI element.
func update_health_bar (curHp, maxHp):

    healthBar.max_value = maxHp
    healthBar.value = curHp

func update_ammo_text (ammo):

    ammoText.text = "Ammo: " + str(ammo)

func update_score_text (score):

    scoreText.text = "Score: " + str(score)
So we got the functions to update the UI nodes. Let’s now connect this to the Player script. We’ll start by creating a variable to reference the UI node.
onready var ui : Node = get_node("/root/MainScene/CanvasLayer/UI")Then in the _ready function, we can initialize the UI.
func _ready ():

    # set the UI
    ui.update_health_bar(curHp, maxHp)
    ui.update_ammo_text(ammo)
    ui.update_score_text(score)
We want to update the ammo text in both the shoot and add_ammo functions.
ui.update_ammo_text(ammo)
We want to update the health bar in both the take_damage and add_health functions.
ui.update_health_bar(curHp, maxHp)
We want to update the score text in the add_score function.
ui.update_score_text(score)
And now we can go back to the MainScene and create a new node called CanvasLayer. Whatever is a child of this, gets rendered to the screen so let’s now drag in the UI scene as a child of this node.
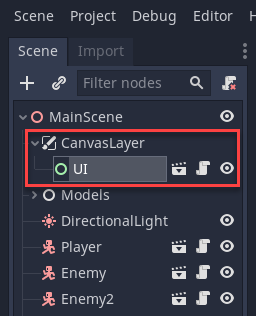
Now we can press play and see that the UI is on-screen and updates when we take damage, collect pickups, and kill enemies.
Conclusion
Congratulations on completing the tutorial!
If you’ve been following along, you should now have a complete Godot FPS game at your fingertips. Players will be able to fire on enemies, gather pickups for ammo and health, and even potentially be defeated by our menacing red capsules! Not only that, but you also have boosted your own knowledge in how Godot’s 3D engine works and how you can utilize 3D’s unique features in a number of ways. Of course, from here, you can expand upon the FPS game we created in any way you please – adding in new systems, models, sound, etc.
Thanks for following along, and I hope to see you in the next Godot tutorial.
