User interfaces are an essential part of games, and it’s something you’ll learn to do early on. Using this Godot UI tutorial, you’ll get started on that journey using the popular RPG genre.
If you’re looking to create your own games, you should definitely take into consideration making your own RPG. RPGs present you too with the opportunity to expand your coding and game design skills – as they incorporate lots of different game mechanics. However, no RPG really works without a UI, so this can’t be neglected as you develop your ideas.
In this Godot tutorial, we’re focusing on the implementation of UI elements for your RPG game. Here, we’ll be setting up a health bar together and we’ll also style a text label in order to display the amount of gold we have in the game.
Let’s dive in!
Table of contents
Project Files – Godot UI Tutorial
In order to be able to follow along with this tutorial, you’ll need to download the assets found here. You can also download a copy of the source code files for the project done in the tutorial by clicking here.
Creating the UI
Let’s get started with this Godot UI tutorial by creating our UI node set up.
UI Scene
Let’s go up to Scene > New Scene:

We’re going to create a root node of ‘User Interface‘:
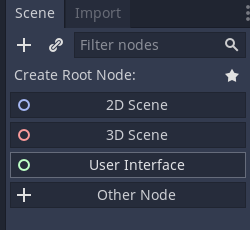
We’ll rename the node to “UI” and save the scene as “UI.tscn“:
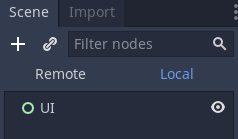
And that’s all it takes for us to get a UI going. Obviously our UI doesn’t have anything on it, so we’ll move on to the health bar next in our Godot UI tutorial.
Health Bar
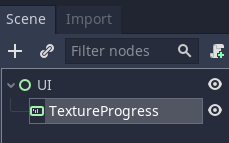
Let’s right-click on our UI node and add a child node of type TextureProgress:

A TextureProgress is a bar, which can fill up a certain amount based on a given value:
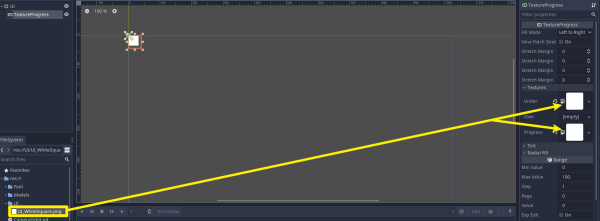
In the Inspector, we’ll drag in the image for our UI texture (UI > UI_WhiteSquare.png). into Textures > Under and Textures > Progress:
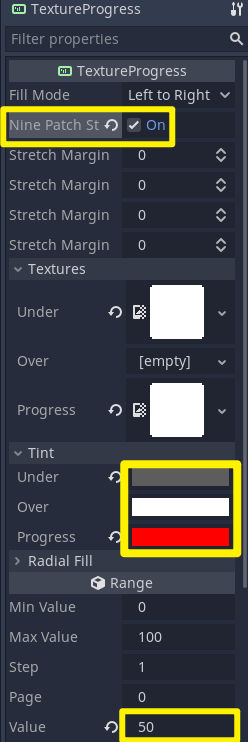
We’ll also set Tint > Under to dark grey, Tint > Progress to red, and Range > Value to 50 so we can see that the progress is 50% of the way.
Enable ‘Nine Patch Stretch‘ so that the bar can be stretched to fit the size of the border:
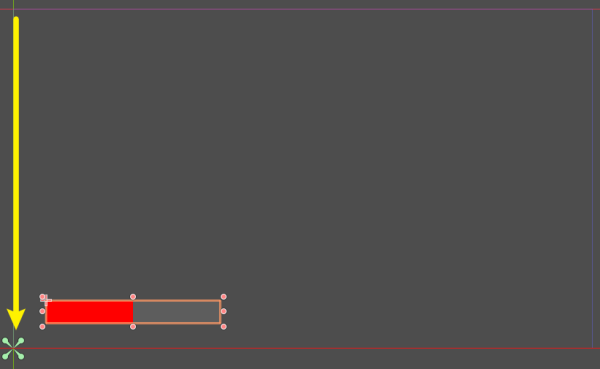
We’ll click and drag the anchor point down to the bottom left, so the health bar is snapped to the bottom left corner of the screen regardless of the screen size:
In the next part of our Godot UI tutorial, we’ll focus on money – a staple of most RPGs.
Gold
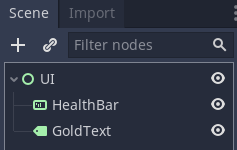
Let’s create a new label node as a child of UI, and rename it to “GoldText”:
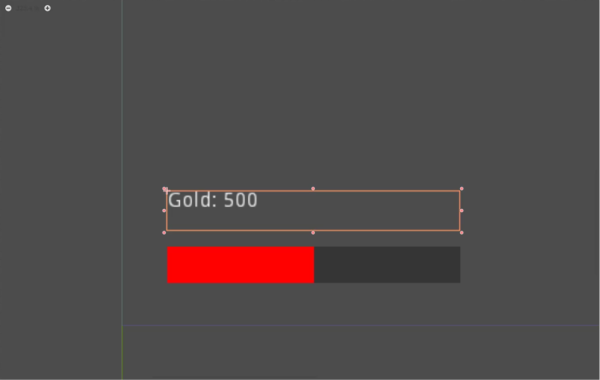
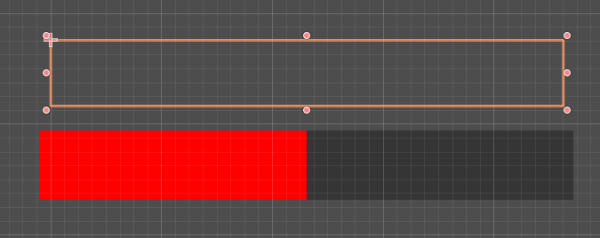
Then position it above the health bar and extend it out sideways:
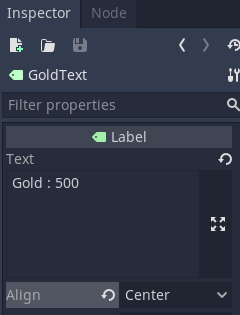
We’ll give it a sample text (“Gold: 500”) and align the text to the center:
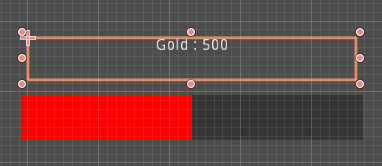
You’re doing great so far. But… what if you just don’t like this default look for the text? Next in our Godot UI tutorial, we’ll be talking customizations.
Custom Font
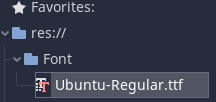
Let’s right-click on our font file (Font > Ubuntu-Regular.ttf), and click on “New Resource…“:
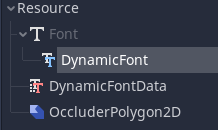
… and create DynamicFont and save it as “Ubuntu-Regular.tres”:

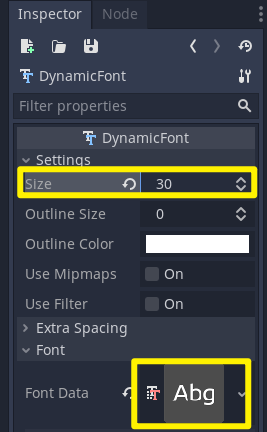
We’ll set the font size to 30 in the Inspector, and drag our font file (Ubuntu-Regular.ttf) into Font Data:
Now, let’s select the GoldText node, and assign a custom font here by dragging in the dynamic font (Ubuntu-Regular.tres) into Custom Fonts:
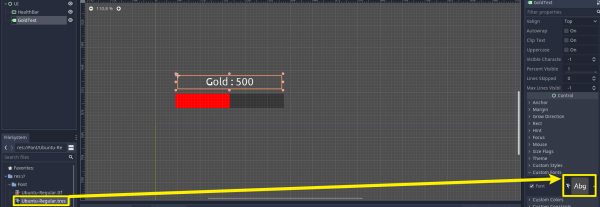
Make sure that the anchor point of this node is also positioned at the bottom left corner of the screen:
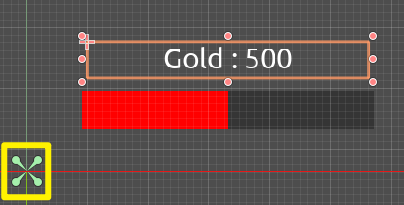
Fantastic! Except wait, our UI doesn’t show up in the actual game. Let’s fix that in the next part of our Godot UI tutorial.
Implementing the UI
Now that our UI is all set up, let’s go back to our main scene and create a new node of type CanvasLayer:
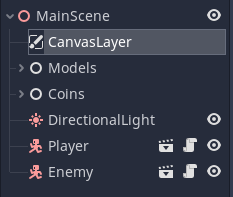
Let’s drag in our UI (UI.tscn) as a child of the CanvasLayer:
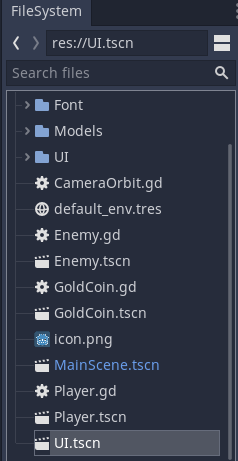

Our UI is now rendered on our screen:
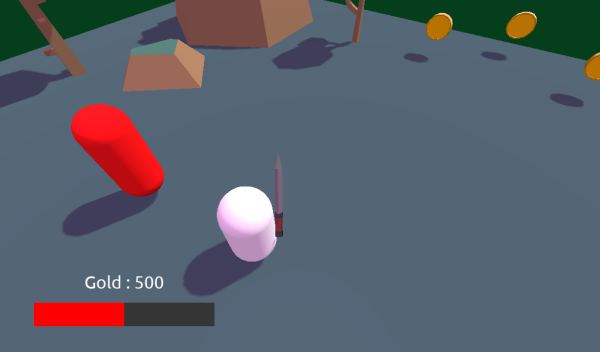
While having the UI show up, it’s not really providing the user assistance if it doesn’t do anything. In the next part, we’ll start scripting in our Godot UI tutorial.
UI Script
In the UI Scene, let’s go to our UI node and create a new script:
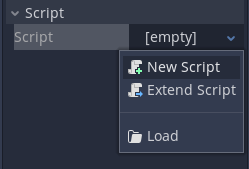
Setting Up Variables
First of all, we’re going to be creating variables to get access to our UI nodes (get_node):
extends Control

onready var healthBar = get_node("HealthBar")
onready var goldText = get_node("GoldText")
Now we need to create a function for each of these variables, which will update their values.
Updating the Health Bar
Let’s update our health bar first. Note that the value of the health bar is a number between zero and 100. (0% ~ 100%):
extends Control

onready var healthBar = get_node("HealthBar")
onready var goldText = get_node("GoldText")

# called when we take damage
func update_health_bar (curHp, maxHp):

  healthBar.value = (100 / maxHp) * curHp
We divided 100 by our maxHP to get the percentage value and then multiplied it by curHP to get our current health.
Updating the Text
Let’s update our gold text now. Make sure to include the text and the colon (“Gold :“) before the number:
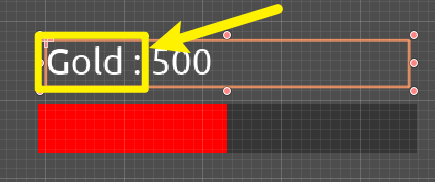
extends Control

onready var healthBar = get_node("HealthBar")
onready var goldText = get_node("GoldText")

# called when we take damage
func update_health_bar (curHp, maxHp):

  healthBar.value = (100 / maxHp) * curHp


# called when our gold changes
func update_gold_text (gold):

  goldText.text = "Gold: " + str(gold)
Ok, so far so good. But in the next part of our Godot UI tutorial, we need to actually connect everything so we can actually trigger our update functions.
Initializing The UI
Next, we need to connect this up to the actual Player node. Let’s open up our Player script:
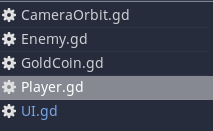
… and create a variable to get access to our UI node:
onready var ui = get_node("/root/MainScene/CanvasLayer/UI")We need to initialize the UI inside of the ready() function for us to see the current values instead of the default values:
func _ready ():

  # initialize UI
  ui.update_health_bar(curHp, maxHp)
  ui.update_gold_text(gold)
Make sure that the UI node is placed at the top of the hierarchy as it’ll return an error otherwise. This is needed because Godot initializes and updates all their nodes from top to bottom:
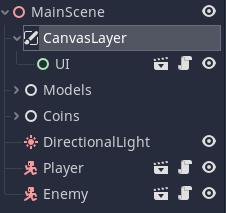
The UI node must be placed above the Player node in order for the player script to access it.
Updating UI Elements
Finally, we have to update our UI values as we play. For that, let’s get our UI node to update the HP bar inside take_damage function:
func take_damage (damageToTake):

  curHp -= damageToTake
  ui.update_health_bar(curHp, maxHp)

  if curHp <= 0:
    die()
We also need to update the gold text inside give_gold function:
func give_gold (amount):

  gold += amount
  ui.update_gold_text(gold)
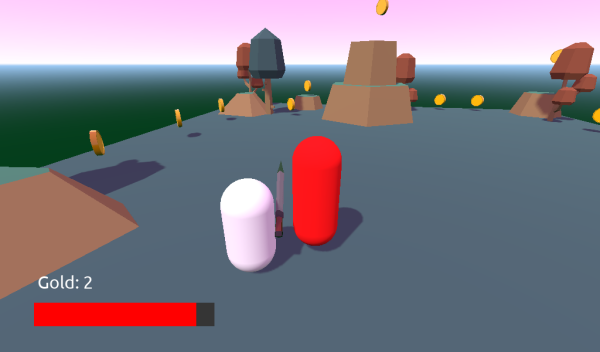
Now if we press play, you can see that our health starts to go down if we get attacked, and our gold goes up each time we collect a coin as expected:
Conclusion
Well done on completing this tutorial!
Here, you’ve learned how to implement the UI for your RPG game in Godot, something you can surely expand upon and also use in other game projects as well. This UI is also useable for any kind of subgenre you want to pursue as well – whether you want to go for an action RPG like we did or something more traditional and turn-based.
However, there’s a lot more to expand upon here even in the realm of UIs! Perhaps you want to create a second bar for mana, add a frame to your health bar, or even change the health bar’s shape entirely. There are endless possibilities even in this realm – in addition to learning tons of other core mechanics!
We hope that you have fun as you continue developing your games and wish you the best of luck in your future projects!
Want to learn more about RPGs in Godot? Try our complete Develop a 3D Action RPG with Godot 3 course.
Did you come across any errors in this tutorial? Please let us know by completing this form and we’ll look into it! FINAL DAYS: Unlock coding courses in Unity, Godot, Unreal, Python and more.
