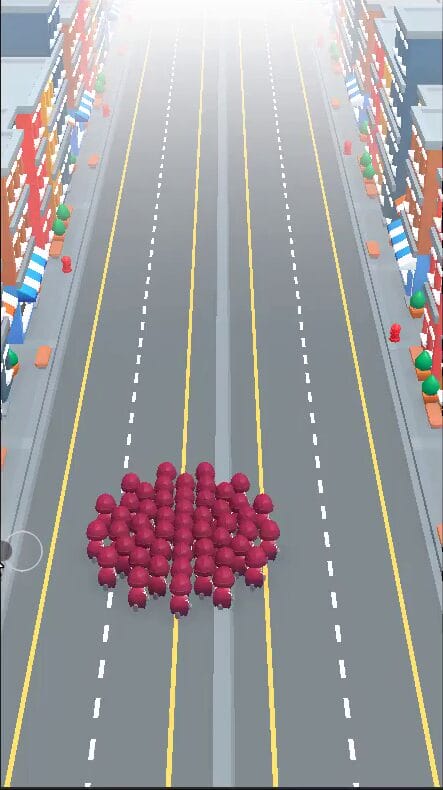
Godot crowd spawning needs two parts to work together: creating the right number of characters and giving each one a position. Zenva’s experience teaching coding and game development through a catalog of over 400 courses guides the step-by-step approach here, from the first center position to a circular crowd in your hypercasual game.
This tutorial assumes you know basic GDScript and have the project open with its game manager, mover target, and reusable mover scene.
Download Project Files
The project files and full project are available through the course included in Godot Mobile Game Development Mini-Degree. Follow that guided path for the full game, or keep reading to connect crowd positioning with spawning here.
Calculate Positions for Godot Crowd Spawning
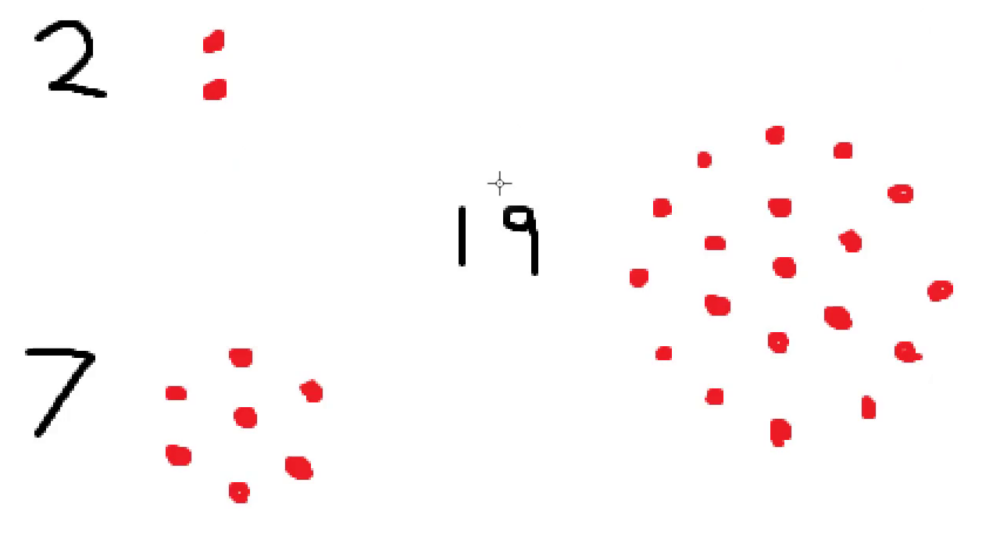
Your formation begins with one mover in the center, then places additional movers in rings around it. A helper function will return the offsets, letting you use the same positioning logic as the crowd grows.
Creating the Crowd Position Function
In game_manager.gd, create _get_crowd_positions with two parameters: n for the number of positions and radius for the mover radius used in spacing.
The return type is Array[Vector2]. Although your game is 3D, the helper only needs two coordinates for each offset around the mover target. You will map those coordinates to X and Z when placing the characters.
func _get_crowd_positions (n : int, radius : float) -> Array[Vector2]:
	var positions : Array[Vector2] = []

	return positions
Adding the Center Position
Start with the center of the formation. Adding Vector2.ZERO gives the first mover an offset at the origin:
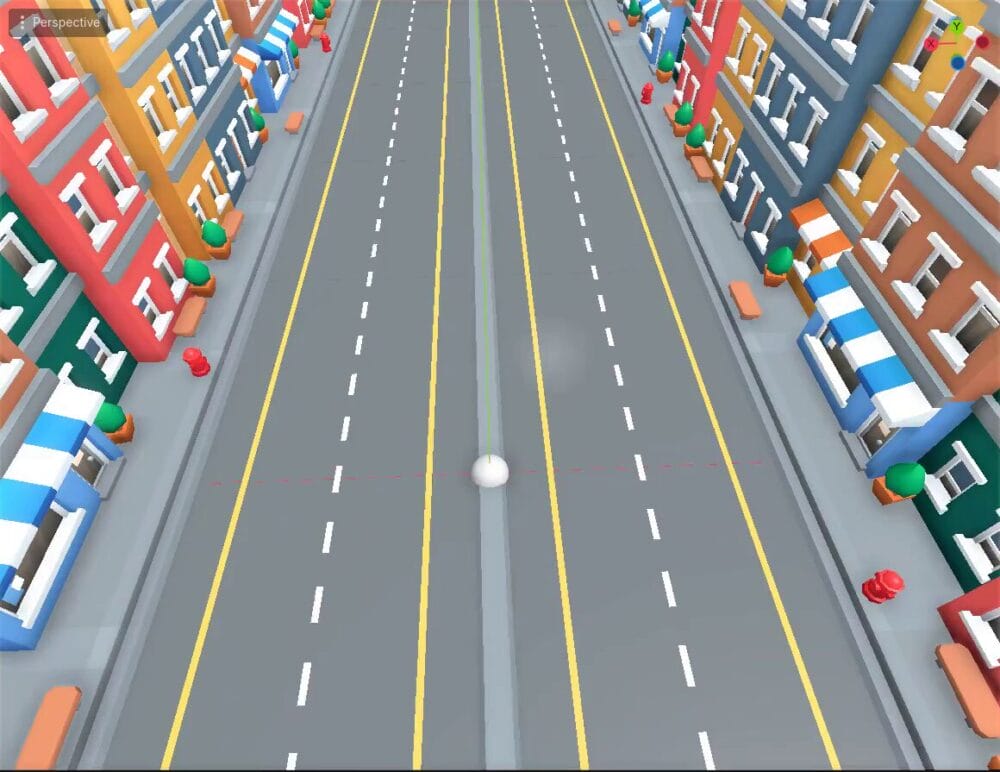
func _get_crowd_positions (n : int, radius : float) -> Array[Vector2]:
	var positions : Array[Vector2] = []

	positions.append(Vector2.ZERO)

	return positions
After that position, add two variables to track the rest of the formation. There are n - 1 movers left to place, and the first outer ring is ring 1:
var remaining : int = n - 1
var ring : int = 1
Looping Through the Rings
Use a while loop to keep adding positions while movers remain:
while remaining > 0:
	# Ring calculations will go here
Each pass handles one ring. Inside the loop, calculate how far that ring sits from the center. Multiplying the mover radius by 2.0 uses the mover’s full width for spacing:
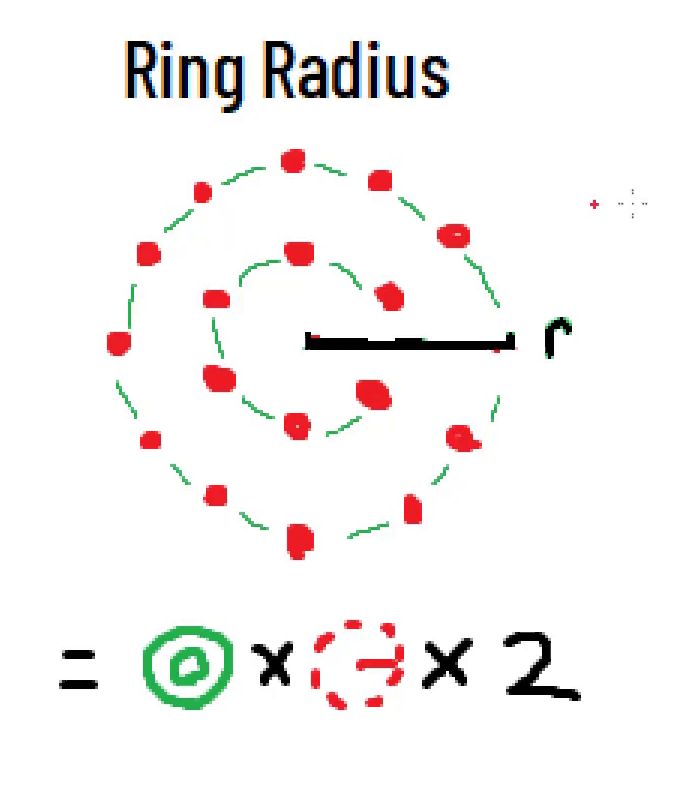
var ring_radius : float = ring * radius * 2.0
Calculating Ring Capacity
Now calculate the ring’s circumference, or the distance around it:
var circ : float = 2.0 * PI * ring_radius
Divide that distance by the mover’s full width to calculate how many movers fit around the ring. Convert the result to an integer because you need whole positions:
var capacity : int = int(circ / (radius * 2.0))
A ring might have room for more movers than you still need. Use min to choose the smaller of remaining and capacity, so you do not generate extra positions:
var count : int = min(remaining, capacity)
Dividing the Ring Into Angles
With the ring’s count decided, loop once for each position. Think of the angle as a clock hand pointing toward the next mover:
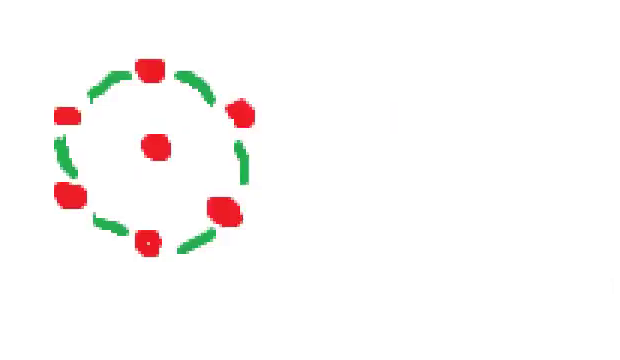
for i in count:
	var angle : float = (2.0 * PI * i) / count - PI / 2.0
2.0 * PI represents a full circle. Multiplying by the index and dividing by count spreads the positions evenly; subtracting PI / 2.0 starts the first position at the top of the ring.
Creating the Vector Position
Inside that inner loop, convert the angle into a position. Use cos(angle) for X and sin(angle) for Y, multiplying both by the ring radius:
var pos : Vector2 = Vector2(cos(angle) * ring_radius, sin(angle) * ring_radius)
positions.append(pos)
Once the inner loop finishes, subtract the positions you just added from remaining. Increase ring to move outward on the next pass:
remaining -= count
ring += 1
Completed Function
Here is the helper with all those pieces together. It adds the center, fills the rings, and returns the calculated offsets:
func _get_crowd_positions (n : int, radius : float) -> Array[Vector2]:
	var positions : Array[Vector2] = []

	positions.append(Vector2.ZERO)

	var remaining : int = n - 1
	var ring : int = 1

	while remaining > 0:
		var ring_radius : float = ring * radius * 2.0
		var circ : float = 2.0 * PI * ring_radius
		var capacity : int = int(circ / (radius * 2.0))
		var count : int = min(remaining, capacity)

		for i in count:
			var angle : float = (2.0 * PI * i) / count - PI / 2.0
			var pos : Vector2 = Vector2(cos(angle) * ring_radius, sin(angle) * ring_radius)
			positions.append(pos)

		remaining -= count
		ring += 1

	return positions
You now have the positions. Next, connect them to actual mover instances so the formation appears in the level.
Spawn and Arrange the Mover Crowd
Preparing the Mover References
In game_manager.gd, add an exported scene reference and an array to track your mover instances:
@export var mover_scene : PackedScene
var movers : Array[Mover]
To use Mover as the array’s type, give the script in mover.gd its class name:
class_name Mover
extends Area3D
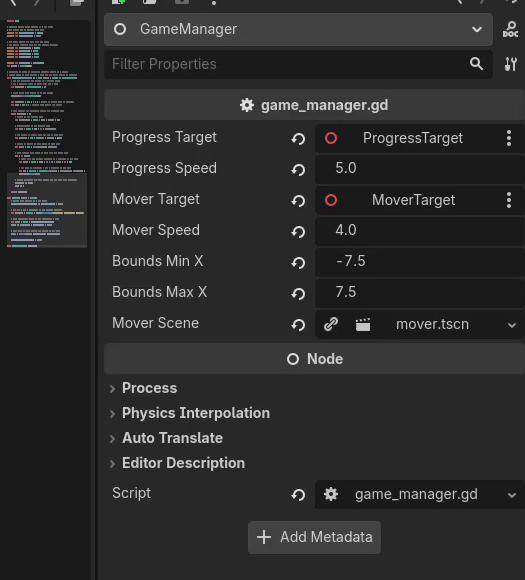
Back in the Inspector, assign mover.tscn to the GameManager’s Mover Scene field. That is the resource the script will instantiate.
Creating the Mover Count Function
Create _set_mover_count to receive the desired number of movers. While the array contains fewer than that number, instantiate a mover, add it beneath mover_target, and track it in the array:
func _set_mover_count (new_count : int):
	# Create new movers if we have less than new_count
	while len(movers) < new_count:
		var mover : Mover = mover_scene.instantiate()
		mover_target.add_child(mover)
		movers.append(mover)
Parenting each new instance to mover_target makes the spawned crowd travel with the target. The array keeps those instances available for later count and position changes.
Testing With One Mover
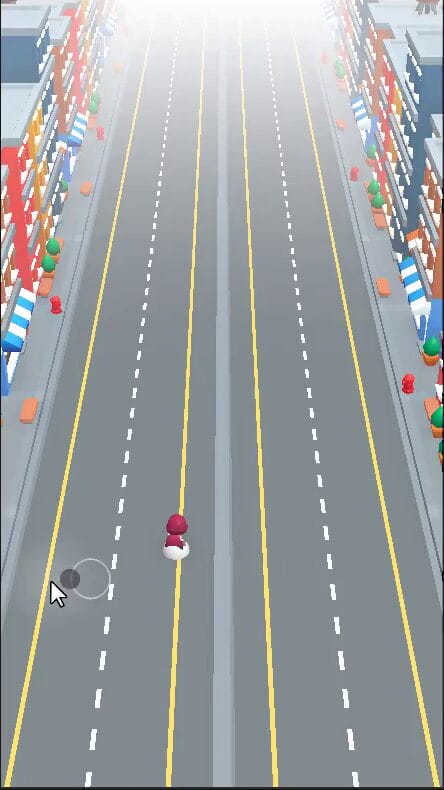
Before adding the rest of the count logic, check that spawning works. Call the function from _ready() with a count of 1:
func _ready ():
	_set_mover_count(1)
Run the scene and look for one mover at the target when the level starts.
Removing Extra Movers
The same function also needs to reduce the crowd. After the spawning loop in _set_mover_count, add a second loop that removes movers while the array is longer than the requested count:
# Destroy movers if we have more than new_count
while len(movers) > new_count:
	var mover : Mover = movers.pop_back()
	mover.queue_free()
pop_back() removes the final array element and returns its mover reference. Calling queue_free() then deletes that mover node from the game.
Positioning the Spawned Movers
Once the count is correct, the final step in _set_mover_count is to arrange the instances. Call your positioning helper with new_count and a mover radius of 0.4, then assign the returned offsets:
var positions : Array[Vector2] = _get_crowd_positions(new_count, 0.4)

# Assign new position to each mover
for i in len(movers):
	var pos : Vector3 = Vector3(positions[i].x, 0, positions[i].y)
	movers[i].position = pos
Each offset’s X value becomes the 3D X position. The 3D Y position stays at 0, while the offset’s Y value becomes the 3D Z position. This places the ring formation on the road around the mover target.
Checking Larger Groups
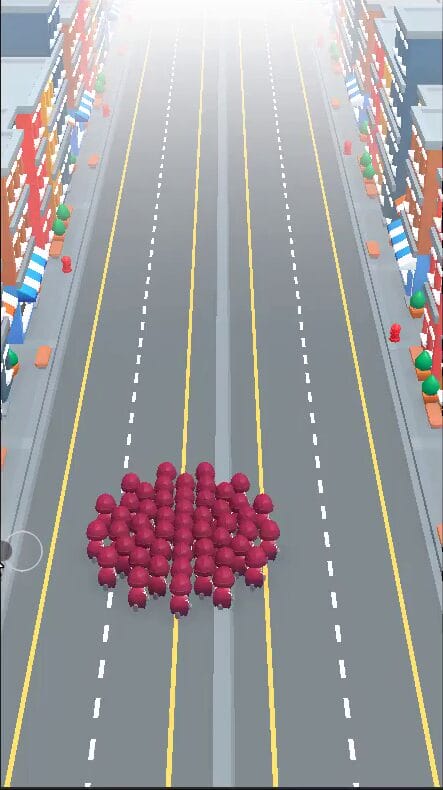
With positioning in place, temporarily change the starting count to 10 or 50 and run the scene. The crowd should form rings around the center. If the last ring is not full, its remaining movers are still spread evenly around it.
After testing, restore _ready() to start with one mover. The same count function can later be called by gates that increase, decrease, multiply, or divide the group size.
Bring Your Crowd Formation Together
Your crowd now has both a formation and a way to manage its members. You have connected the positioning math to the scene instances by learning to:
- Calculate center and ring offsets with
Vector2positions. - Limit each ring to the number of movers still waiting for a position.
- Instantiate or remove movers to match a requested count.
- Map the offsets onto the 3D X/Z plane around the target.
- Check the resulting formation with small and larger groups.
With this foundation in place, you are ready to build on the mover-count function as the full game’s crowd-changing gates are introduced.
Continue the guided project with Godot Mobile Game Development Mini-Degree. Take these crowd-spawning skills into the next stages of building your mobile game.
Did you come across any errors in this tutorial? Please let us know by completing this form and we’ll look into it!
FINAL DAYS: Unlock coding courses in Unity, Godot, Unreal, Python and more.