Table of contents
Introduction
In mid-2017 Unity Technologies announced a new system of cameras that would allow the creator to make complex shots and compositions without a single line of code. The only problem was that it was restricted to 3D. 2D was left out of this enormous innovation. Until late 2017 and early 2018 when Unity technologies released Unity 2017.3. This new version brought this suite of cameras, called Cinemachine, to 2D. The category of games the benefited the most from this update is 2D Platformer games. Now creators can properly track a character without a single line of code. And the best part is that it is completely customizable so that you can get the exact look you are after. Unity Technologies also released a new tool called the Timeline Editor. This allows the creator to manipulate game objects and cameras together as if you were editing a movie. With these tools, anyone can create beautiful compositions without a single line of code, for 3D and 2D. In this tutorial, we will be creating a simple 2D composition with these tools and, even though this composition is simple, it will cover several techniques that will really help you with any future projects.
Did you come across any errors in this tutorial? Please let us know by completing this form and we’ll look into it!
FINAL DAYS: Unlock coding courses in Unity, Godot, Unreal, Python and more.
Assets and requirements
You can get all of the assets to be used in this tutorial from this pack Click here. This tutorial is designed to be beginner friendly. However, if you don’t quite understand something or would like more information then I suggest you take a look at these other tutorials on the Game Dev Academy:
Cinemachine and the Timeline Editor Part 1
Cinemachine and the Timeline Editor Part 2
Planning our project
The project we are making served as the introduction to a game I made. Since 2D platformers benefited the most I decided to make one. Check how I used it:
This is what we will be recreating in this tutorial. However, nothing is set in stone. If you have a completely different idea then do that one instead. With that said, you should have a pretty good idea as to what is going on in this composition but here is the breakdown just in case:
Camera:
1 Shot of the inside of the building
1 Shot of the outside
1 Shot where the camera zooms out and we see the inside and outside
Actions:
A guy runs up and throws a bomb which makes the door explode. Then the guy runs inside and starts typing.
So that’s our plan! Notice the words in italics in the “Actions” section, these are the things that we are going to animate for our character. Although, instead of the guy throwing a bomb, I think we should make the guy punch the door. The explosion wasn’t really necessary and it will just increase our project size. So our revised plan looks like this:
Actions:
A guy runs up and punches the door which destroys the door. Then the guy runs inside and starts typing.
It is very important that you construct a plan like this whenever you go to make your own compositions. It will save a lot of time and brainpower.
There also is a green block that bounces around but this is an extra part that we won’t be doing. However, if at the end of this tutorial you like the green block feel free to add it in yourself.
Now that we have our plan it is time to start creating!
Setting up our project
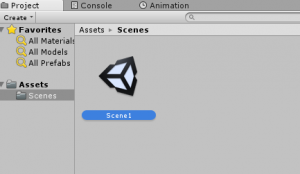
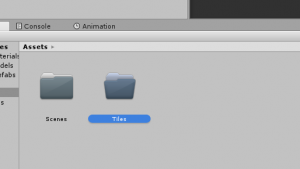
Another thing Unity Technologies introduced in 2017.3 was a new way to build levels. 2D platformers benefited once again with the new Tilemap Editor. The specifics should be left for another tutorial but basically, it allows you to create tile maps inside Unity without having to import them from a third party program. To get started using the Tilemap Editor we need to create a new project and then import the assets. Then create a new folder called “Scenes” and create a new scene called “Scene1” in that folder.
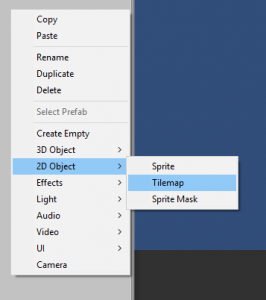
Open “Scene1” and create a new Tilemap by right-clicking in the hierarchy and going to “2D -> Tilemap”.
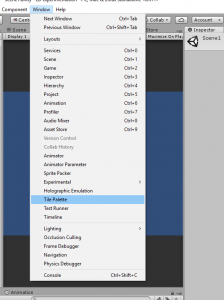
Then go to Window and bring up the Tilemap Palette and place it somewhere in your workspace.
This is where we will use tiles to “paint” our world. Create a new folder called “Tiles”.
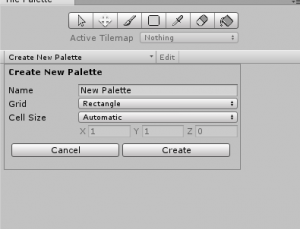
Then go to your Tilemap Palette and click “create a new palette”.
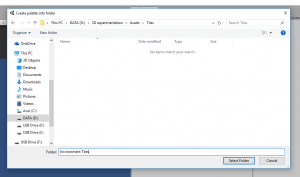
It gives us a couple options, all of them should be pretty self-explanatory. “Grid” specifies the shape of each tile, right now “rectangle” is the only one option. “Cell size” is the size of each tile, let’s leave it set to “automatic” for now. Give our palette a sensible title, something like “Environment Tiles”. Click “Create” and then save it to our “Tiles” folder.
Now we need import our tiles into our newly created palette. This is where things can get kind of sketchy. It is hard to make the tile images match the tilemap’s cell size.
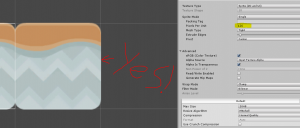
Some tile images will fit just fine while others will not. The best way to go about fixing this is to change the “Pixels Per Unit” in the import settings.
Increasing this value makes the resultant image smaller and vice versa. There isn’t any other way to find the correct value except by experimentation. Fortunately for you, I have found a value that fixes this problem fairly well:
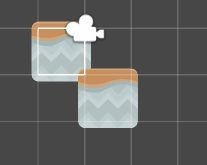
This is where you need to think about what you want your building to look like. This way you can pick the tiles you are going to need and then apply the “Pixels Per Unit” change to those few without having to go through each tile image. Once you have a good idea as to which tiles you need, go ahead and select them all (shift-click if they are all in a group or control-click if they are separate) and then input the correct “Pixel Per Unit” value. Then click apply. It is now applied to each one of your selected tiles. Now drag each one of your selected tiles into your Tile Palette window. It will want you to specify where to save each tile. This can be kind of tedious but just try to get through it as quickly as possible. Give each tile a sensible name and store it in our “Tiles” folder. Okay! Now our project is set up! it is now time to start creating!
Creating the environment
Now is when we start creating the building and the environment around it. I am going to start by giving you a quick run through of the tools in the Tile Palette editor:
This one allows you to paint one tile at a time.
This one allows you to select an area and fill that area with the selected tile.
This one will erase any tile in the scene view, a shortcut is shift-click (which removes any type of tile) or control-click (which removes only the selected type of tile).
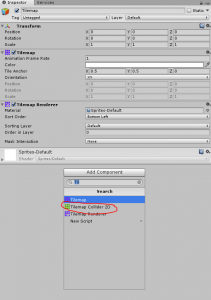
Now that you know the tools its time to get creative! Start constructing any building you have in mind! The only requirement is that it has some sort of table (for the computers). Once that is done, open up the “Grid” object and click on “Tilemap”. Then add a “Tilemap Collider” component to “Tilemap”.
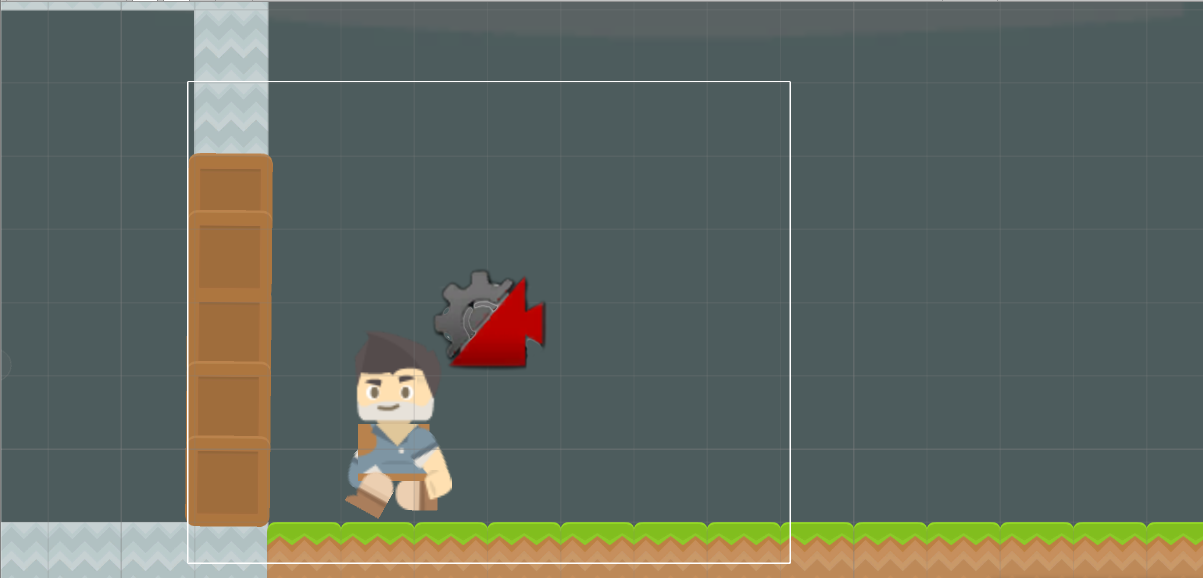
This gives each tile a collider which makes it behave like a proper environment when it comes to physics. Now navigate to the “items” folder in the asset pack and pick some items to add to your building. These can be dragged directly into your scene, no changes to the import settings are necessary. Use the “boxCrate” for the door. The final thing we need is a background. Pick an image in the “Backgrounds” folder from the asset pack. We are going for a night scene so pick one that is dark or can be darkened easily. The z-depth must be less than any of the other elements. Alright! We are done! This what my scene looks like: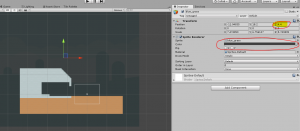
Constructing the Character
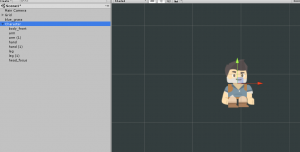
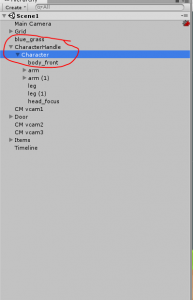
In the “Characters” folder you will find a couple of folders labeled things like “Player” and “Soldier”, these are the actual characters we are going to be using. Have a look at them and pick the character that you want to go in your composition. Once you have found one you like, open the “limbs” folder. We are going to use these to put together a character. Before we do that though we need to create an empty game object called “Character”. Now we can drag all of the limbs into this new game object. No change to the import settings is necessary so just start constructing! You should end up with something like this:
I decided to double the size of my character just because my building is pretty big.
Setting up the cameras
Let’s start the execution of our plan by setting up the cameras. This means that we have one last bit of setup to do and that is to import Cinemachine. Go to Window -> Package Manager and set the package view to ‘all.’ Scroll down to find the Cinemachine package. Download and import it.
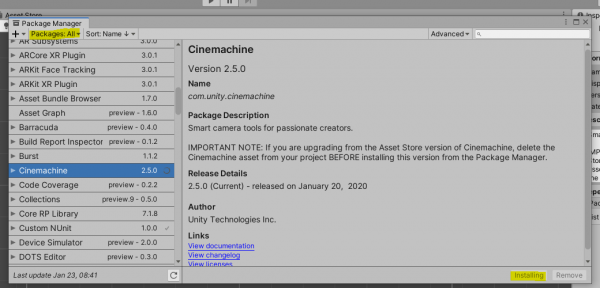
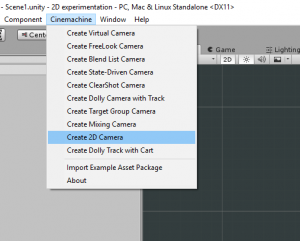
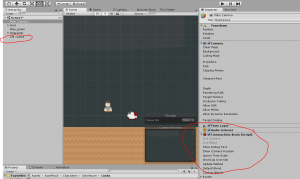
Now if you notice it has created a new button in the top toolbar called “Cinemachine”. Click on this and select “Create 2D Camera”.
Unity has now done a couple things. The first noticeable thing is that it has created something called a “Virtual Camera”. The second thing Unity has done created a “Cinemachine Brain” component on the “Main Camera”.
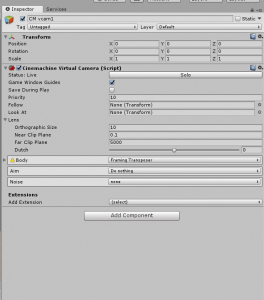
This is the way Cinemachine works, there is only one actual Camera (which is determined by the Cinemachine Brain component) and several Virtual Cameras. The actual Camera will then interpolate from one Virtual Camera to another. And we can decide when to transition from one Virtual Camera to another by using either a script or the Timeline Editor (which is what we will be doing in this tutorial). Let’s take a look at the Cinemachine Virtual Camera component.
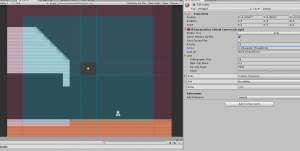
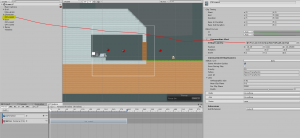
The first option is “Game Window Guides”. With this enabled, you won’t see anything in the game view until you assign something to the “Follow” field. Then you will see blue and red areas.
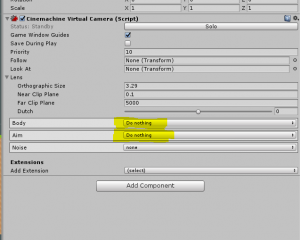
This is what allows the creator to tweak the look of the camera without leaving Play Mode. If the camera is following a game object it will always try to keep the game object in the middle of the guide, the part without any color, which is known as the “Dead Zone”. If the object crosses into the blue area, known as the “Soft Zone”, the camera will slowly interpolate in an effort to get the object back into the clear area. The red zone is known as the “Bias”. A game object will never cross over into the Bias, the camera will always move to make sure the object stays in the Dead or Soft zones. You can change the size or lengths of these zones by just dragging them in the game view. You can also change the angle of the camera by clicking and dragging in the Dead Zone. This greatly benefits 2D platformers since we can now create a custom camera tracking action without doing any code. The next two fields are “Follow” and “LookAt”. These should be pretty self-explanatory, the camera will follow whatever is in the Follow field and just Look At whatever is in the Look At field. Under “Lens” there really is only one setting that we can use for a 2D game and that is “Orthographic Size. If you reduce this number you’ll notice that our camera zooms in. Keep this in mind as we start setting up cameras. The last few options are the “Body” and “Aim” fields. These give specifics as to how you want the camera to track or look at an object. We aren’t going to be using the Look at Field so just keep “Aim” set to “Do Nothing”. There aren’t a lot of settings that will work with a 2D game so just leave “Body” set to “Framing Transposer”, this will allow us to use the guides to tweak our camera.
I encourage you to explore these other settings and see if there are any settings that you would like to use. Now that we have seen how the Cinemachine Virtual camera works, let’s set up our cameras. For my composition, my cameras weren’t that fancy so if you would like to add something more sophisticated feel free to do that but here is my camera plan:
Camera:
1 Shot of the inside of the building
1 Shot of the outside
1 Shot where the camera zooms out and we see the inside and outside
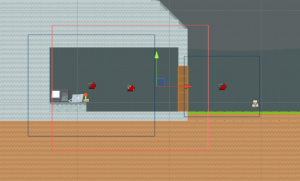
What we need here are three Virtual Cameras. One placed on the inside, one placed on the outside, and one placed where we see both the inside and the outside. Like this:
The Timeline Editor
We have our cameras set up, now we just need to tell the camera when to interpolate. In this case, we won’t be doing any scripting so that means that we need the Timeline Editor. To bring up the editor go to Window -> Timeline Editor 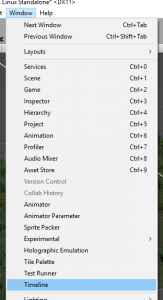
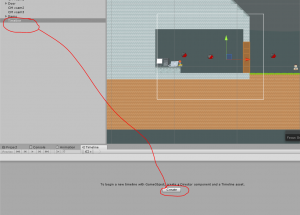
and then place it in a good spot in your workspace. Now create an empty game object called “Timeline”, then click the “Create” button in the Timeline Editor.
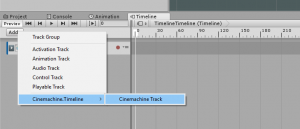
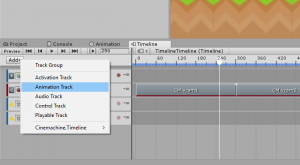
Since we are only going to have one Timeline we can just name it “Timeline” and save it in the root folder. Now click “Add” and go down to “Cinemachine.Timeline” and click “Cinemachine Track”.
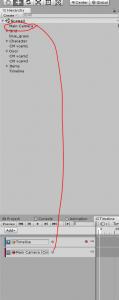
Then drag the main camera into the newly created track.
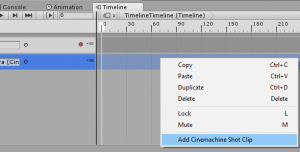
Now if you right-click on our newly created track you can create a new “Cinemachine Shot Clip”.
This will tell the main camera how long to stay at this Virtual Camera before going to another one. You need to first assign a camera to this track and then you can start changing the duration.
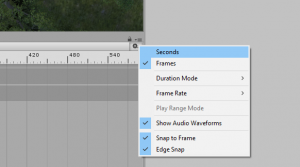
You can change the timescale to be in seconds and not frames by going to Settings -> Seconds.
This just makes it easier to tell how long a clip is going to last. Now add all three of our cameras into the Timeline Editor and tweak their lengths to get the look your going after. For the one shot where the camera zooms out, we can actually blend the last two cameras together by dragging them on top of each other. Keep tweaking lengths until you have enough time for each shot. Nothing is set in stone though so if you need to come back and change the lengths feel free to do so.
Once you are done you can hit play and watch what happens!
Animating the Character
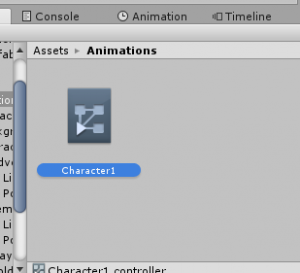
Let’s start by animating the actions we are going to need. Create a new folder called “Animations” and create a new “Animator Controller” called “Character1”.
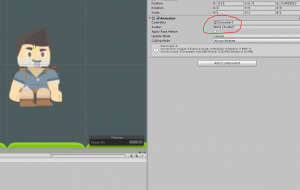
Then go to our Character and add an Animator component and add the newly created Animator Controller into the “Controller” field on the Animator component.
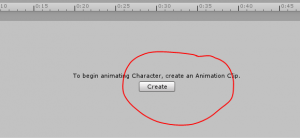
Now go to the Animation window and click create.
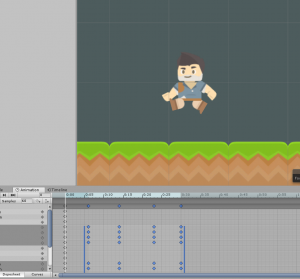
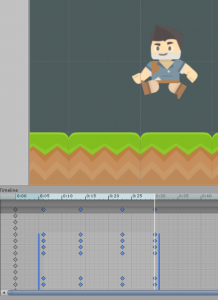
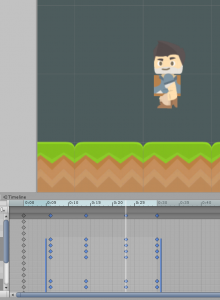
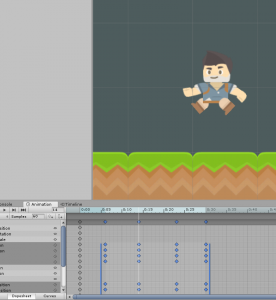
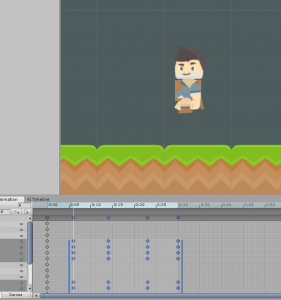
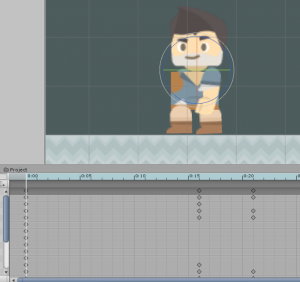
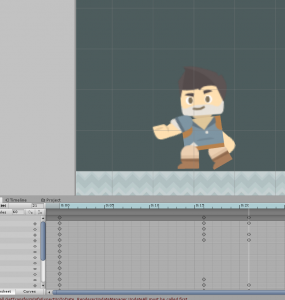
Call it “running” and save it the Animations folder. Animating can be kind of a daunting task but fear not! Here are the poses from my animation:
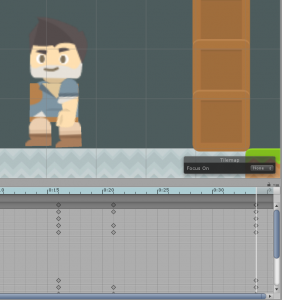
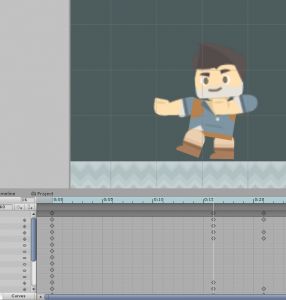
All you have to do is hit record and then move the limbs to match the pose. Each pose should be about 6 frames apart. The character is running in place so don’t move it either left or right. Then create a new clip called “Punching”. This one can be kind of tricky so here are my poses as well:
The typing as well shouldn’t be too hard. If you have a look at my game again:
You’ll see that the typing is just the arms moving up and down. It is very important that you animate the character in whatever direction it is facing. If you animate him punching in one direction but have him running in the other direction it will look weird. Also, if the record button is greyed out hit save and then try.
Putting it all together
Create an empty game object and call it “Character Handle” and drag our Character into this object.
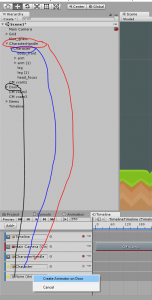
This is where we will be animating the transform of our character. If we did the transforms and the animations on the same object, I have found that it makes weird results. Now create at least three animation tracks in the Timeline Editor.
These are for the action animations of our character, the transform animations on our character, and the door getting knocked down (if your door is made of more than one crate then make all of the crates a child of one game object). Assign each track their respective objects. It will ask you if you would like to create an animator component on some of them to which we would reply with a yes.
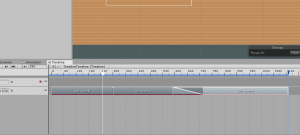
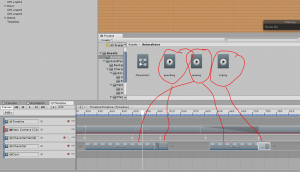
Now animate the character’s transform by clicking the record button. On the final shot, the character shouldn’t leave the frame. Try to leave enough time for each action, that way the audience won’t feel that it is too rushed. When the camera is zooming out, I have found it is best to have the character enter the building. It makes a nice composition with the character on one side of the screen and the computers on the other. Now we need to add our character’s animations. The best way to do this is to drag your Project tab above you Timeline Editor. Now go to the Animations folder and drag in the animations into their respective positions (i.e “running” when the character is running).
You can also drag these clips on top of each other to blend them. And you can also loop them by dragging them out.
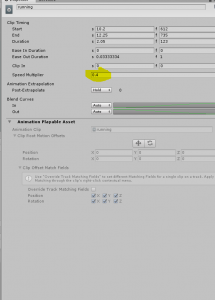
If you animated like I did then you may need to decrease the speed of the “running” clip.
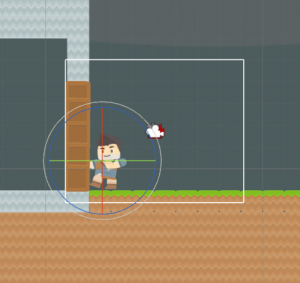
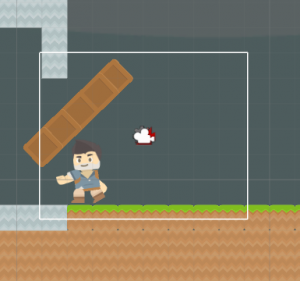
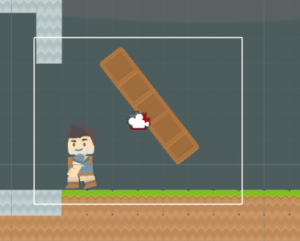
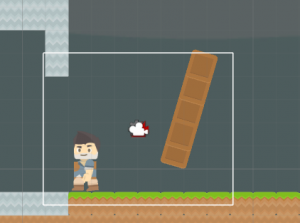
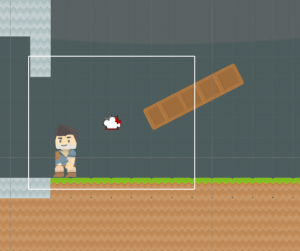
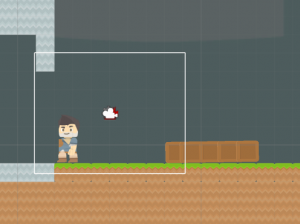
Once you have the character completely done we now only have to animate the door getting knocked down. This can be kind of tricky. If it falls forward it may clutter the inside. But it falling backward may look kind of weird. It all depends on how your building is set up. You can always have the door just fall of the world entirely. It’s all up to you. I decided to do this to mine:
Summary
Congratulations on getting to the end of this tutorial! I hope you have enjoyed it and that it has been helpful. Hopefully, now you understand Cinemachine for 2D well enough that you can start implementing it into your own projects. The example footage came from a game that I made called “Chaos 2D”. You can download it now from Amazon, Google Play, and the Apple app store.
Keep making great games!
