Unreal Engine is a powerful and popular engine, and since the release of Unreal Engine 5, interest in learning to develop with it has skyrocketed.
In this Unreal Engine tutorial, we’ll take a look at three important features of the engine: actors, lights, and physics.
Actors are the very foundation of every object in our game, and so we’re going to see how to configure their properties, scale them, rotate them, and more. Following, you’ll learn how to set up the lighting environment in your scene using the various types of lights available in the engine. And lastly, we’ll cover how to apply physics to the objects in the scene and how to make them interact with each other in the game.
Let’s get started!
Table of contents
Project Files
You can download a copy of the source code files for the project done in this tutorial here.
Note: This tutorial was made with Unreal Engine version 5.0, so if you have a higher version you might see some elements as deprecated (although they still work).
Creating An Actor in Unreal Engine
An Actor is an object inside of a level that can have a position in 3D space.
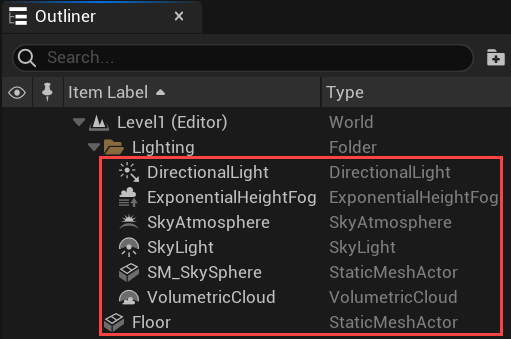
If you look in the Outliner panel, you can see a bunch of different Actors with different types, such as Directional Light, SkyAtmosphere, and others. Despite having different types, all of them, besides the Folder and World types, are Actors on the base level:
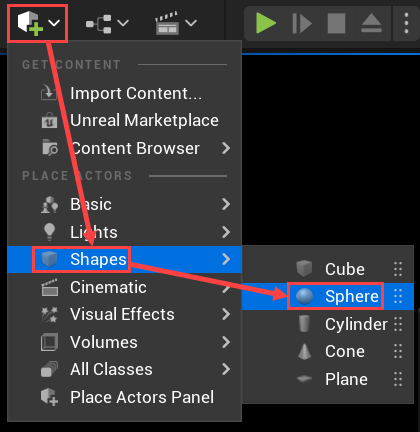
Then, there is the Add button in the Main Toolbar over the Level Viewport. Clicking on it will open the menu in which you can select which type of Actor you want to create. There are Basic, Lights, Shapes, and other groups of Actors:
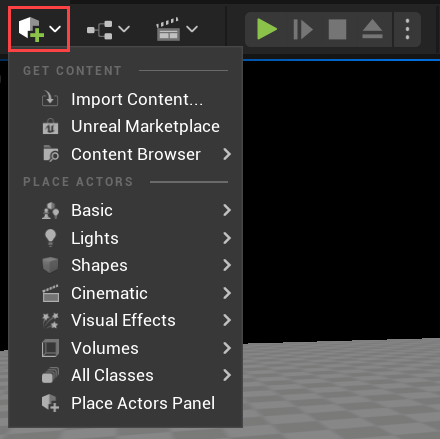
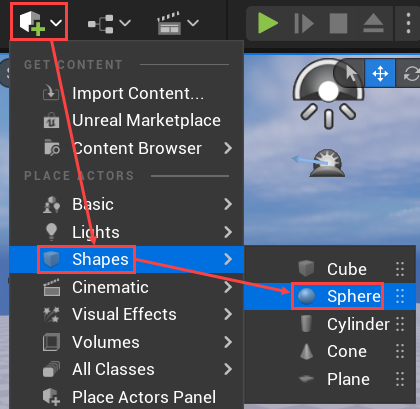
For this example, let’s create the Shapes > Sphere Actor:
Overview Of An Actor
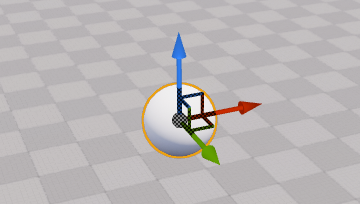
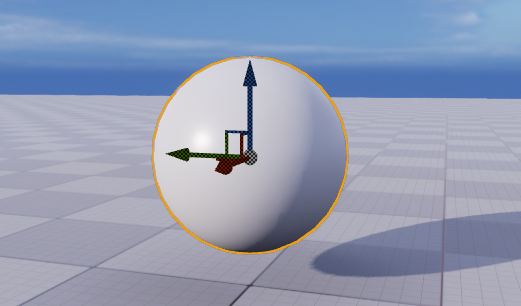
You will have the Sphere object created in your level:
In the Outliner panel, you can see that the Sphere is a StaticMeshActor, just like the Floor object. The StaticMeshActoris just a 3D model that is rendered at the level. It also has the Physics and Collision components:

With the Sphere object selected, you can go to the Details panel and change the properties of the Sphere’s components. For example, you can go to the Materials component and set the Sphere’s material to the M_Brick_Clay_New material:

This will make our Sphere look like a sphere of bricks:

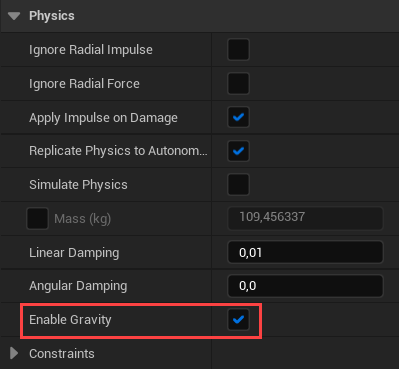
Then, in the Physics component, we can change whether our Sphere is affected by gravity by changing the Enable Gravity property’s value:
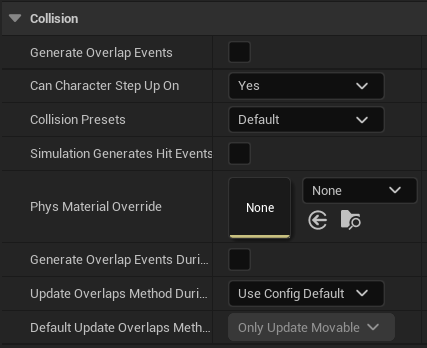
Next, in the Collision component, we can set how our Sphere collides with other objects. You can set whether it receives collider overlap events or if it can be stepped on, and many other things:
Each type of Actor has its own set of components and properties to tune them to your needs. You can even create your own types of Actors, for example, for the bullet projectiles to use in an FPS game.
How Lights Work in Unreal Engine
Directional Light
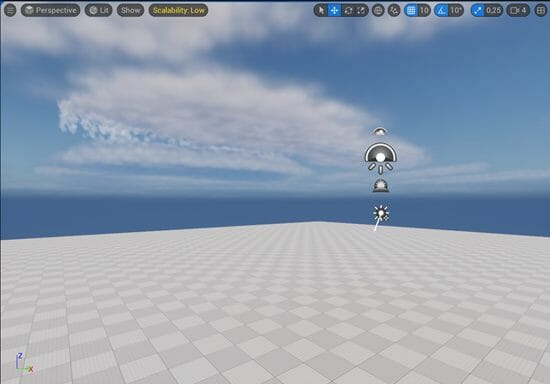
Let’s open our level as it is now:
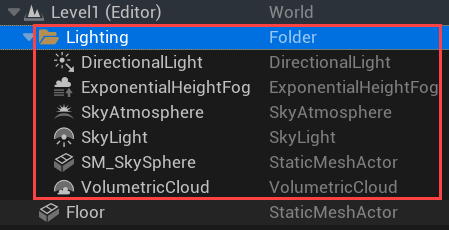
In the Outliner panel on the right, you should see the Lighting folder, which contains all of the actors constructing the lighting and atmosphere in the level:
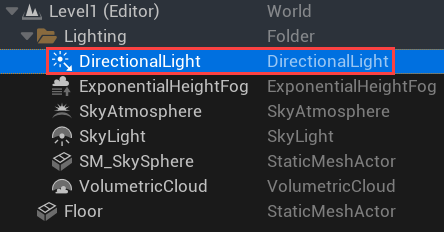
In every level in which you want to have some global lighting, coming from the sun or the moon, you should use the Directional Light actor:
If you move the Directional Light actor around the level, you will notice that nothing changes — it doesn’t matter where the Directional Light is located:
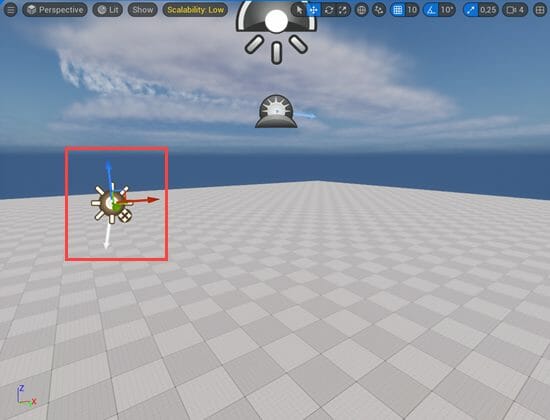
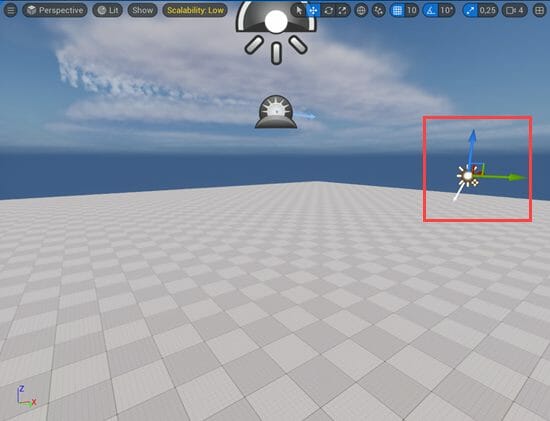
But if you change the Directional Light’s Rotation, you will see that the light color and intensity change as well. The current direction of the Directional Light can be seen in the Level Viewport as the white arrow coming out of the Directional Light’s gizmo:
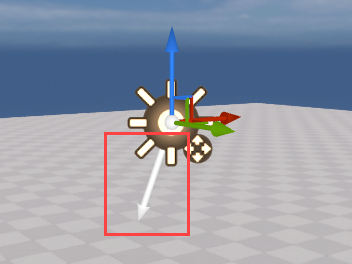
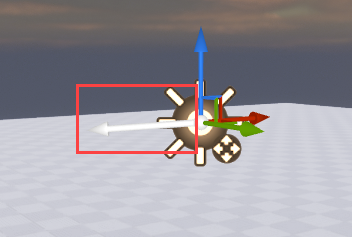
Let’s create a cube object to see how changing the direction of the light changes the lighting:
- Press on the Add button at the Main Toolbar
- Select the Shapes > Cube option
- Move this Cube to the top of the Floor

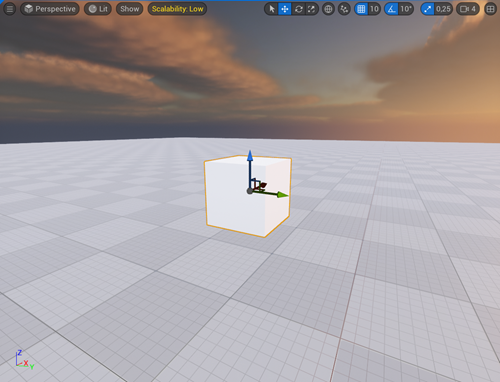
You can see that the Cube’s shadow is aligned with the Directional Light’s direction:

If you set the Directional Light’s Rotation in the Details panel to value around (0, 50, 0), you will see the sky turn black. That happens because the sky color depends on the Directional Light’s Rotation:
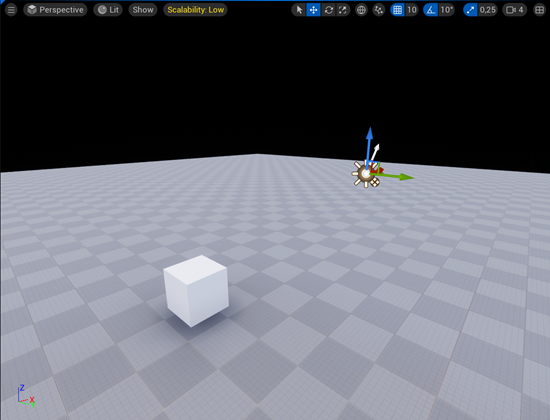
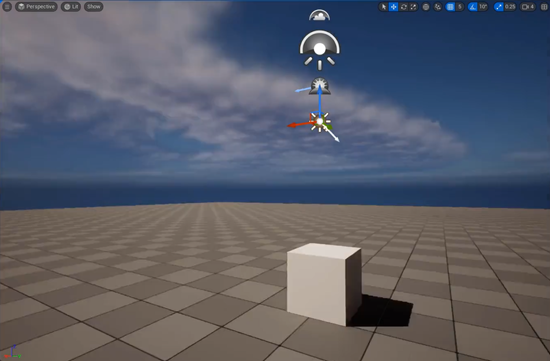
By changing the Y Rotation of the Directional Light you can pretty much have the day-night cycle:
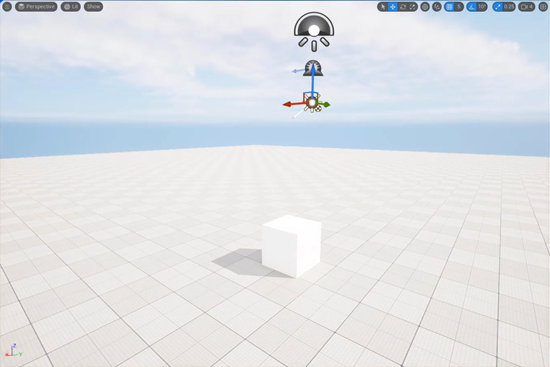
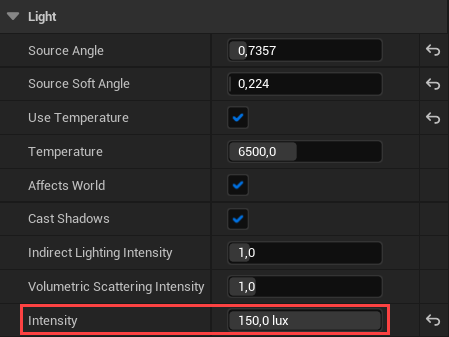
Rotation is not the only property of the Directional Light you can change in the Details panel. The Intensity property in the Light component allows you to control how strong your Directional Light is:
You can also change the color of the light with the Light Color property. For example, setting the Light Color of the Directional Light to orange will make the whole level lit with orange:


Then there is the Light’s Temperature property, with which you can make your light hotter or colder:
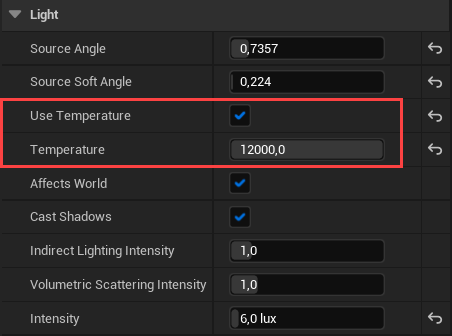
If you make the (white) light colder, the whole level will look a bit “colder”:

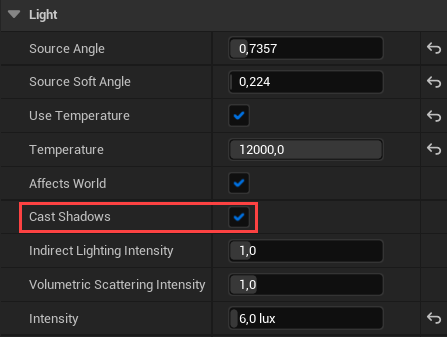
You can also turn the shadows on and off with the Cast Shadows property:
Point Light
The Directional Light is not the only light we could use. If you go to the Add > Lights menu, you will see the following lights:
- Directional Light
- Point Light
- Spot Light
- Rect Light
- Sky Light
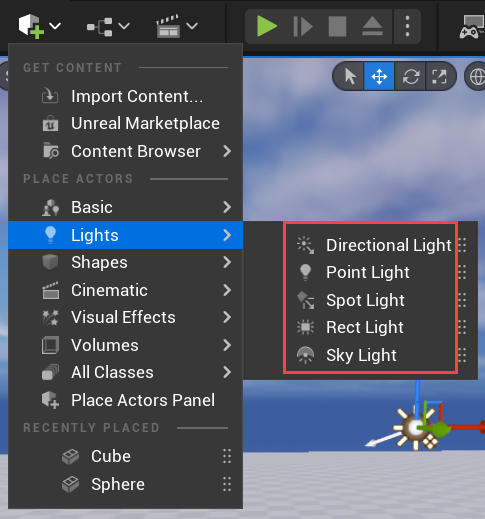
Let’s add a new Point Light now:
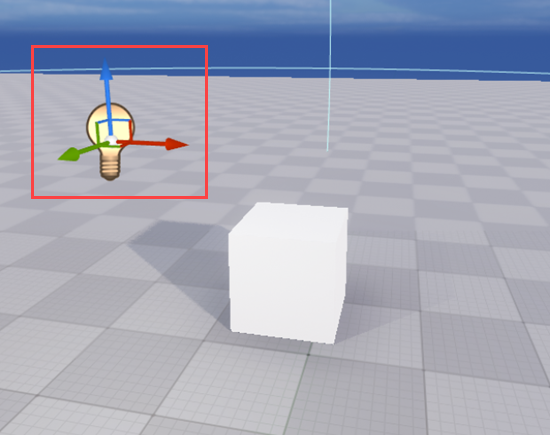
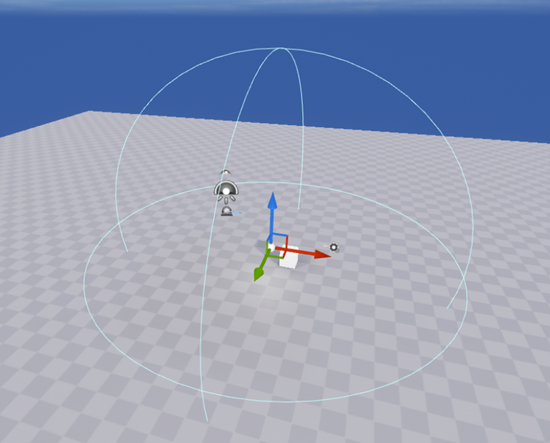
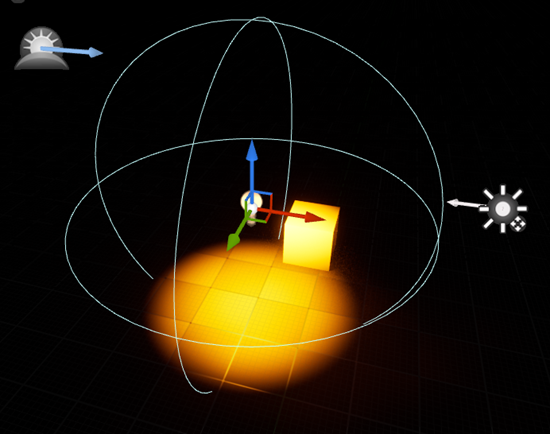
The wireframe sphere around the Point Light shows the range of this light. The Point Light works like a candle — it emits light in all directions, but the farther from the source, the weaker the light. It is also can be blocked by other objects on the level:
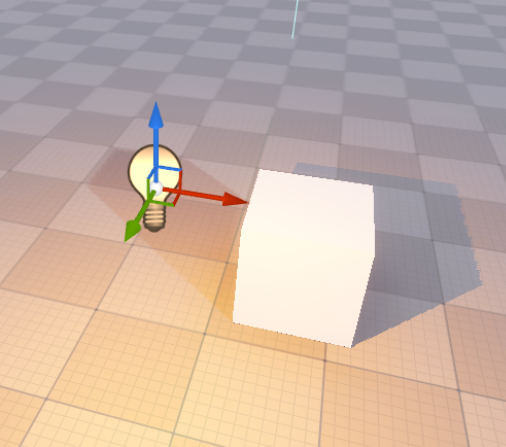
As for the Directional Light, the Point Light also has the Intensity and Light Color properties that can be changed in the Details panel. For example, in the screenshot below we’ve increased the Intensity of the Point Light and set the Light Color to orange:
Then, by changing the Attenuation Radius property you can change the range of the Point Light. The bigger this Radius, the farther the light will go:

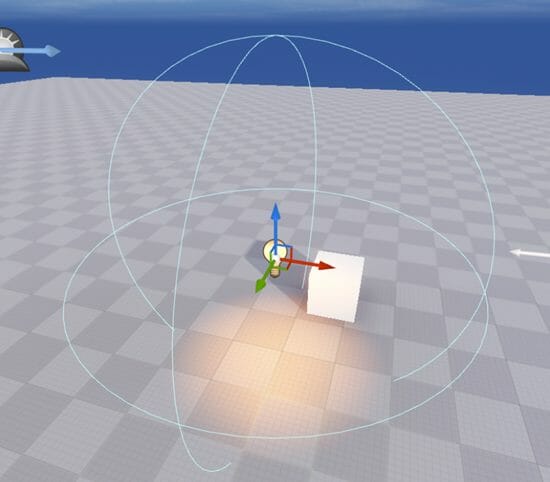
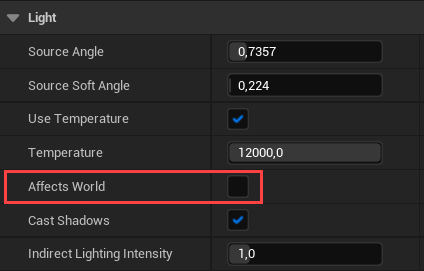
Now, let’s select the Directional Light actor and disable the Light’s Affects World property in the Details panel. This way we would be able to see only the light from our Point Light actor. The regions not affected by this light would be black:
Spot Light
The next light we want to try out is the Spot Light. Let’s create one by selecting the Add > Lights > Spot Light option:

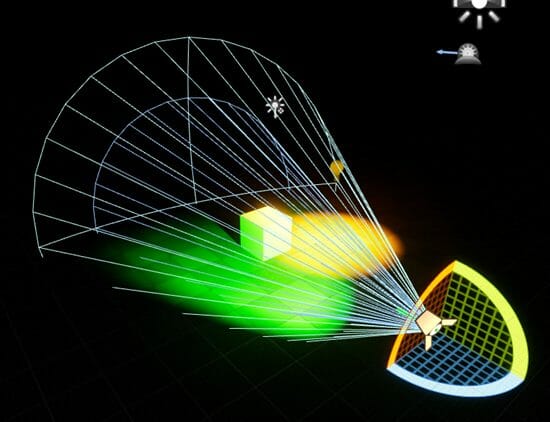
The Spot Light works like a flashlight or a spotlight — it emits light in a certain direction and is limited by a cone-like shape:

Besides the Temperature, Intensity, Color, and Radius, the Spot Light’s Light component has two new properties:
- Inner Cone Angle — the angle of the hard light cone
- Outer Cone Angle — the angle of the soft light cone
Tuning those values allows you to make your light as hard or as soft as you want:

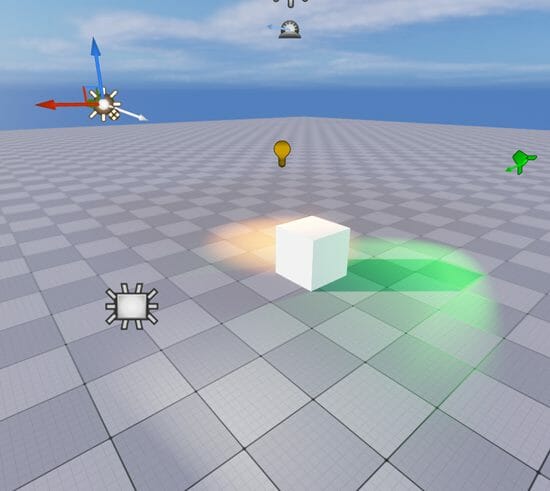
Here’s what the green Spot Light directed at the Cube looks like:
Rect Light
Now, let’s add the Rect Light to our level. To do that, select the Add > Lights > Rect Light option from the Main Toolbar:
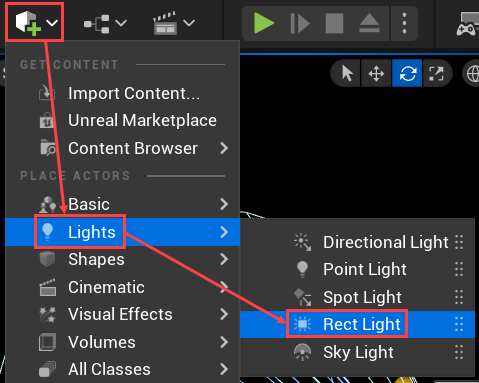
The Rect Light actor emits light from the rectangular shape. If you want to have a ceiling that allows the light to “pass through” or some surface to emit the light, the Rect Light is the light for you:

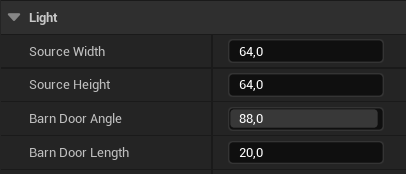
The Rect Light has the following unique properties in the Light component:
- Source Width and Height — the size of the light source
- Barn Door Angle and Length — allow you to focus the light
If you go to the Details panel and enable the Directional Light’s ability to Affect the World, you will see that it almost overpowers all of the other lights, because of how strong it is:
Unreal Engine’s Physics System
Unreal Engine has its own Physics system, so making the objects have physics interactions is pretty simple. First, let’s create a new Sphere object by selecting the Add > Shapes > Sphere option from the Main Toolbar:
You should have the Sphere object appear in your level:
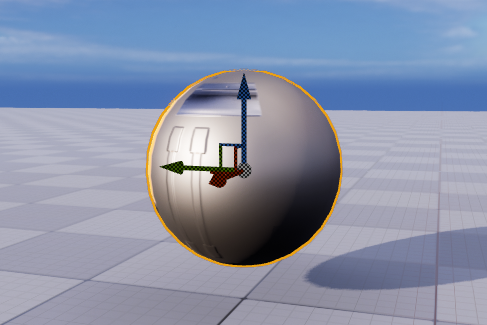
Now, let’s go to the Details panel, and in the Materials component, change the Sphere’s material. We’re using the M_Door material:

After that, Sphere should look like the door texture is stretched over it:
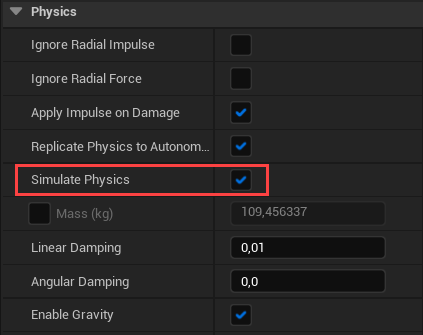
Then, in the Sphere’s Physics component, we’ll enable the Simulate Physics property. This way the Sphere object would be affected by the Physics system:
Let’s start the game now by pressing the Play button in the Main Toolbar above the Level Viewport:

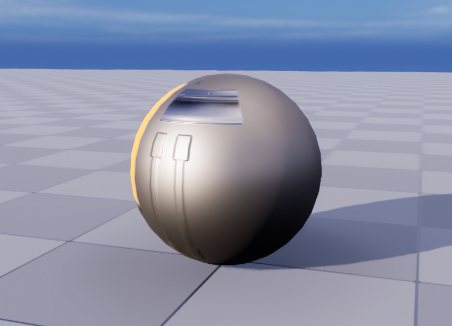
Once the game starts, you’ll see the Sphere dropping to the floor. Also, the default camera actor in our level has physics enabled on it. So, when the game runs, you can move the Sphere by flying into it:
Multi-Object Physics Interactions
We can also combine those physics interactions with other objects. Let’s build a little ramp for our Sphere to run on. First, we will create a new Cube object through the Add > Shapes > Cube menu:
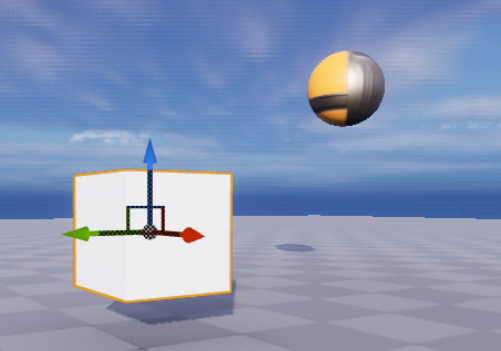
Then, in the Details panel we’ll configure the Cube’s Transform component like this:
- Set the Location property to (0, 0, 70)
- Set the Rotation property to (0, -20, 0)
- Set the Scale property to (5, 1, 0.25)

Next, let’s select the Sphere object, and in the Details panel, set the Transform’s Position property to (-150, 0, 270):

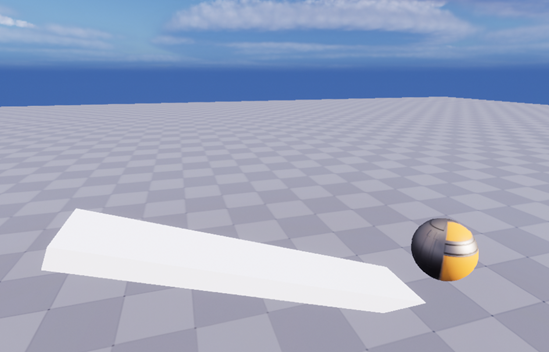
In the result, you should get the inclined rectangular ramp and the Sphere hanging over it:
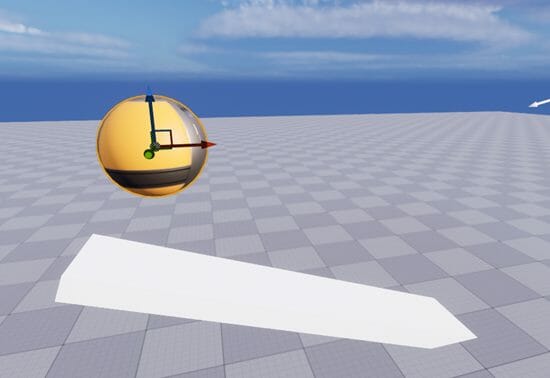
If you start the game now, you should see the Sphere fall to the ramp and then roll from it to the ground:
Gravity Property
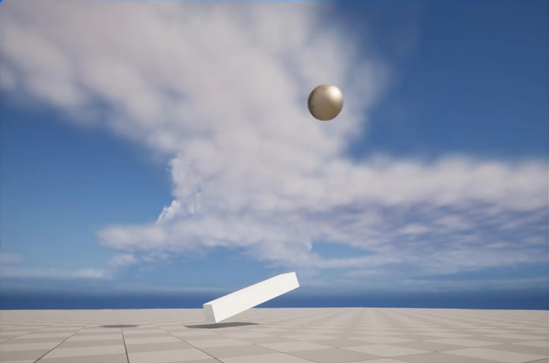
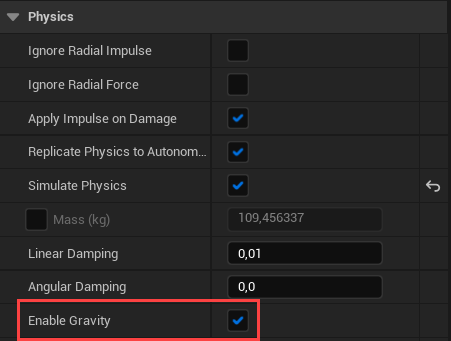
There are also other useful properties in the Physics component. For example, you can disable the Sphere’s gravity by disabling the Enable Gravity field. This way, the Sphere is still affected by physics, but not by gravity:

If you start the game with the Sphere’s gravity disabled, the Sphere won’t fall to the ground by itself, but you would still be able to nudge the Sphere by flying into it:
Let’s enable the Sphere’s gravity back now and look into other properties:
Linear and Angular Damping Properties
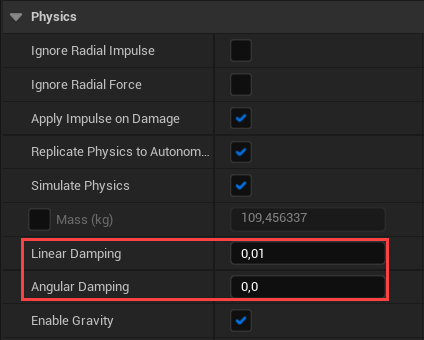
There are Linear and Angular Damping properties in the Physics component. They control how fast the linear and angular movement of the object is slowed down with time. By default, the Linear Damping should be 0.01 and the Angular Damping should be 0:
If you start the game right now, without changing those parameters, the Sphere is going to roll until it falls from the Ground object:
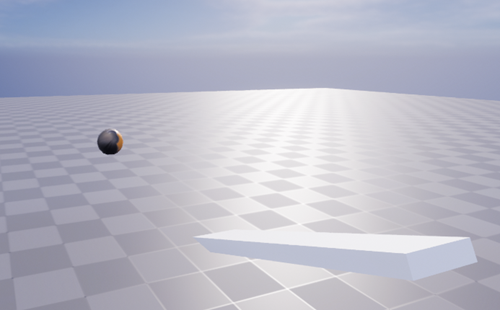
Let’s set the Angular Damping property to 5 and see how the Sphere rolls after that:
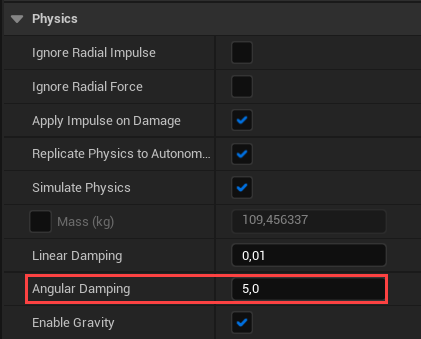
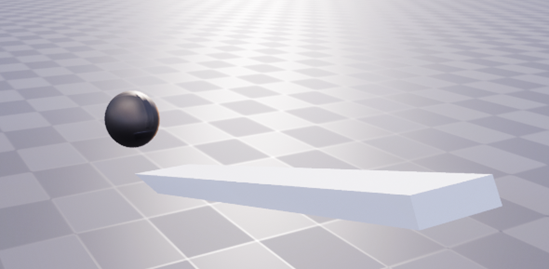
When you start the game, the Sphere should stop almost right after it rolls from the ramp. That’s because now the Sphere’s Angular Damping is much higher:
Mass Property
The next property we’re interested in the Physics component is the Mass. By default, this property is disabled and the Mass is generated automatically by the engine depending on the object’s volume. For our Sphere object, the default Mass is around 109 kg:
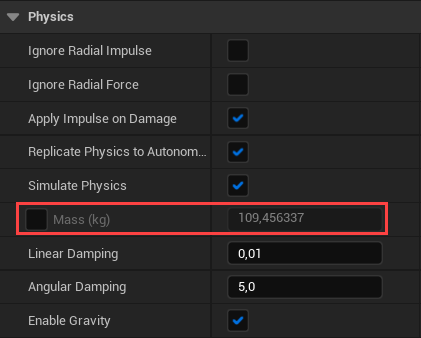
Now, let’s enable the Sphere’s Mass property and set it to 1, so our Sphere weighs 1 kg:
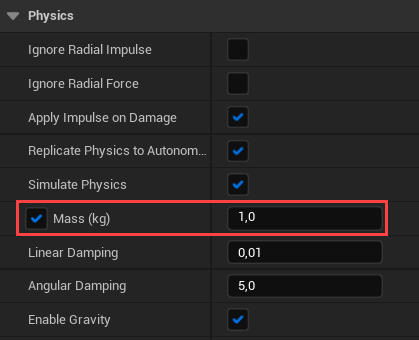
If you start the game now, the Sphere will behave almost the same, but it would move further than before because it is lighter.
Conclusion
And that concludes our study of actors, lights, and physics in Unreal Engine! Well done on reaching the end of this tutorial!
With this tutorial, you’ve learned how to manipulate game objects/actors in various ways, including working with lights and physics in Unreal Engine. Foundations such as these form the core knowledge you’ll surely need to have a go at any sort of Unreal Engine game you want to build in the future!
Of course, Unreal Engine has a lot more tools to offer. We encourage you to not only explore other features of the engine, but to do further research into the aspects we covered here. There is a lot more to each – such as designing aspects for lighting or physics properties for different sorts of objects. Experiment, and maybe you’ll even generate the idea for your next Unreal Engine game! You can even check out how different aspects of these work in different genres, such as the YouTube video below which shows how to make a flashlight mechanic for horror games.
Happy learning! (:
Want to learn more about features and tools in Unreal Engine? Try our complete Intro to Unreal Engine Game Development course.
Did you come across any errors in this tutorial? Please let us know by completing this form and we’ll look into it! FINAL DAYS: Unlock coding courses in Unity, Godot, Unreal, Python and more.