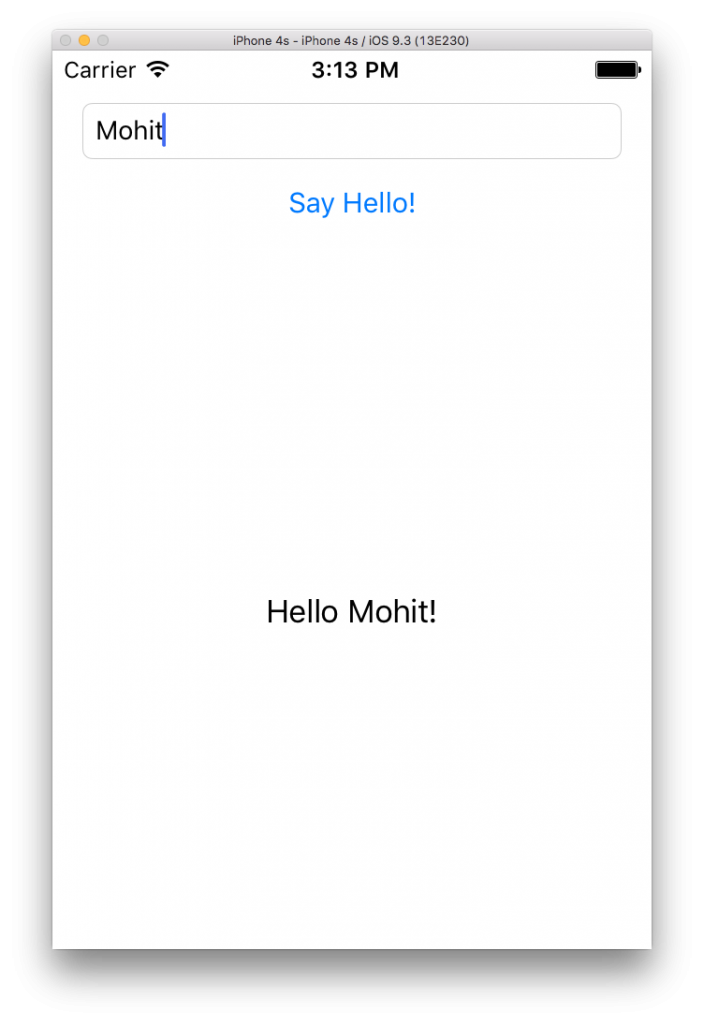
Hello world! In this post, we’re going to get started with iOS development using Swift! We’ll start by building a simple Hello World app that will allow the user to enter their name and push a button; then the text in the middle will change to say “Hello” and the entered name.
Download the source code here.
Table of contents
Learn iOS by building real apps
Check out The Complete iOS Development Course – Build 14 Apps with Swift 2 on Zenva Academy to learn Swift 2 and iOS development from the ground-up with an expert trainer.
Did you come across any errors in this tutorial? Please let us know by completing this form and we’ll look into it!

FINAL DAYS: Unlock coding courses in Unity, Godot, Unreal, Python and more.
Prerequisites
Before we start, you’ll need the latest version of Mac OS X and Xcode. You can download Xcode from the Mac App Store. After you open it for the first time, you’ll also need to download the appropriate iOS documentation as well. After you’re done with the download, we can get started!
Getting Started
After opening up Xcode, create a new project. We’ll just need a “Single View Application”, and we’ll currently limit our project to just iPhones. Make sure you select Swift as the programming language! The organization name and identifier can be anything you want.
Save your project anywhere you want and afterwards, you should be greeted with a satisfying clean slate of a project! Let’s first build the UI. On the left pane, select the Main.storyboard file. We’ll see one screen (also called a scene) in our canvas. It represents a single screen of our iOS app. The arrow on the left of the scene indicates that this scene is the entry point for our iOS app. In other words, when the user clicks on our launcher icon, this is the first scene that will appear!
To build the UI, Xcode provides us with standard iOS widgets on the bottom right pane, called the object library. From here, we can simply drag-and-drop UI widgets onto our scene.
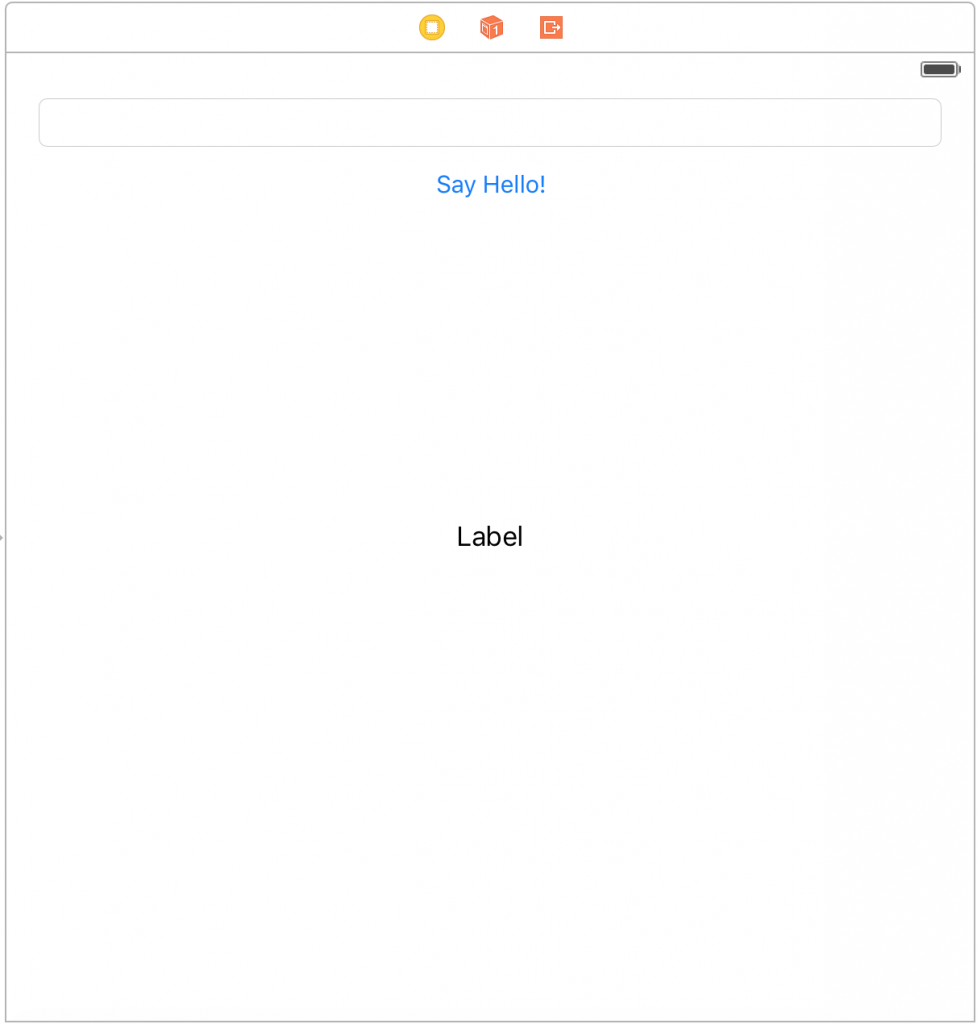
In our case, we’ll need a UILabel, UIButton, and UITextField. Arrange them in a similar fashion to the screenshot below. You can resize the UITextField and UILabel using the drag handles to the outer edges of the screen, but not flush with the screen. To change the text of the UIButton, simply double-click on it and change the text. The blue guidelines should help you in positioning your layout.
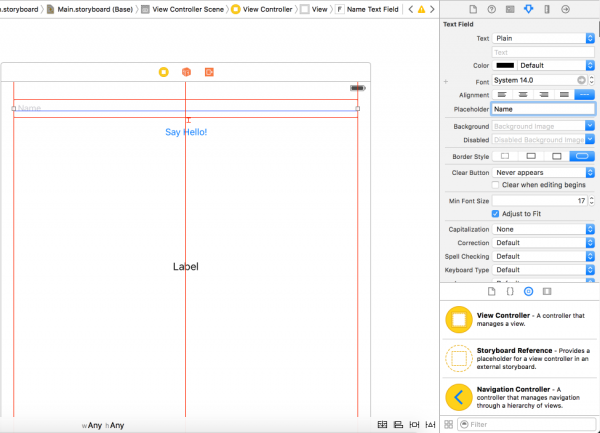
After we’re done with the initial layout, we need to use autolayout to anchor our views to those positions so that they don’t shift when we install our app on a screen of a different size. Let’s start with the UITextField. Click on it and then click on the button on the bottom right that looks likes horizontal bars. Check out the screenshot for more information on where to find it. This is align menu of autolayout.
We’re going to add the constraint that our UITextField will be centered horizontally on the screen. Directly to the right of that button is the pin menu of autolayout. Click on it next. In the overlay that pops, there should be a small box with various dotted red lines coming out of all 4 sides of it. This box helps pin our UI widget. Click on the left and right lines and they should become a solid red. Add those constraints as well. These will help pin our UITextField to the sides of the screen.
Now we’re going to do the same to our UIButton. We need to center it horizontally in the align menu, and in the pin menu, we want to select the top line so that our UITextField will be 8 units above our UIButton. We don’t need to set any left or right constraints since the UIButton’s width doesn’t change.
For our UILabel, the only need we need to position it is to align the UILabel so that it is centered horizontally and vertically in the view. Also make sure you stretch out the width so that the user can enter a long name and it won’t be chopped off!
For aesthetics, we can select the UITextField and on the top right pane, go into the attributes inspector and set the placeholder text. This text is slightly transparent and will disappear when the user taps on the UITextField to enter text. The purpose of the attribute is to help the user understand what data needs to go into that UITextField.
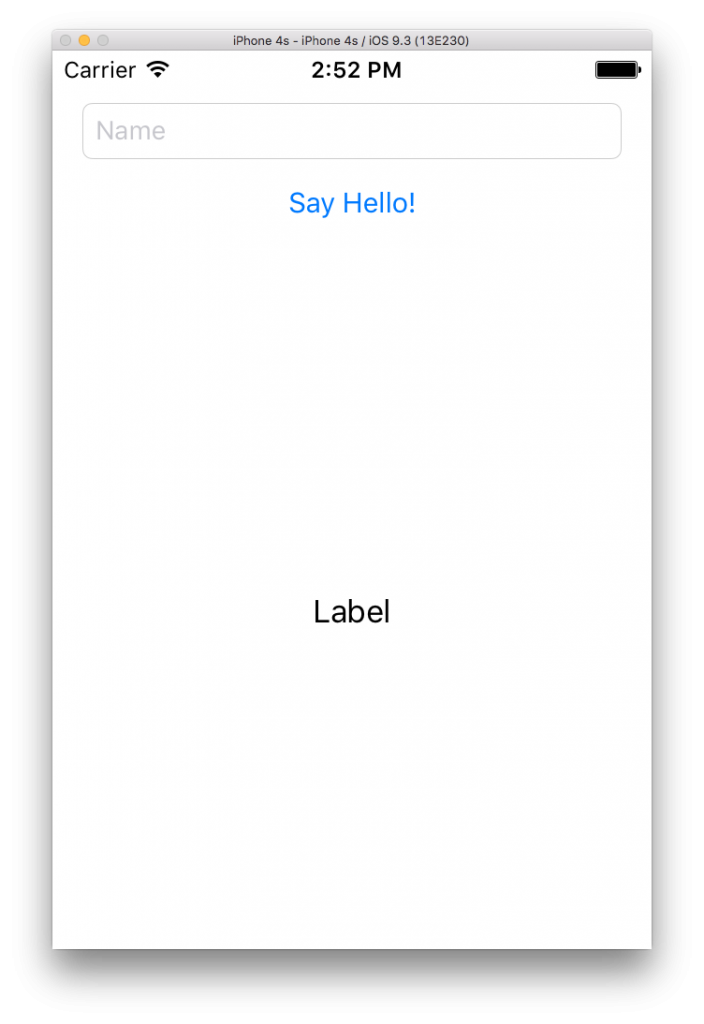
We can preview this screen in our emulator by choosing a device specification on the top of Xcode and clicking the Run icon. This will run our app in the emulator and we can interact with it.
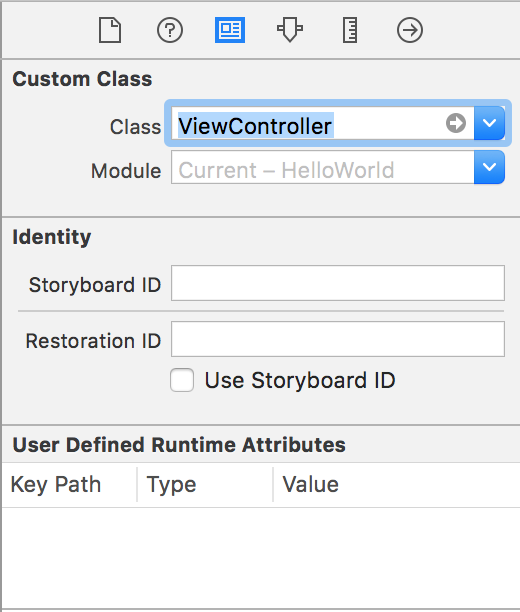
Our app looks great!… It just doesn’t do anything yet! Since we’re done with the UI, let’s head over the the Swift code and see if we can wire up our UI. Before we begin, I should mention that when we’re writing code for iOS, we strictly adhere to the Model-View-Controller paradigm. In our case, Xcode already generated a ViewController class that will store all of our code. We also need to specify that a particular scene is connected to a particular ViewController. Xcode already did this since we told it to create a new project with a single view. To double-check Xcode’s work, you can click on the top bar of the scene and go into the Identity Inspector and look at the Class field.
Whenever we create a new scene, we need to create a corresponding subclass of UIViewController (or any of its subclasses) that will handle all of the UI’s events and states. Ours is already created for us so we might as well use it!
Now let’s go wire up our UI to our code, quite literally. To make this easier, click on the Assistant Editor icon on the top right of Xcode and a new pane should appear.
In the new pane, make sure that Automatic is selected and we should see our ViewController class appear in the right pane. Now for our app, we want to change the UILabel’s text when the UIButton is pressed depending on what is in the UITextField. To do any of this, we need a way to reference our UI widgets. To do this, we need to use Outlets. Outlets are simply references to our UI elements. To create an outlet, control-drag on a widget and into the ViewController class. You should be greeted with a dialog that looks like the one below. Call our UILabel nameLabel.
Now we have a reference to our UILabel! Do the same thing for the UITextField and call it nameTextField. We’ll also put a code comment used for organization so our entire outlet code looks like the following.
// MARK: Properties
@IBOutlet weak var nameLabel: UILabel!
@IBOutlet weak var nameTextField: UITextField!
The code comment is helpful because, if we look at the top breadcrumb trail in our Assistant editor, we can see the MARK helps create section breaks. Also note the exclamation marks after the variable types. This tells Swift that our variables are implicitly unwrapped optionals, meaning they have a value after it is first set.
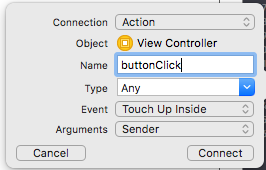
Now that we have the variables, we need to set up the event for the UIButton press. We can do this in the same way as the Outlets, except instead of creating an outlet, we’re going to create an Action. The process is the same: control-drag from the UIButton into the ViewController class, but this time, in the popup, select “Action” and title it buttonClick .
Now that we have an event-handler configured, we can populate it with the code we want. We first need to make sure that the UITextField isn’t empty, and if it isn’t, then we can populate the UILabel! If it is, then we populate the UILabel with the empty string. Speaking of the UILabel, for our app, double-click on the UILabel and press Delete on your keyboard so it doesn’t have any text to start with. The only reason we kept the text in was so that it was easier to control-drag to create an outlet. Our entire code for the event-handler should look like the following.
// MARK: Actions
@IBAction func buttonClick(_ sender: Any) {
    if !nameTextField.text!.isEmpty {
        nameLabel.text = "Hello " + nameTextField.text! + "!"
    } else {
        nameLabel.text = ""
    }
}
To recap this code, we forcibly unwrap the text property of our UITextField and make sure it isn’t empty. And if it isn’t then we populate our UILabel with the greeting. If it is, then we replace the UILabel text with the empty string. It’s ok to forcibly unwrap in this case since these text properties won’t be nil, but they could be empty!
That’s all there is to it! Let’s run our app and see it in action!
Congratulations on building your first iOS app! To recap, in this video, we learned about several of the basic iOS UI widgets and how we can arrange them in the scene. We also learned how to use autolayout to appropriately position our widgets. We saw how to use Outlets and Action to define handles for our UI widgets and how we can give our buttons event-handlers. We also looked at how to deal with iOS UI widgets inside of the UIButton’s event-handler. Finally, we constructed a very simple, Hello-World-esque iOS app that will say Hello to the user after they type in their name!
