Hello World! This is the 2nd and final part of our Unit Converter post. In this post, we’re going to finish our Unit Converter app and see it working in our emulator! We’ll delve into UIPickerView and learn about delegates and data sources!
Let’s get started! Since we’re finished with the UI and model, we need to wire everything in our UIViewController subclass. The first and most important thing we need to do is to handle our UIPickerView. Before we do, we need to talk about delegates and data sources. In fact, to use the UIPickerView, we’ll need to understand delegates and data sources. We’ve briefly discussed them when we first learned about the basic UI widgets, but we’ll be going into more depth.
Table of contents
Learn iOS by building real apps
Check out The Complete iOS Development Course – Build 14 Apps with Swift 2 on Zenva Academy to learn Swift 2 and iOS development from the ground-up with an expert trainer.
Did you come across any errors in this tutorial? Please let us know by completing this form and we’ll look into it!

FINAL DAYS: Unlock coding courses in Unity, Godot, Unreal, Python and more.
Delegates and Data Sources
A delegate is an object that acts in place of another object for event handling. When we used the UITextField, we configured the delegate to be self and implemented the appropriate protocol so we could be aware when events to that UITextField occurred. This is primarily why we use delegates. They allow us to run code when an event happens to a particular view. In some cases, we absolutely need to set the delegate, because it’s the only means of configuring the view. In the case of our UIPickerView, we need to set the delegate, because we need to implement the function that displays the appropriate values in the UIPickerView. That’s pretty important!
A data source is similar to a delegate, but, instead of UI events, a data source is concerned with data events. For example, in our UIPickerView, we need to set the data source so that we can set the actual data of the UIPickerView. This is different than the displayed text in the UIPickerView, though it is often the same. Part of the UIPickerView data includes how many elements it is and into how many parts is it segmented. Remember the data source deals with the data, and the delegate deals with the appearance of UI elements.
In cases like the UIPickerView, we need to set both the delegate and data source, because they work in tandem to populate the view’s appearance and actual data.
Finishing up Unit Converter
Now that we know what delegates and data sources are, let’s apply them to our app! Control-drag on the UIPickerView to create a new outlet called picker. Set the picker’s delegate and data source properties to self in viewDidLoad() like the following.
override func viewDidLoad() {
    super.viewDidLoad()

    picker.delegate = self
    picker.dataSource = self
}
We’ll also have to implement the UIPickerViewDelegate and UIPickerViewDataSource protocols. Our class declaration should look like the following.
class ViewController: UIViewController, UIPickerViewDelegate, UIPickerViewDataSource
We’ll get an error about this because we have to implement a few methods; let’s add them in now with placeholder values and fill them in later. Here are the three methods we need to work with our UIPickerView.
func numberOfComponents(in pickerView: UIPickerView) -> Int {
    return 0
}

func pickerView(_ pickerView: UIPickerView, numberOfRowsInComponent component: Int) -> Int {
    return 0
}

func pickerView(_ pickerView: UIPickerView, titleForRow row: Int, forComponent component: Int) -> String? {
    return "string"
}
Before we can implement these methods, we need to first have an array of all of the different types of units. After we have that, these methods will be very simple to implement, often with one line of code! We could simply have a String array and put all of our units in there, but there’s a better way to keep track of all of our enum cases. Let’s first open up the Unit enum. There are many ways we can accomplish this task. We could assign each enum value string and then create a constant array with those elements. But that would require us to manually enter the cases, which we’re trying to avoid. We want a robust solution so that we can add cases without having to change more code to get those cases to appear in the UIPickerView.
The approach we’ll take is to index our cases, starting at 0. Then, when generating the list, we can simply iterate through the indices and store their values into a list only once to get all of the cases as strings. If we add another case, it’ll automatically get a unique sequential index ,and the while loop will account for the new case without us having to add more code! First, we need to make our enum indexable and add a function that will convert the case to a string to put in our string array.
enum Unit: Int {
    case inch = 0, centimeter, foot, meter, mile

    func description() -> String {
        switch self {
        case .inch:
            return "inch"
        case .centimeter:
            return "centimeter"
        case .foot:
            return "foot"
        case .meter:
            return "meter"
        case .mile:
            return "mile"
        }
    }
    ...
}
By adding what looks like a type annotation to the enum declaration, we can make the cases indexable. We also need to specify the starting index on the first case. Swift will then assume that the subsequent cases are numbered in a linear fashion (0, 1, 2, 3, 4, …) We also need to add a description function to convert the case to a string.
Now we can create the function that will iterate through all of the cases and append them into an array and return the array.
static func allCases() -> [String] {
    var i = 0
    var list = [String]()
    while let unit = Unit(rawValue: i) {
        list.append(unit.description())
        i = i + 1
    }
    return list
}
Note that we use optional binding in the while statement. Essentially, the while loop will iterate as long as unit is not nil. This loop will iterate until we’ve run out of cases; hence it is robust since we don’t hardcode a specific number of cases. Also, if we were to add a case, then Swift would throw an error in our description function about “not all code paths returning a value” and force us to add the new case to the switch clause in the description function.
Now that we can get a list of all cases in their string form, we can use that list in our ViewController class. Let’s open up that class. First, create a constant field for the list of all cases at the very top of the class.
let list = Unit.allCases()
For the numberOfComponentsInPickerView method, return 2, because we want two fields for converting to and from a unit.
func numberOfComponents(in pickerView: UIPickerView) -> Int {
    return 2
}
In the pickerView:numberOfRowsInComponent method, return the count of how many items there are in the list.
func pickerView(_ pickerView: UIPickerView, numberOfRowsInComponent component: Int) -> Int {
    return list.count
}
We don’t care which component this method is applied to since both components have the exact same data. For the pickerView:titleForRow:forComponent method, return the string at the row.
func pickerView(_ pickerView: UIPickerView, titleForRow row: Int, forComponent component: Int) -> String? {
    return list[row]
}
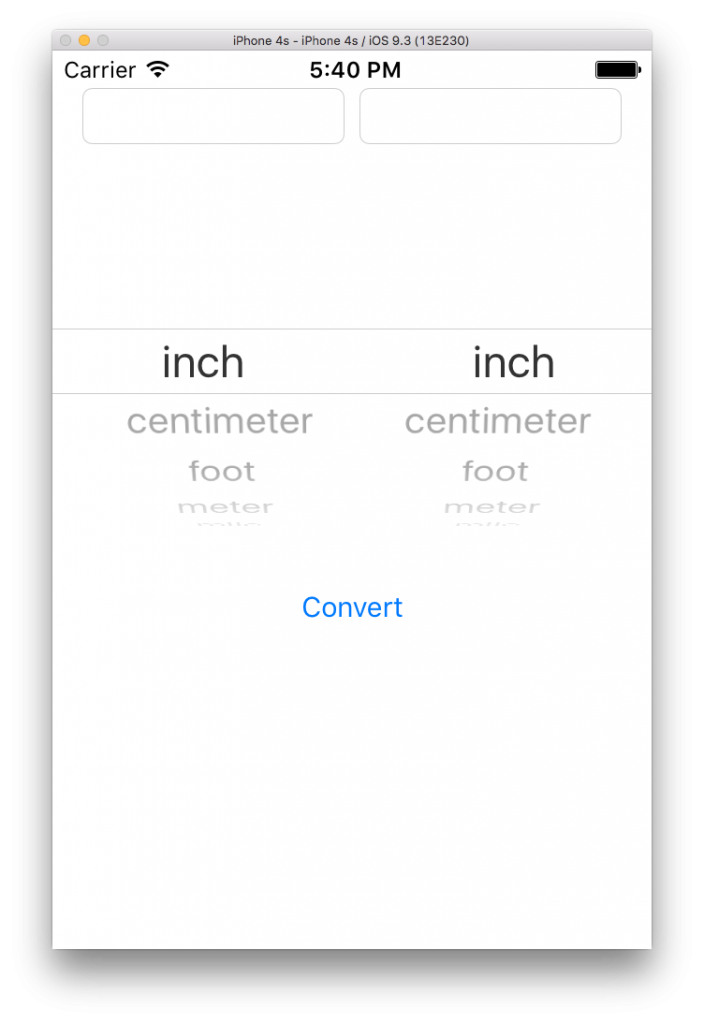
Again, we don’t care which component this method is applied to since both components have the exact same data. This is a great time to run our app and see if our UIPickerView is populated correctly!
As we can see from the above picture, our UIPickerView has two components, both populated with the appropriate units! We’re almost done! Now we need to wire the UIButton press so that will convert the appropriate units. For that, we’ll need to create outlets to the input and output UITextFields and an action for the UIButton.
@IBOutlet weak var output: UITextField!
@IBOutlet weak var input: UITextField!

@IBAction func convertUnits(_ sender: AnyObject) {
}
In the UIButton’s action, we need to get the spinner’s current selection and convert that into a string; then we need to convert that string into a Unit case. We can do this by first retrieving the index of the selected item. Then we can pass that through the array to get the string; finally, we can pass that string to the static method on Unit that we created in Part 1 to get a valid Unit case back.
@IBAction func convertUnits(_ sender: AnyObject) {
    let fromUnitIdx = picker.selectedRow(inComponent: 0)
    let toUnitIdx = picker.selectedRow(inComponent: 1)

    let fromUnit = Unit.fromString(list[fromUnitIdx])!
    let toUnit = Unit.fromString(list[toUnitIdx])!
}
Note how we need to forcibly unwrap the result of the fromString method. Since the user is restricted in choice of units, it’s ok to force the unwrapping. Now we need to extract the text from the input UITextField, convert it into a double, and then pass it through the converter to the output UITextField. First we need to make sure that the input text isn’t nil or empty. Then we can convert it to a double and force that unwrapping as well. The user can’t input any characters since we changed the property on our UITextField in Part 1. Then we can convert the value and set the output UITextField!
@IBAction func convertUnits(_ sender: AnyObject) {
    let fromUnitIdx = picker.selectedRow(inComponent: 0)
    let toUnitIdx = picker.selectedRow(inComponent: 1)

    let fromUnit = Unit.fromString(list[fromUnitIdx])!
    let toUnit = Unit.fromString(list[toUnitIdx])!

    if let inputText = input.text {
        if !inputText.isEmpty {
            let inputNum = Double(inputText)!
            let outputNum = fromUnit.convertTo(unit: toUnit, value: inputNum)
            output.text = String(outputNum)
        }
    }
}
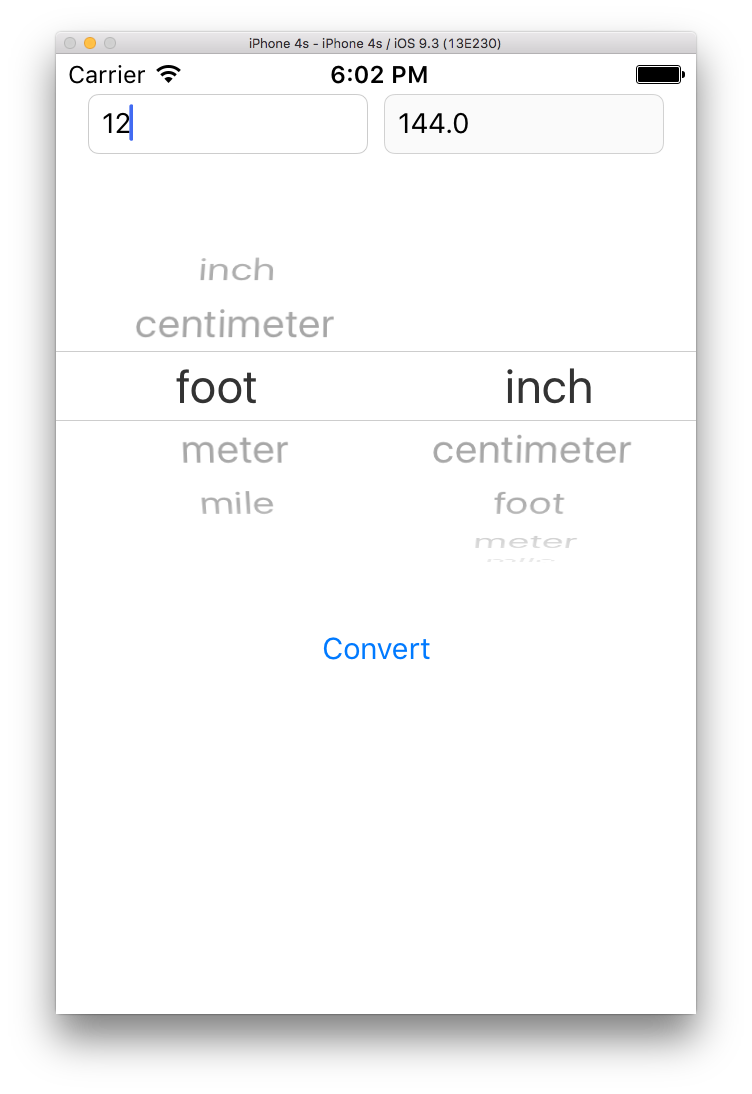
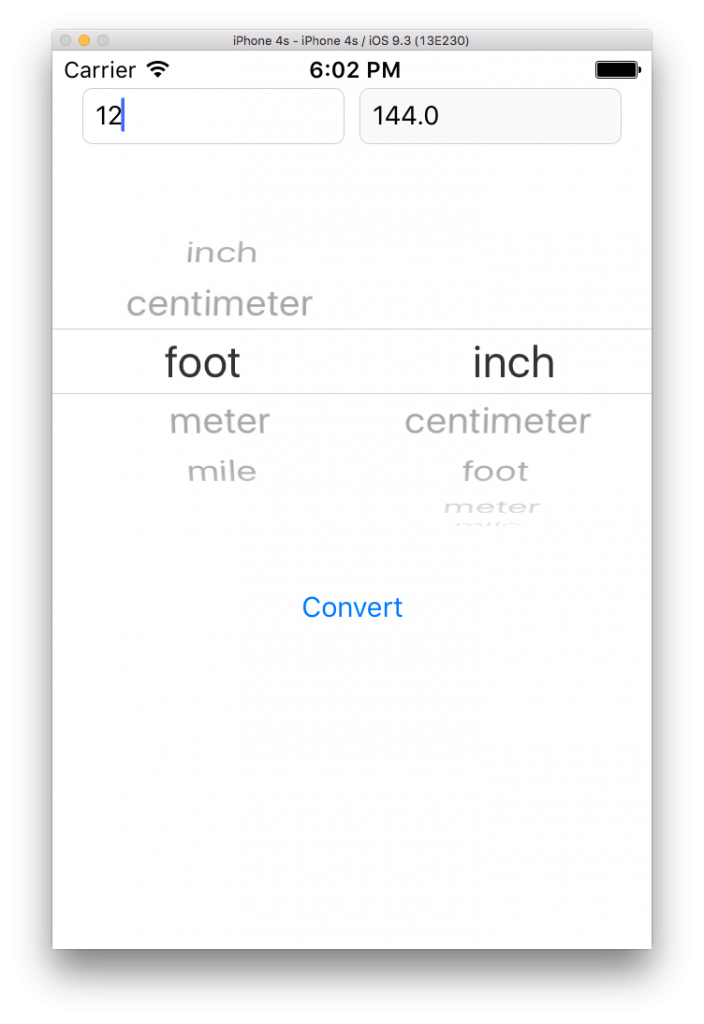
We’re finished! Let’s run our app and see it working!
As we can see, our app can convert between units! In this two-part post, we’ve constructed a complete unit converter app for converting between different units of distance. We started by learning about the model-view-controller (MVC) pattern; then we created the view and model. Next, we learned about Swift enums and used them to build our converter enum. Finally, we learned about delegates and data sources and used those to wired up our UIPickerView to show the different units. In the end, we had a fully-functional app that can convert between units of distances. Very handy!


