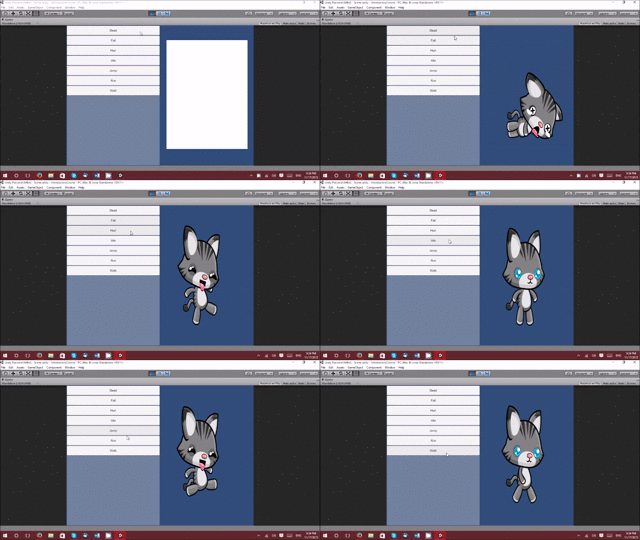
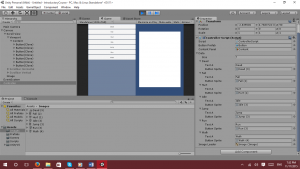
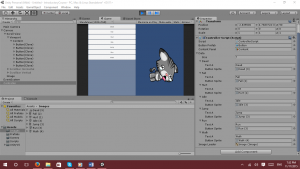
Unity3D is a game development engine originally designed with 3D game making in mind, however, it is also very possible and easy to create 2D games and standard applications using this engine. In this introductory tutorial on Unity3D, we will discuss how to use the UI and attach scripts to components. By the end of this tutorial series, we will have made an application that has dynamically generated buttons that will show a specific image upon being clicked.
I know, it doesn’t sound very exciting. But this is an introductory course for using Unity3D and I felt that making a game right off the bat would be extremely confusing, especially for someone that has never used Unity3D before. If you have any experience working with Blend, WPF or Windows Store Apps, this will be similar to what you know.
Did you come across any errors in this tutorial? Please let us know by completing this form and we’ll look into it!

FINAL DAYS: Unlock coding courses in Unity, Godot, Unreal, Python and more.
Frequently Asked Questions:
What do I expect from my readers?
I expect them to want to learn Unity3D and have at the very least a fundamental understanding of either JavaScript or C#.
What language are you writing in for this course?
I am most comfortable with writing in C#, however, I will update the course with JavaScript as soon as possible.
What languages are supported by Unity3D?
Unity3D supports C#, JavaScript (commonly called UnityScript), and Boo.
Does Unity3D support Object-Oriented Programming?
To some degree Unity3D does support Object-Oriented Programming Concepts, however, Unity3D is composed of Component Oriented Programming.
Where do I get Unity3D from?
http://unity3d.com/get-unity
Now that the FAQ is out of the way. This tutorial assumes the readers has zero knowledge of how Unity3D works, so if you know about Unity3D, please wait for the Intermediate and Advanced tutorials coming soon.
Download the tutorial asset files here
This tutorial is broken down into several sections. First Section is UI basics, the next section is Scripting Basics, finally the last section is Putting it all together.
UI BASICS:
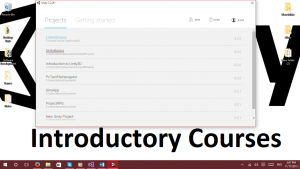
When you open Unity3D, it will look like the image below. The only difference is that there should be absolutely no projects listed. Select NEW to get started.
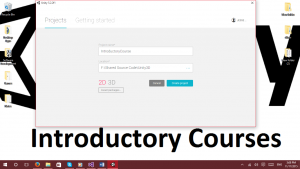
The window will look like this. I have named the project Introductory courses and set the save location to be in my F: drive. You can set it to be anywhere you want. Make sure the project is set to 2D and then select Asset Packages.
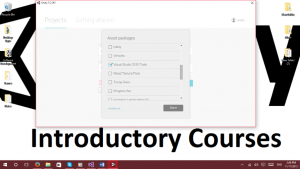
After selecting Asset Packages, the only package we want to import is Visual Studio Tools 2015/ 2013 (Whichever version of Visual Studio you are running). Alternatively, you can skip this step if you would prefer to use MonoDevelop prepackaged with Unity3D.
Click done one you have selected Visual Studio 2015/2013 tools. Now select Create project. This will close the window and Unity will build the base project for you.
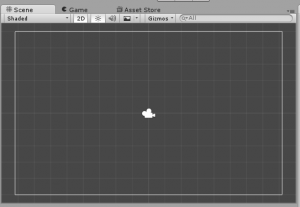
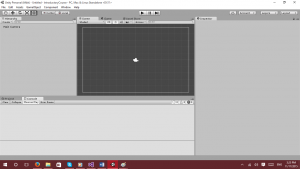
You will see Unity’s editor once the packages finish building. So, let’s take a moment and get an explanation what we are looking at in further detail.
I should also point out that in any project type you make, it will always have a Camera on the scene by default. If you have any packages added to the current project, they will be in the assets folder as well.
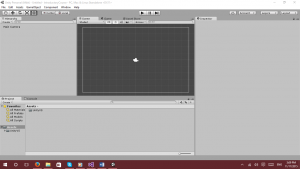
We will only be explaining what I feel are the most important features of the UI that we are looking at. A book could be written about Unity3D’s UI Editor alone.
Hierarchy tab is where you will be placing components that will appear in the Scene.
The Inspector tab allows you to manipulate objects on the scene. (We will see this in action soon)
These are the Play, Pause, and Step buttons. They allow you to test your application or game.
The project tab allows you to see the folders, scripts, images, and other assets you have added to your project.
The Scene tab is where you can see the objects you have placed. Game view allows you to see it as you would in your game. Asset store tab allows you to view assets that you could download and install into your project.
There is also a Console Tab. Which is located directly next to your project tab in the default setup.
Let’s look at the Editor after we have selected the Console tab.
As you can see, it has removed the view from the project tab. This comes very much in handy when you are testing/ debugging your app during play. It will show you any compile errors and warnings.
We will see all of these items in action as we build the application during the last section. Now that you are familiar with the editor. I think it is time we throw some components into the Hierarchy pane and show some deeper understanding of how everything plays out together.
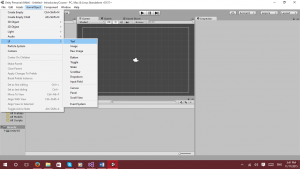
Let’s add a text component to the Unity Editor. Select GameObject, UI, Text.
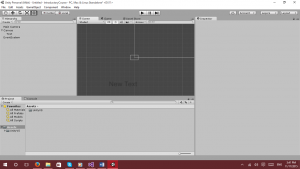
Here are the results. Take a moment and look at the Hierarchy pane. You will notice a few more items.
Most UI controls are directly tied to the Canvas control. So Unity has a smart enough editor to go ahead and add the Canvas component and EventSystem for you. You don’t have to do anything with them, as a matter of fact, we could go ahead and run the project right now and everything will display just fine. (Side note, just make sure the text is within the Canvas)
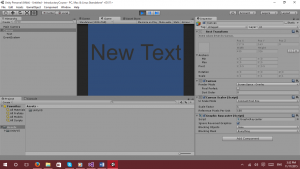
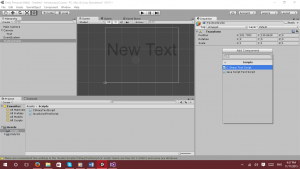
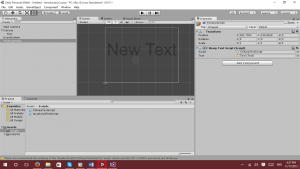
I went ahead and changed a few items within the Inspector pane to make things easier to see. So I feel obliged to explain what I did. Notice that in the Hierarchy pane, I have text selected, that allows me to see the different parameters that I can modify in the Inspector pane. I put a check mark in the Best Fit box and changed the Max Size to be 100.
Now, I’ll run the project.
It is also extremely important to note that you can still make changes to the editor while it is in play mode, however, those changes are not saved. So be extremely careful about that.
Alright, I think that is about all that we need to talk about for the Basics for the UI. Let us move on to Scripting Basics.
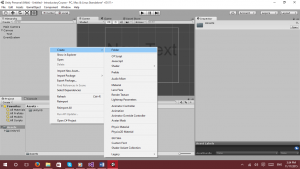
I right clicked on the Assets folder, highlighted Create, and selected Folder.
This allowed me to create a new folder, which I named Scripts.
Then after making sure I was inside of the Scripts folder, I followed the same pattern. Right clicked inside the Scripts folder, highlighted Create, and selected C# Script/ JavaScript.
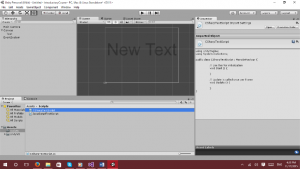
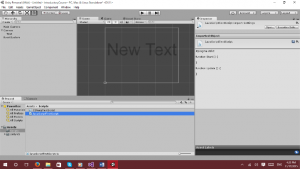
You can select a script and it will show you what code has been written in the Inspector Pane.
C# Code:
JavaScript code:
Let’s add a script to the existing project.
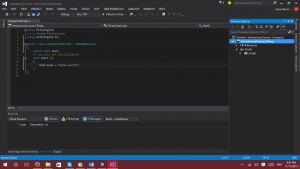
The script will be extremely simple. Change the Text from New Text to Hello World. Since Text is a component within Unity, we have to be able to access it. To do this, we make a public variable that calls it. We also need to import the UnityEngine.UI Namespace. We will put it inside of the Start Method and remove the update method. The reason we want the public variable is so we can see it in the editor and attach components if we need to.
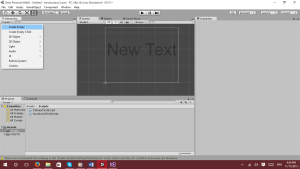
Now, let’s add the script to a component. Start off by Creating an empty GameObject in the hierarchy pane. To do this, select Create just under hierarchy and select the Create Empty in the list.
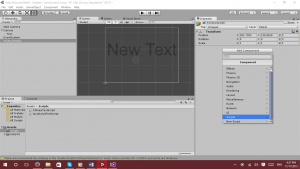
Rename that object by changing it from empty to TextController inside of the Inspector Pane. Next Select Add Component and select the Scripts item in the list.
After selecting the Scripts. Choose which script you want to use. In this case it will be the C# one.
Remember the text we created inside of the canvas? Drag that Text component from the hierarchy pane to the Text field inside of the inspector to attached the object to the script.
Now, let’s run the project inside of the Unity Editor to see what happens.
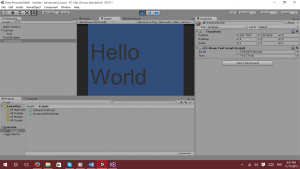
It overwrote the original New Text and displayed Hello World just as intended.
Now that you have the basics for Unity3D’s editor and scripting. Let’s move along to Section 3 and make a little application with what we have learned as well as expand on it.
Welcome to Section 3. I’m sorry if you were bored with the previous sections. I hope to make this one much more entertaining. This is the final section where we will take everything we have learned and mash it all together and create an application with it. The scripting is a little bit more involved than with section 2’s scripts. So, not only will my code be commented, but I will discuss some parts of it in more detail.
Art assets were downloaded from http://www.gameart2d.com/cat-and-dog-free-sprites.html under Creative Common Zero (CC0) a.k.a Public Domain license.
Part 1: Building the UI
You should always start off by making your folders and naming them accordingly. (Scripts, Scenes, Prefabs, Images). Go ahead and add 2 scripts into the script folder. Name one script “ButtonScript”, and the other “ControllerScript”.
We again add a Canvas component to the scene. Only, this time. We will make some changes to the Canvas component.
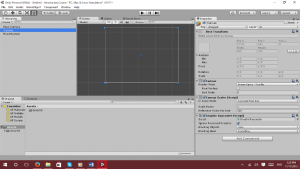
We will make the Canvas component display at the same resolution as the Camera and set screen size parameters.
We want the screen resolution to be 800X600 and the screen to made width or height with the slider pulled towards width.
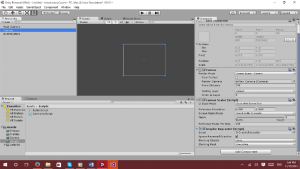
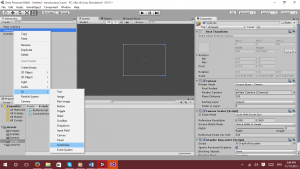
Next up, we want to add a Scroll View element (Which is basically a ListView in Blend/ WPF).
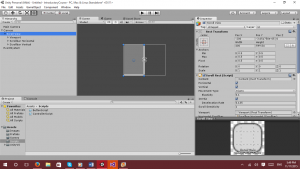
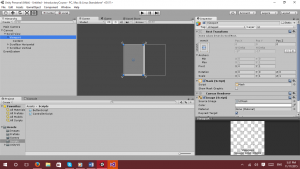
Let’s resize it to take up about half of the screen. Notice that the ScrollView component has a few child elements to it. We only need to worry about the ViewPort Element. Let’s open that one up more to see what it has for us to manipulate.
It has a content element. We will make good use out of it by adding a layout element to it.
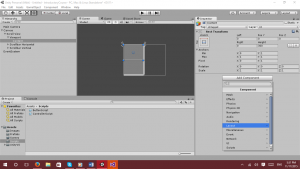
We will use a layout element to allow us to display the element in a uniform manner. Click on Content, click add component in the Inspector and click on Layout.
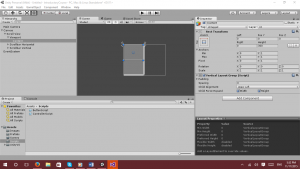
Now it gives us a list of the different Layout options available to us. We want to work with the Vertical Layout option. However, please feel free to play with the other Layout options. On a side note, I like the Grid and Vertical Layouts myself.
Your Content Panel should now look like the picture below:
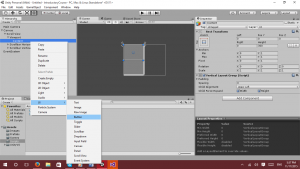
Now, we can add a button to the content panel. We will need this to create a Prefab.
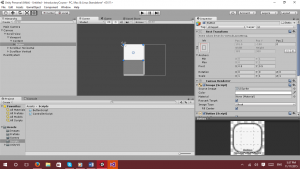
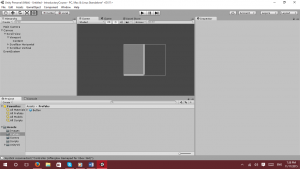
Unity’s editor should look like this now. If it doesn’t drag the button inside of the Content Panel to reset the button as a child element. (Sometimes Unity’s smart UI makes errors).
Freeze frame!
We interrupt your building the UI Section to abruptly switch to the Scripting Section!
Part 2: Scripting
We can’t really go any further with the UI at the moment since we will be dynamically generating (Generating through code) most of the remaining steps of the UI.
Go ahead and open up the Button Script by double clicking on it. It may take a few minutes to open the IDE for you. Don’t worry, I’ll wait…
Alright, your IDE of choice should now be open. Let’s write some code! (I sense some apprehension about this, don’t worry, it will be fun!).
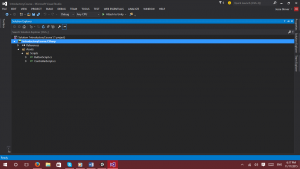
However, I would like to point out in Visual Studio, the solution explorer looks slightly different than it does for a regular solution.
It isn’t a bad idea to become familiar with how the Solution explorer looks when using a Unity Project. As you can see, it shows the CSProj as normal. References look the same as well (Although if you drill into it, you will see the libraries and dependencies that are used with Unity Projects). The big change is that you see the Assets folder and Scripts only, without any other code. The code you work with will be in the Scripts folder as you can see in the Screenshot above.
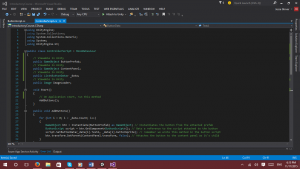
We will start with the ButtonScript since it should be the first one that opens.
We need to make sure we are using UnityEngine.UI, UnityEngine, and System.Collections. We want a public Text to make sure we can modify the parent inside the Unity Editor. And we want a private Sprite. We want that to occur only when we press on a button.
I should also mention that public and private methods have interesting results with Unity. A private method cannot be called by a component. For example, if we were to change Clicked() from a public method to a private method. A button component wouldn’t see that method.
I know what you are thinking. That should be obvious, a private method can only be seen within the class itself. And I would respond with you are absolutely correct, however, I figured I should bring this up since I myself tried it and was tickled with the outcome.
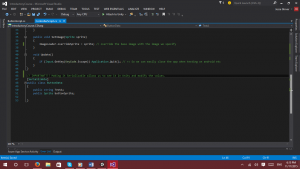
Now, let’s take a look at the Controller Script.
This code should be self-explanatory, so if this code confuses anyone… Please, comment below.
Alright, now that the hard part is out of the way, We can now move on to Part 3: Finishing Touches!
Section 1 left off with creating a button inside of the content element of the ScrollView. Now, we need to attach the Button Script to the Button and create a prefab from it.
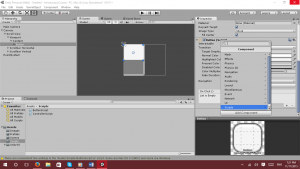
To do this, we first click on the button from the hierarchy pane, and then go to the inspector pane. We select Add Component. We want to select Scripts.
Now we need to select Button Script.
After that, make sure to add the text element from the button to Text A.
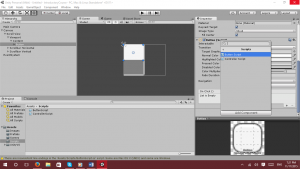
Click the plus sign at the end of the OnClick section of the Button in the inspector, where it says None (Object), drag the button element from hierarchy pane onto that box.
It should look like this:
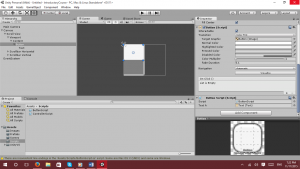
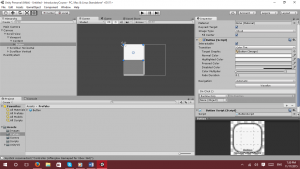
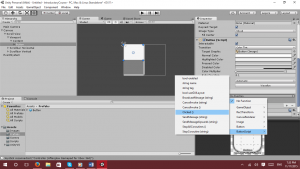
Now that we have done this, we need to make sure that we select a function for it to execute when the button has been clicked. We want ButtonScript and Clicked(). The same name as the one in the method.
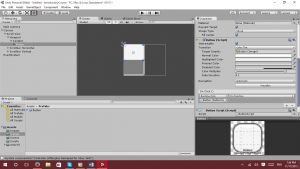
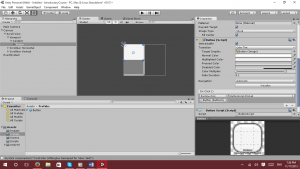
It should now look like this:
We are almost done with the button, Drag the button from the Hierarchy Pane into the prefabs folder. It should turn blue. And then simply delete the button from the Hierarchy Pane.
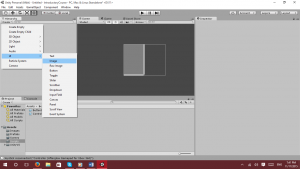
Now we need to add the Image Component to the Canvas
Next, we need to add an empty object
Now to rename it to Controller:
Add component time. Click Add Component, Scripts, Controller Script.
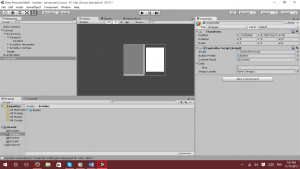
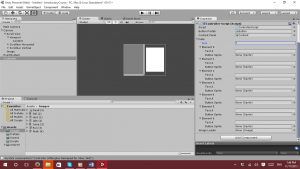
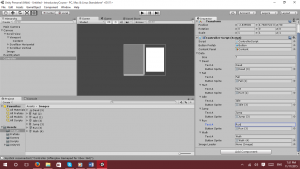
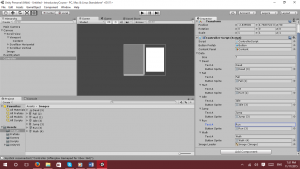
All we have to do now is wire it all up.
Button prefab should have the Button we put into the prefabs folder in it.
The Content Panel should have the Content from the Viewport in it.
Now, change the size of the Data to be 7.
Take each image and put it into an individual Button Sprite, name it whatever you want. I will name it according to the name of the picture.
Lastly, the Image Loader needs to have the Image that we added into the Hierarchy Panel in it.
Now, let’s run the program.
Here is a gif of what should occur during playback!
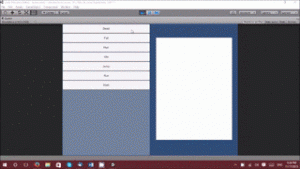
You have now completed the Introduction to Unity3D. Give yourself a pat on the back for a job well done!
