You can access the full course here: Bite-Sized CSS
Table of contents
Part 1
Now that you have a basic foundation of HTML, it’s now time to move on to the next step. The next step is to now learn CSS.
HTML allows you to represent the content on your page, it allows you to tell the browser, give me a title, give me a paragraph, show a table here, show a form here, let’s add these fields to the form, let’s show a list. It basically allows you to create all the content. HTML doesn’t tell the browser how things should look. What sort of font should be used, the size of the font, the background color of the web page, how elements are positioned to each other, how much spacing to give elements, and how much border we assign to a certain container.
All these questions above can be answered by using CSS. CSS allows you to make your web pages aesthetically pleasing.
Working With CSS
When working with CSS it’s always a two step process. The first step is to select an element. Then once you select it you modify it. You apply the CSS rules to change the way it looks.
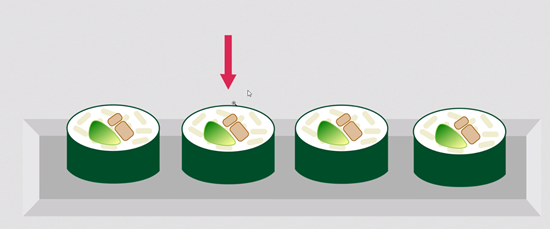
A good analogy would be this, CSS has a stage where you select an element, the element that you want to modify.
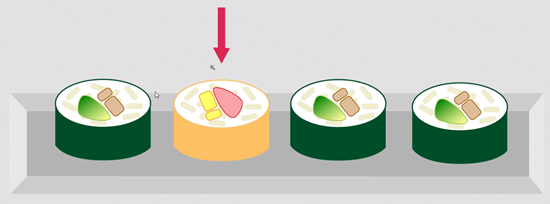
Stage two is that you modify the element, you change its color, you change its font, you change its dimensions. You use all sorts of magic CSS properties to make it look pretty.
Hello World CSS
Let’s now look at some code and do a hello world CSS.
We have a basic page, let’s change the title. There are all sorts of ways to add CSS to a page, but we will look at just one of them for this lesson.
<!DOCTYPE html>
<html lang="en">
  <head>
    <title>Learn <a class="wpil_keyword_link" href="https://gamedevacademy.org/web-developer-career/" target="_blank" rel="noopener" title="web development" data-wpil-keyword-link="linked">web development</a> on ZENVA.com</title>
    <meta charset="UTF-8" >
    <meta name="description" content="This is what Google will show!" >
    <link rel="icon" href="favicon.ico" >
  </head>
  <body>
    <style>
      h1 {
        color:red;
        background-color: blue;
      }
    </style>
    <h1>Hello CSS</h1>
    <p>This is a complete page</p>
    <img src="background.png" />
    <p>HTML is easy!</p>
  </body>
</html>
Save this and refresh the page.
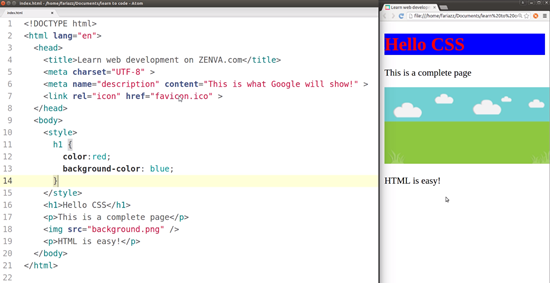
CSS is not used for content, it’s used to style content, to make content look pretty.
One way to include CSS on a page is by using style tag, which you need to open and close, and that needs to go above the HTML content.
Inside your style tag you can add CSS rules.
You always need to select an element and then you need to modify it, that is how CSS works.
Part 2
In this lesson you will learn to include your CSS code in a different file. This is so you will not have everything mixed up in one file.
CSS in External Files
The way to include CSS in external files is to create a new file called “CSS.”
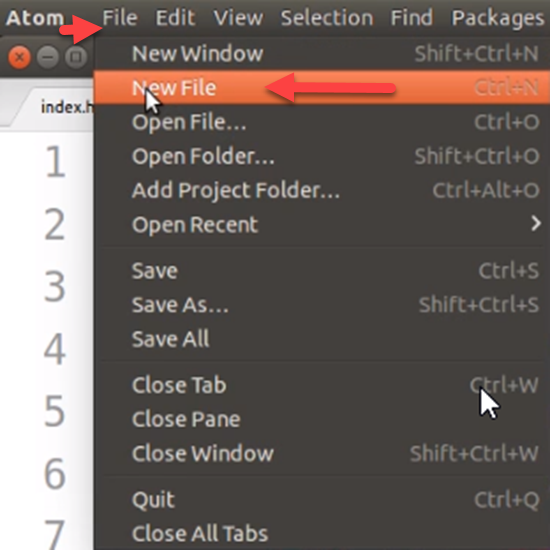
So go to File>New File, save this file, and name it style.css.
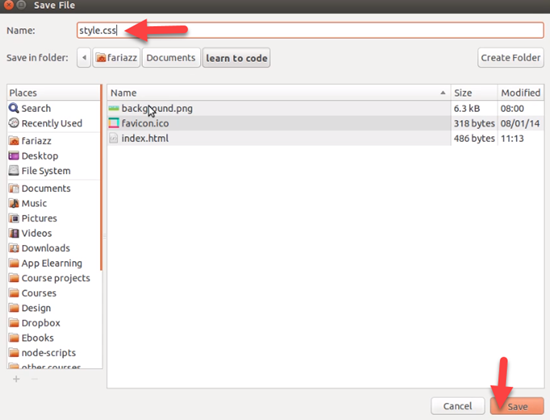
Next, copy the CSS code we did earlier in he previous lesson, cut it and remove the style tags.
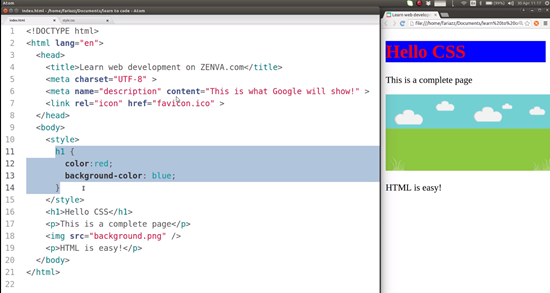
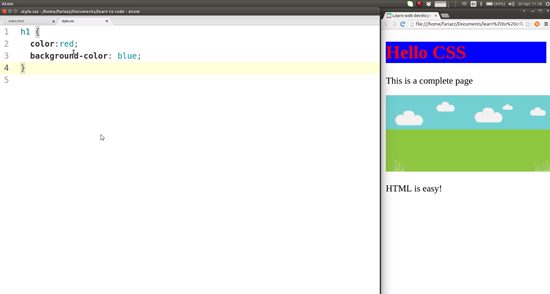
Then paste the code into the new CSS file we created.
h1 {
  color:red;
  background-color: blue;
}
The last part is to include this file somehow.
In order to include the new file we will use this same link tag which is used to include external files, like CSS or the favicon, but the rel in this case is going to be stylesheet. This is what you type for the attribute. The href will indicate the location of the file. In this case the location of the file is in the same folder as the rest of the page. If it was located in a sub folder we would have to type the name of the sub folder and forward slash.
<!DOCTYPE html>
<html lang="en">
  <head>
    <title>Learn web development on ZENVA.com</title>
    <meta charset="UTF-8" >
    <meta name="description" content="This is what Google will show!" >
    <link rel="icon" href="favicon.ico" >
    <link rel="stylesheet" href="style.css" >
  </head>
  <body>
    <h1>Hello CSS</h1>
    <p>This is a complete page</p>
    <img src="background.png" />
    <p>HTML is easy!</p>
  </body>
</html>
Save this and refresh the page.
You will see that the CSS is showing up because it was included as an external file.
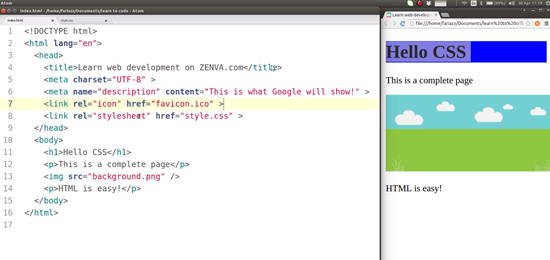
Normally it is recommended to put CSS into an external file so that you can work separately in different files and the project will be made more manageable by doing this.
There is another way to include CSS, but this way isn’t recommended, but you do have to be aware it exists because you might see it around. It is done by including CSS as an attribute. So you can add a style attribute to the tag and then add CSS rules to it.
<!DOCTYPE html>
<html lang="en">
  <head>
    <title>Learn web development on ZENVA.com</title>
    <meta charset="UTF-8" >
    <meta name="description" content="This is what Google will show!" >
    <link rel="icon" href="favicon.ico" >
    <link rel="stylesheet" href="style.css" >
  </head>
  <body>
    <h1>Hello CSS</h1>
    <p style="color:green;">This is a complete page</p>
    <img src="background.png" />
    <p>HTML is easy!</p>
  </body>
</html>
So doing it this way in the code above, we do not make a selection because we are already selecting by placing our style attribute.
Save this and refresh the page.
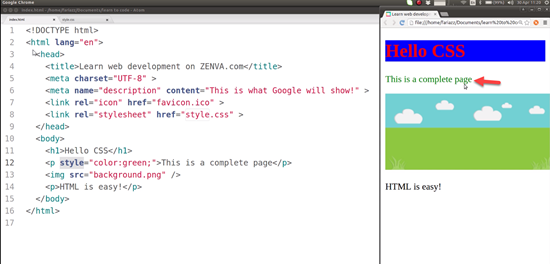
You can see how the text changed to green.
This way is not recommended because you do want to have separation between the content and the presentation of the content, and the best way to achieve this is by putting it an external file.
Summary
Separation of content and presentation is important.
Put all your CSS files in an external file.
Include the CSS file using the link tag.
Inside your CSS file you can then add any CSS code, and you don’t need to add any style tags.
Part 3
In this lesson we will talk about ID’s, and how we can use ID’s to select single elements in our HTML page.
For example if we selected this paragraph here:
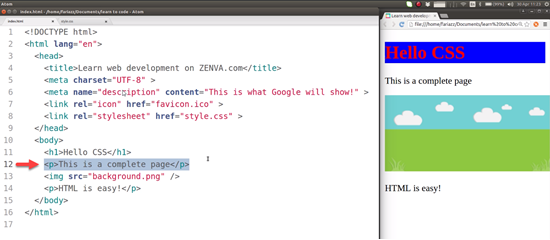
Then, if I go and type in “p” that will select all the paragraphs in the page.
h1 {
  color:red;
  background-color: blue;
}

p {
  color:yellow;
}
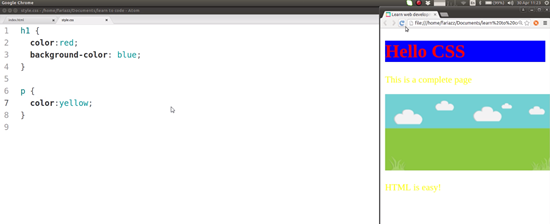
But, if you wanted to just select this one below:
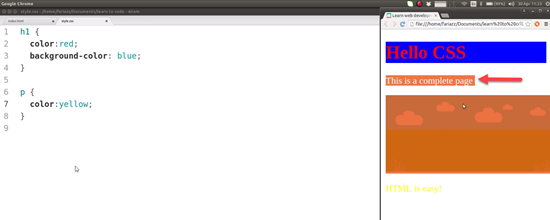
There are multiple ways to do this in CSS, but you will be shown how to do it through the concept of ID for this particular example.
We can give this paragraph a unique ID. For that we need to add the attribute ID, equal sign, double quotes, and in here we enter the unique ID of that particular element. An ID is a unique identifier. It cannot contain spaces.
You can say something like mainPar, and if you are going to use upper case you need to be consistent with that in your CSS code.
<!DOCTYPE html>
<html lang="en">
  <head>
    <title>Learn web development on ZENVA.com</title>
    <meta charset="UTF-8" >
    <meta name="description" content="This is what Google will show!" >
    <link rel="icon" href="favicon.ico" >
    <link rel="stylesheet" href="style.css" >
  </head>
  <body>
    <h1>Hello CSS</h1>
    <p id="mainPar">This is a complete page</p>
    <img src="background.png" />
    <p>HTML is easy!</p>
  </body>
</html>
So, the element now has an ID. So, instead of selecting all the paragraphs like this:
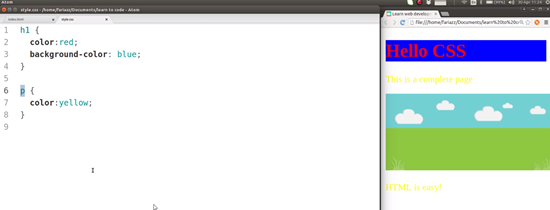
We can select them by ID instead, but we need to type in the hash sign, and then the name of the ID, and that will allow us to select a single element by ID.
h1 {
  color:red;
  background-color: blue;
}

#mainPar {
  color:yellow;
}
You can have multiple elements in your page that have different ID’s, but ID’s need to be unique.
You cannot have two elements that have the same value for ID.
Transcript 1
Now that you have a basic foundation of HTML, it’s time to move on to the next step which is to learn some CSS.
As you know, HTML allows you to represent the content on your page. It basically allows you to create all of the content, but it doesn’t tell the browser how these things should look, what sort of font should we use, what should be the size of the font, CSS allows you to make your page pretty. We’ve got this basic page. Let’s change the title. We’ll call it Hello CSS.
There are different ways to add CSS in your page and we’re gonna look at them all but just one of them for this lesson. The one we’re gonna look at requires you to create style tags. And these style tags need to go above the content that you’re going to modify. So if we wanna modify something here, this style tag needs to go above that. Why is that? Because the browser when it reaches the page, it starts from top to bottom. So if it reaches CSS, it knows how it needs to show what comes below.
Let’s make the title red. To select the byte tag is super easy. All you have to do is write the name of the tag, for example h1, if I wanna select byte tag and I wanna select all the h1 elements in my page. And now I use curly brackets and inside the curly brackets I add my CSS rules. The rule I want to add is color red. If I save the page and refresh, we see now the red text. And because it’s a different language, it has a different syntax.
The syntax consists of selection and then curly brackets and inside the curly brackets you add the CSS rules. There’s always a property and a value, a property and a value, a property colon a value semicolon. And you can add multiple rules in here. We could add also background color. I’ll make it blue. And that’s looking quite ugly but it’s on the direction that we wanna go.
Transcript 2
In this lesson, you’ll learn to include your CSS code in a different file so that you don’t have everything mixed up in one file like we do now.
The way to include CSS in external files is to, first of all, create a new file for CSS. So I’m gonna go to File, New File, save this file and I’m gonna call it style.css. Next, I’m gonna grab the CSS code that we had, cut it and get rid of the style tags and I’m gonna put that code in here. The last part as you probably imagine needs to include this file somehow so let’s go and include this new file. We’ll use the same link tag which is used to include external files, in particular cases like the CSS or the favicon, but the rel in this case is gonna be stylesheet.
That’s just what you type on the attribute. And href will indicate the location of the file. In this case, the location of the file is on the same folder as the rest of my page. So if we now refresh the page, you’ll see that our CSS is back because we’re including it in an external file. Normally, it’s recommended to put CSS in an external file so that you can work separately in different files and the project is just more manageable. Also if more than one person is working on the project, it’s easier to work on different files in this manner. I’m gonna also show you another way of including CSS which is not recommended and this is to include CSS as an attribute.
So you can add a style attribute here and add CSS rules to it. For example, you can have color green. So in this case, we don’t do a selection because we are already selecting by basically placing our style attribute. So if we do that, see how this changed to green. But this is not recommended because you do wanna have separation between the content and the presentation of the content. The best way to achieve that is by putting it in an external file.
Transcript 3
In this lesson, we’ll talk about IDs, and how we can use IDs to select single elements in our HTML page. Let me give you an example. I wanna select just this paragraph here.
If I go and type in p, that will select all the paragraphs in the page, but I just wanna select this one. So there are different ways to do it in CSS but I’m gonna illustrate this, the concept of ID, for this particular example. We can give this paragraph a unique ID. For that, we need to add the attribute id=””, and in here we enter the name, the unique ID of that particular element, it’s a unique identifier. It cannot contain spaces. You can say something like “main paragraph”, something like that, so instead of selecting all the paragraphs like that, we can select by ID.
For which we need to type in the hash sign, and then the name of the ID, and that will allow us to select a single element by ID. You can have multiple elements in your page that have different IDs, but, IDs need to be unique. You can’t have two elements that have the same value for ID, they all need to be different.
And it needs to exactly match the name that you selected here, so now, you can select by tag, which will select all of the elements that have the tag, and now you can also select by unique ID.
Interested in continuing? Check out the full Bite-Sized CSS course, which is part of our Bite-Sized Coding Academy.


