Several years ago, virtual reality for the average consumer was still the realm of science fiction. This changed with the release of Samsung’s Gear VR in 2015. Now, if you own a Samsung Galaxy or Note smartphone, you can enjoy virtual reality games and experiences with a $50-$100 Gear VR headset, powered by your phone. Take it a step further, and you can even start to build your own virtual reality worlds.
In this tutorial, I will show you how to get started with Gear VR development using the Unity 3D platform. 90% of Gear VR games are made with Unity. Since there are already many Unity 3D tutorials available, including the ones on Game Dev Academy, I will not go into great detail about Unity. However, I will include some basics for those of you who are just starting your game development adventures.
become a professional vr game developer with unity
Pre-Order The Complete Virtual Reality Game Development with Unity and learn to create immersive games and experiences by building 10 VR games. The course assumes no prior Unity or VR experience – We’ll teach you C#, Unity and 3D programming from the ground-up
Check it out on Zenva Academy and get Early Access!
Table of contents
Downloads
You can download the Unity project and source code here.
Hardware Requirements
To follow along, you will need the following hardware:
- A Samsung Galaxy Note 5, S6, S6 Edge, S6 Edge+, S7, S7 Edge, or Note 7 smartphone.
- A Samsung Gear VR headset.
- A PC running Windows 7 or later, or a Mac running OS X 10.8+.
Although many tutorials focus on Windows, I used a Macbook Pro to develop the code for this tutorial.
For this tutorial, you will not need a controller. If you want to get the most out of some existing VR games, you probably want to get one, anyway.
Setting up the Software
On your computer, you will need to install the Java Development Kit (JDK), the Android SDK, Unity 5, and the Oculus runtime.
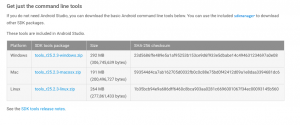
Go to http://www.oracle.com/technetwork/java/javase/downloads/index-jsp-138363.html to download the latest JDK for your platform. The Android SDK is available at https://developer.android.com/studio/index.html#downloads. This download page prominently features Android Studio, the official Android IDE, which bundles the Android SDK. If you only want the SDK, you can find the stand-alone SDK downloads at the bottom of the page. The SDK alone is sufficient for this tutorial.
Once you’ve installed the SDK, test that you can run the adb command. You might need to add the directory where you installed the SDK to your system path. This command will be useful in the next few steps for getting your device ID.
Unity can be downloaded from https://unity3d.com/get-unity/download. I am using Unity 5.5.2f1 Personal, the latest free edition available at the time of writing.
The Oculus runtime for Mac is available at https://developer.oculus.com/downloads/package/oculus-runtime-for-os-x/0.5.0.1-beta/ . The Windows runtime is available at https://developer.oculus.com/downloads/package/oculus-runtime-for-windows/0.8.0.0-beta/.
On your phone, you will need to follow Samsung’s instructions for installing the Oculus Home app, which you should have done when setting up your Gear VR. Oculus Home is not available in the Google Play store — instead, you install it when you use your Gear VR for the first time. This process will also create an Oculus account.
You will also need to enable developer mode on your phone. On your phone, touch the Settings icon. Scroll down and select “About Device.” If you do not see “Developer options,” tap seven times on “Build number.”
Finally, you will need to generate an Oculus Signature File, or osig. The osig file allows your application to use low-level Oculus functions. Follow the instructions on https://dashboard.oculus.com/tools/osig-generator/ to find your device ID and generate a file. Download the resulting file, and save it in a safe place. When you start a VR project, you will need to copy this file to the Assets/Plugins/Android/assets folder in your project.

Your First Project
Let’s get started on a simple VR project.
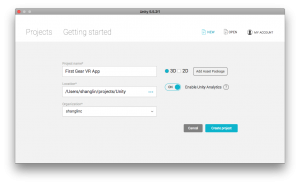
First, create a new project. VR projects are created the same as regular projects. Open Unity, click “New”, and fill in a project name and directory where your project directory will be created. Make sure you select “3D.” Then click the “Create project” button.
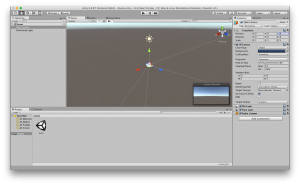
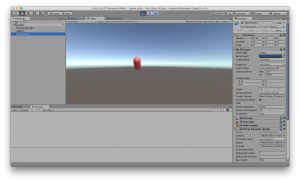
In the next window, you’ll see both the Hierarchy tab and the Scene view. Note that the Main Camera and Directional Light have already been created for you.
Save the scene (File->Save Scene) and choose a name for your scene. I’m just using the name “Scene.” Then click on “Main Camera” in the hierarchy view. In the right of the window, click “Inspector” to activate the “Inspector” tab. Under “Transform,” change the position to 0, 0, 0. This will center the camera by changing its coordinates to (0, 0, 0).
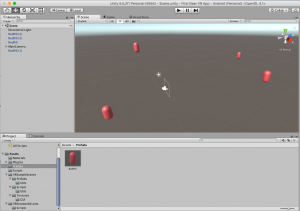
Now, let’s try creating a shape. Right click in the hierarchy window (on the left), and select “3D Object -> Capsule”. A capsule should appear in your Scene window. To preview how this scene will look, click on the “Game” tab to bring up the Game window.
Like the camera, we can move the capsule by changing its position in the Inspector. We can also move the capsule and other objects, including the camera and the light, using a different method.
In the upper left corner, click on the button that looks like two perpendicular arrows: ![]() . Now try clicking on the capsule. When the mouse button is held down, you should a set of three-dimensional axes appear superimposed on the capsule. To move the capsule along an axis, click on the axis and drag it in the direction you want. You can also move the capsule in all three dimensions at once by dragging its center, but this is less precise. It’s less confusing for me to click on an axis.
. Now try clicking on the capsule. When the mouse button is held down, you should a set of three-dimensional axes appear superimposed on the capsule. To move the capsule along an axis, click on the axis and drag it in the direction you want. You can also move the capsule in all three dimensions at once by dragging its center, but this is less precise. It’s less confusing for me to click on an axis.
Notice the other three buttons next to the transform button. With these buttons, you can rotate and scale objects. Try playing around with these buttons and see how they affect the capsule and the position, rotation, and scale fields in the Inspector.
To build and run your project, plug in your Samsung smartphone. Make sure that USB debugging is selected. In Unity, select File -> Build & Run. In the Build Settings window, make sure Android is selected as the platform. If it isn’t, click Android and then click “Switch Platform.” In the “Scenes to Build” window, select the name of the scene you saved. Then click Build and Run. You will be prompted to save an APK file of your project. I created a directory named “bin/“ in my project directory and saved my APK file there.
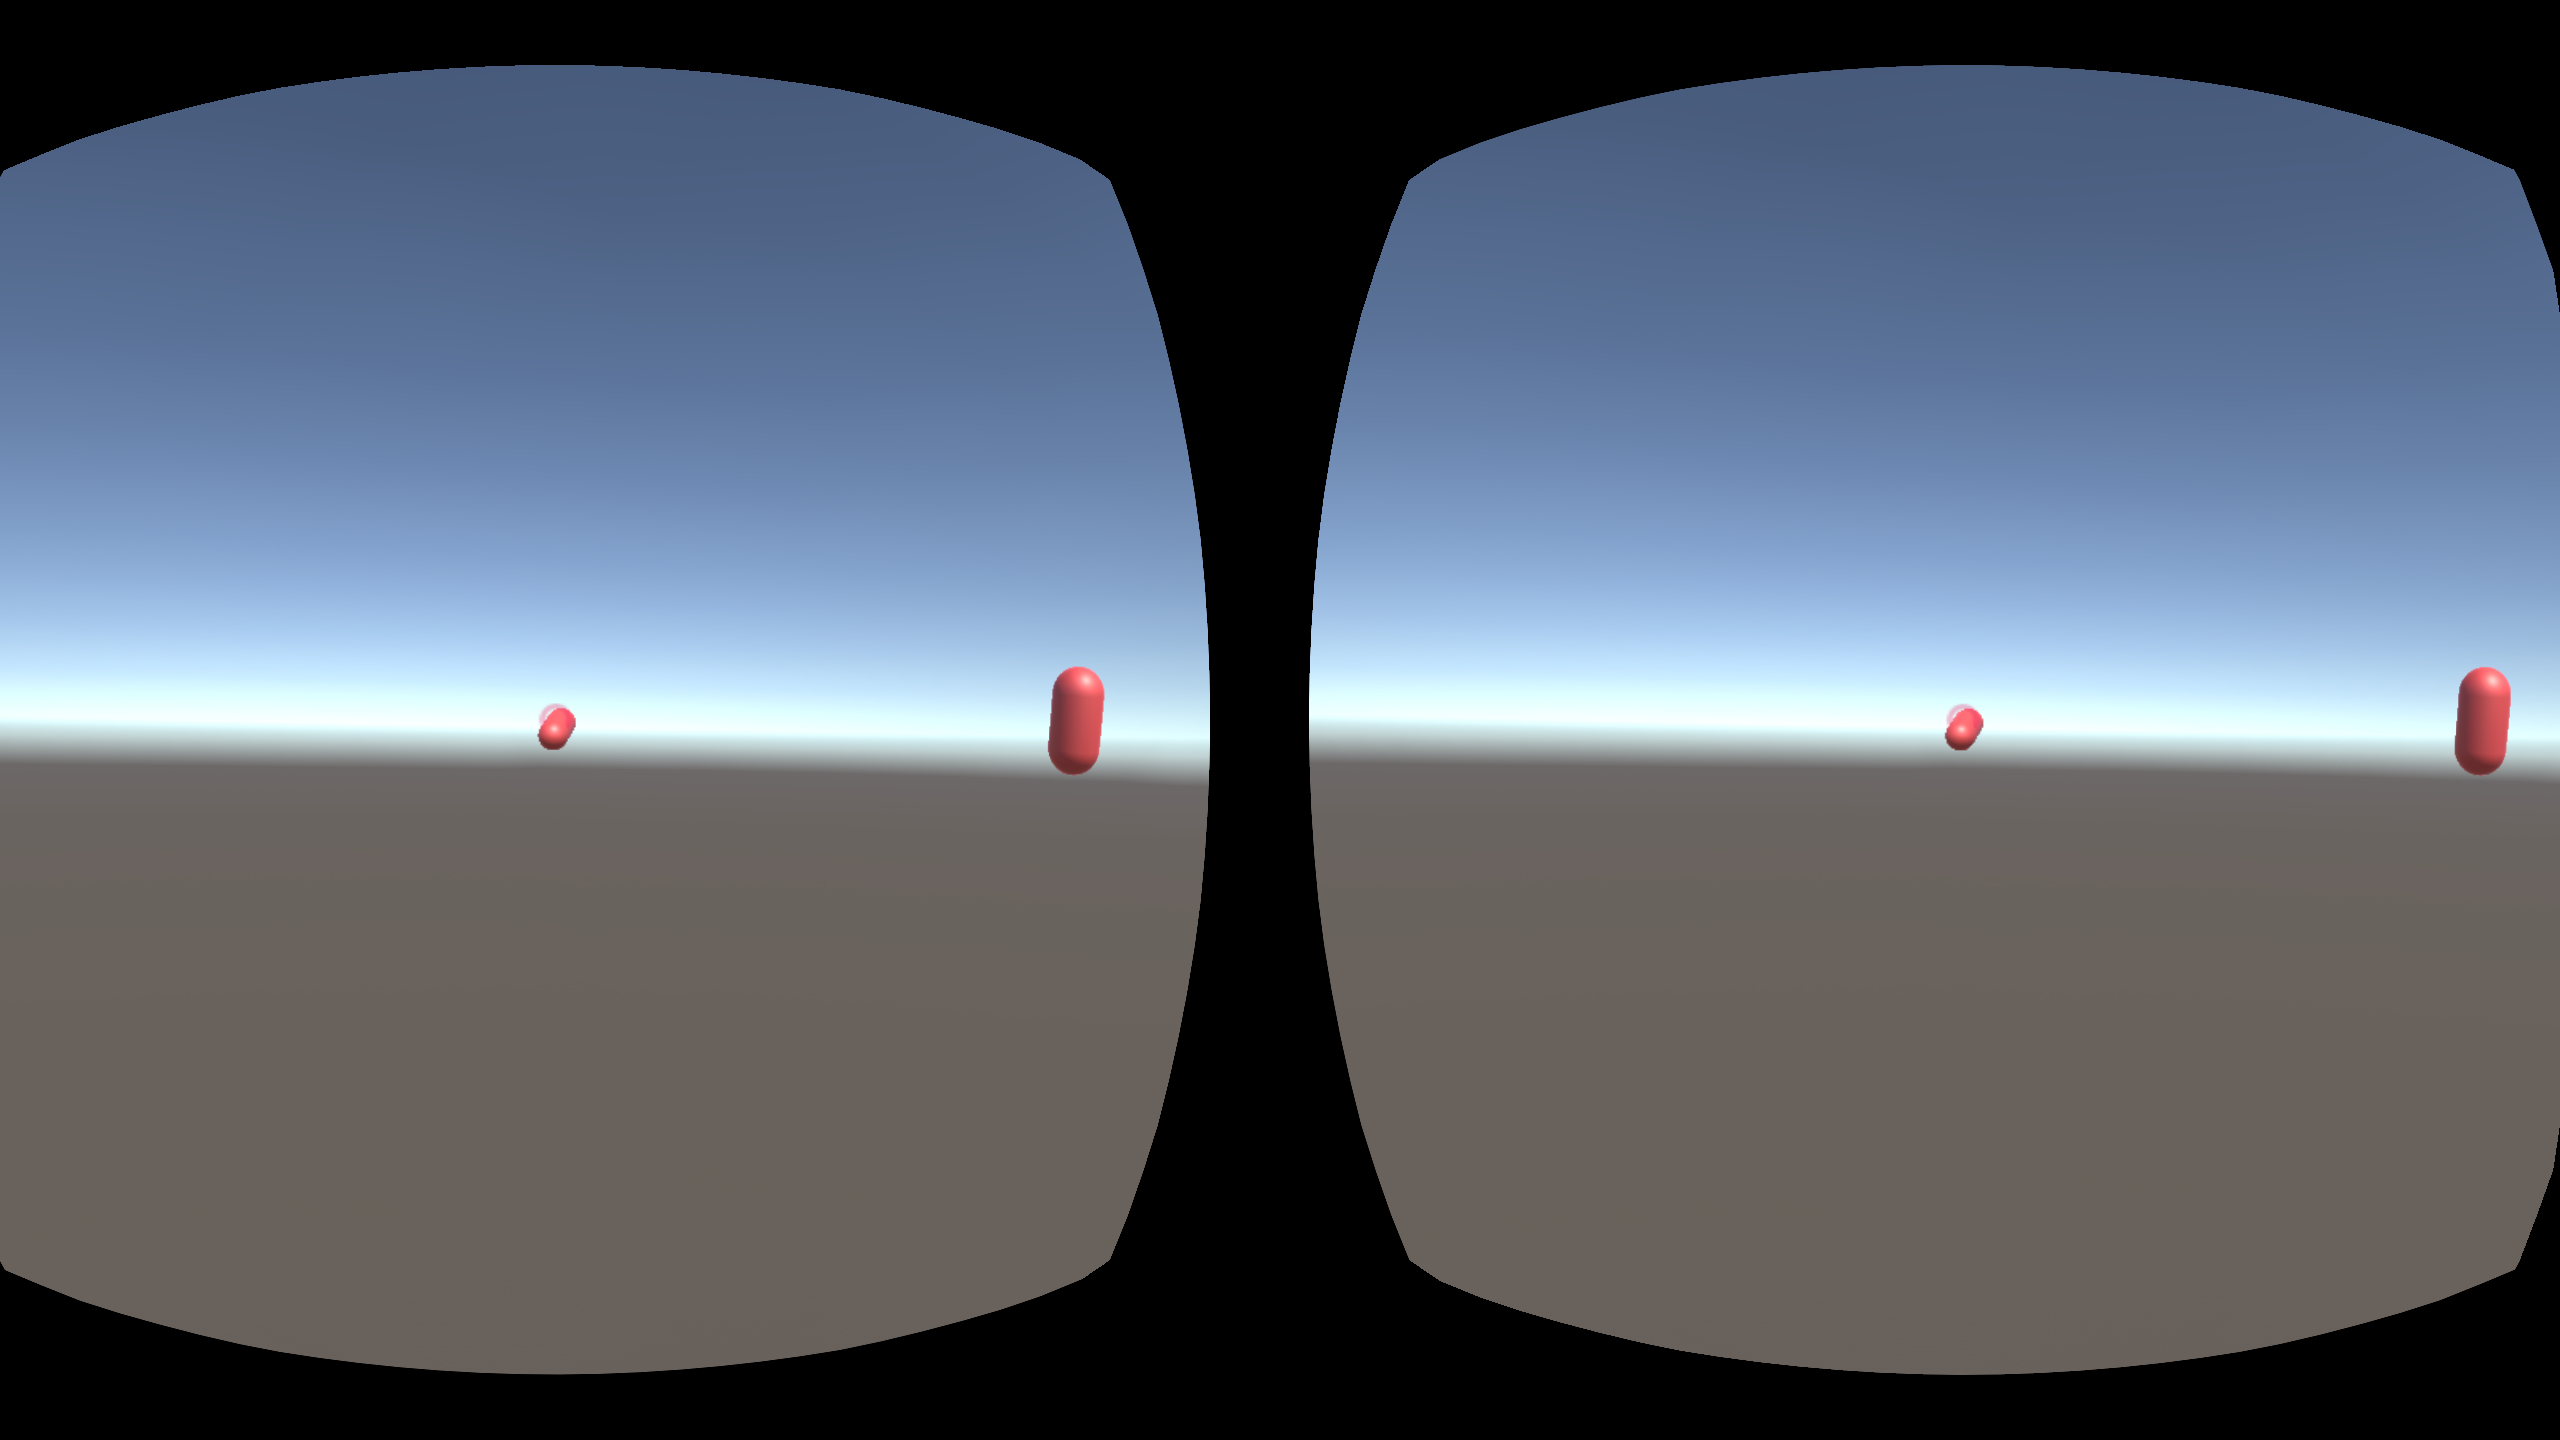
Your phone will prompt you to insert it in the Gear VR headset. When you do, you should see a scene with a capsule. If the capsule isn’t immediately visible, try turning around. Note that you’re in a fully three-dimensional scene.
Developer Mode
Now that you’ve run an app with your own osig file on your phone, you can use an easier way to test VR apps. Instead of unplugging your phone, inserting it into your VR headset, and putting on your headset every time you want to test an app, you can run your app without the headset. To do this, go to Settings on your phone. Select Applications, then Application Manager. Scroll down and select Gear VR Service. Select Storage, and tap on VR Service Version several times until the “Developer options” items appear. When you want to test your app, make sure “Developer mode” is toggled on.
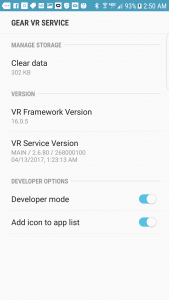
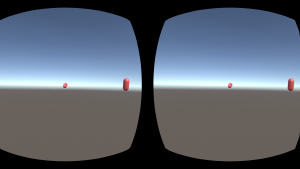
When you build and run an app from Unity with Gear VR developer mode on, the app will start automatically without prompting you to insert the phone into the VR headset. You will see two images, each corresponding to one of the Gear VR lenses.
Adding Color
Now that we can run apps easily, let’s make our project a little more fun. First, change the name of the capsule to RedPill. Right click on “Capsule” in the hierarchy window and select “Rename.” Next, we’ll try changing the appearance of our capsule. To do this in Unity, we need to create a material and apply it to the capsule.
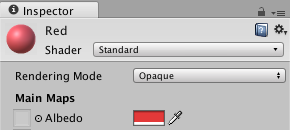
Right-click Assets in the folder list, and select Create Folder to create a new folder. Call it Materials. Right click, highlight Create, and choose Material. When the icon appears, rename it to Red. In the Inspector tab, click on the swatch next to the word Albedo to bring up a color chooser window. Click on a shade of red and close the window. Now the albedo swatch should be red, and the icon for this material should change to red.
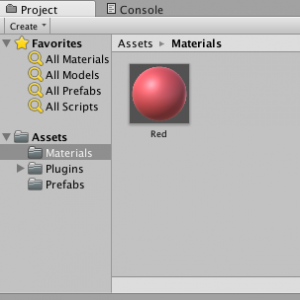
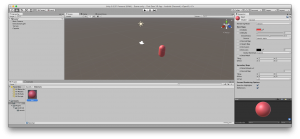
To apply this material to the capsule, drag its icon onto the capsule in the Scene window.
To make our red capsule more dynamic, let’s try making it rotate.
In the Inspector tab, scroll down to the bottom and click “Add Component.” Scroll to the bottom of the menu, and choose “New Script.” Enter a name for the script — I’m using CapsuleController — and choose C Sharp as the language. A section labelled “Capsule Controller (Script)” will appear in the Inspector tab.
Click the gear icon in the upper right of this section. Highlight and click “Edit Script” in the popup menu. This should open a MonoDevelop window. MonoDevelop is a C# IDE that was automatically installed with Unity.
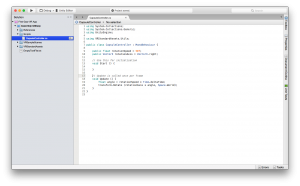
You’ll see that MonoDevelop has automatically opened a file named CapsuleController.cs . This file defines a class called CapsuleController that inherits from MonoBehaviour and contains two methods, Start() and Update() . We will only be modifying Update() , which is called once per frame. This is the code we want:
public class CapsuleController : MonoBehaviour {
  private static float DEFAULT_ROTATION_SPEED = 50f;


  // Making rotationSpeed and rotationAxis public allows
  // modifying their values in the Inspector panel.
  public float rotationSpeed = DEFAULT_ROTATION_SPEED;


  public Vector3 rotationAxis = Vector3.right;

  // Use this for initialization
  void Start () {}

  // Update is called once per frame
  void Update () {
    float angle = rotationSpeed * Time.deltaTime;
    transform.Rotate (rotationAxis * angle, Space.World);
  }
}
Each frame, we want the capsule to rotate by a fixed angle around the z-axis. This angle is product of a velocity and the amount of time for one frame read, Time.deltatime . You can read more about Time.deltatime at https://docs.unity3d.com/ScriptReference/Time-deltaTime.html. The rotation speed of 50f works well for a slow rotation. (The ‘f’ means this is a floating point number.) The variable rotationAxis defines the axis around which the capsule will rotate. Vector3.right is the the z-axis, which will result in a vertical rotation. By making rotationSpeed and rotationAxis public class members, we will be able to modify their values in the Inspector panel later.
After saving the C# file in MonoDevelop, return to the Unity window. At the center top of the window, you should see buttons that look like typical play and pause buttons. Click the play button (the triangle pointing right). The view will automatically switch to the Game tab, and you’ll see your capsule rotating if it is within view of the camera.
Switch back to the Scene tab. Here, the capsule is rotating, too. To stop playing the scene and reset the view, click the play button again. Try plugging in your phone and select File->Build and Run to see your app in VR.
Adding Interaction
Now let’s try making the red pill interactive. In traditional games, you interact with objects using a keyboard, mouse, or controller. In VR, your own head movement can serve as a controller. In the rest of this tutorial, we’re going to make the red pill stop rotating when your gaze rests on it.
To make it easier where you’re looking, we’ll attach a reticle, or a targeting crosshair, to the main camera. The reticle appears as circle that shows where your gaze is aimed. We’ll also attach a ray caster object to the camera that will determine if the reticle intersects an object.
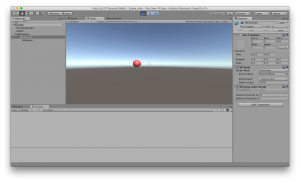
Instead of building all this from scratch, we will be using Unity’s VR Standard Assets and VR Samples, which are provided in the VR Samples bundle available in Unity’s Asset Store. The assets you need are in the source code of this tutorial. If you’re following along by building your own project, copy Assets/VRSampleScenes and Assets/VRStandardAssets from the included source code to your project’s Assets directory. Your project view in Unity will refresh with these assets once they are copied.
Assets/VRSampleScenes/Prefabs/Utils contains a prefab for the MainCamera that already has the reticle. We will replace the default MainCamera with an instance of this prefab. In your Hierarchy window, right click and remove the default MainCamera. Copy the MainCamera prefab from the Project window to the Hierarchy window. Expand the MainCamera by clicking the little arrow next to it to explore what you just added.
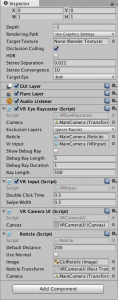
When MainCamera is highlighted, the Inspector window shows what scripts are attached to it.
VREyeRayCaster is a class that draws a ray emanating from the camera and detects intersections between the ray and instances of the VRInteractiveItem class. Interactive game objects must contain an instance of VRInteractiveItem. If an intersection is detected, the VRInteractiveItem’s Over() method is called.
VRCameraUI defines properties of the VRCameraUI canvas. Reticle defines properties of the reticle image, and VRInput handles inputs like swipes and clicks. We are only concerned with clicks in this project.
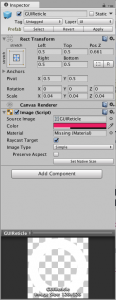
Nested beneath MainCamera is a canvas called VRCameraUI. In Unity, a canvas is a game object that contains UI elements. When VRCameraUI is highlighted in the hierarchy window, the canvas appears as a rectangle in front of the camera in the game window. Beneath VRCameraUI, you’ll find an image called GUIReticle. In Unity, an Image is a UI control that displays an image from a file. If the “Source Image” field in the Inspector is empty, click on the small icon next to the field and select GUIReticle. This is an image included in the Assets/VRSamples/Textures folder.
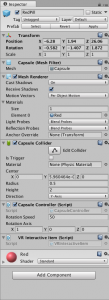
Finally, we need to add a collider to the RedPill and make RedPill a VRInteractiveItem. Click on RedPill in the Hierarchy window. In the Inspector, click “Add Component”. Select Physics, then Capsule Collider. In the Project window, select Assets->VRStandardAssets->Scripts->VRInteractiveItem, and drag it to the bottom of the Inspector. This will add the VRInteractiveItem script to RedPill.
VRInteractiveItem’s data members include event variables called OnOver and OnOut and methods called Over() and Out() . When the MainCamera’s VREyeRayCaster component detects a VRInteractiveItem, it calls the VRInteractiveItem.Over() , which calls VRInteractiveItem.OnOver like a function.
// These are the code snippets from VRInteractiveItem that are important
// for this project.
public class VRInteractiveItem : MonoBehaviour
{
   public event Action OnOver; // Called when the gaze moves over this object
   public event Action OnOut;  // Called when the gaze leaves this object

   public bool IsOver
   {
     get { return m_IsOver; }  // Is the gaze currently over this object?
   }

   // The below functions are called by the VREyeRaycaster when the
   // appropriate input is detected.
   // They in turn call the appropriate events should they have subscribers.
   public void Over()
   {
      Debug.Log("VRInteractiveItem::Over");
      m_IsOver = true;

      if (OnOver != null)
        OnOver();
   }


   public void Out()
   {
      m_IsOver = false;

      if (OnOut != null)
        OnOut();
   }
}
How do we define the behavior of OnOver and OnOut ? VRInteractiveItem is a generic class that does not know anything about the behavior of our RedPill. The details are actually in the CapsuleController script that we created earlier.
In CapsuleController.cs, we need to add a VRInteractiveItem member and create methods HandleOver() and HandleOut() that subscribe to VRInteractiveItem.OnOver and VRInteractiveItem.OnOut . When one of these methods is called, CapsuleController.HandleOver() or CapsuleController.HandleOut() runs. Here’s our new code:
using System.Collections;
using System.Collections.Generic;
using UnityEngine;

using VRStandardAssets.Utils;

public class CapsuleController : MonoBehaviour {

	private static float DEFAULT_ROTATION_SPEED = 50f;

	// Making rotationSpeed and rotationAxis public allows
	// modifying their values in the Inspector panel.
	public float rotationSpeed = DEFAULT_ROTATION_SPEED;
	public Vector3 rotationAxis = Vector3.right;

	private VRInteractiveItem interactiveItem;

	void Awake() {
		interactiveItem = gameObject.GetComponent<VRInteractiveItem> ();
	}


	// Use this for initialization
	void Start () {
		if (interactiveItem != null) {
			interactiveItem.OnOver += HandleOver;
			interactiveItem.OnOut += HandleOut;
		}
	}

	void OnDisable() {
		interactiveItem.OnOver -= HandleOver;
		interactiveItem.OnOut -= HandleOut;
	}

	// Update is called once per frame
	void Update () {
		float angle = rotationSpeed * Time.deltaTime;
		transform.Rotate (rotationAxis * angle, Space.World);
	}

	private void HandleOver() {
		SetRotationSpeed (0);
	}

	private void HandleOut() {
		ResetRotationSpeed ();
	}

	private void SetRotationSpeed(float newSpeed) {
		rotationSpeed = newSpeed;
	}

	private void ResetRotationSpeed() {
		rotationSpeed = DEFAULT_ROTATION_SPEED;
	}
}
When HandleOver() is called, the helper method SetRotationSpeed() sets the rotation speed to 0 to stop rotation. When HandleOut() is called when the player’s gaze moves away, the rotation speed is reset to the default by the method ResetRotationSpeed() .
As a last step, let’s make RedPill a reusable asset. In the Project view, expand Assets and select Prefabs. Drag the RedPill from the Hierarchy panel down to the right side of the Project view, in the panel now titled Assets->Prefabs. Now, to make more RedPills, drag the RedPill icon from Assets->Prefabs and drop them where you want them in the Scene window.
When you run your app in VR, you’ll see multiple rotating RedPills, and you can stop the rotation of any one of them by aiming your reticle at it. You now have created your interactive virtual world on the Gear VR.
